 FREE 1 to 3-Day Delivery on Orders $149+ Details

How To Install a Bushwacker Textured Rocker Panel & Sill Plate On Your 2007-2017 Jeep Wrangler JK
Installation Time
30 minutes
Tools Required
- #2 Philips Head Screw Driver
- Microfiber Cloth w/ Alcohol (optional)
Product Hardware:
#10 12x Screw Clips
#8 x3/4 12x PH Screws
Alcohol Wipes
3M adhesive tape (Already applied to Armor)
Pre-Installation Instructions:
(Conduct pre-installation step 1 only if consumer chooses not to paint (Skip steps 2-4)
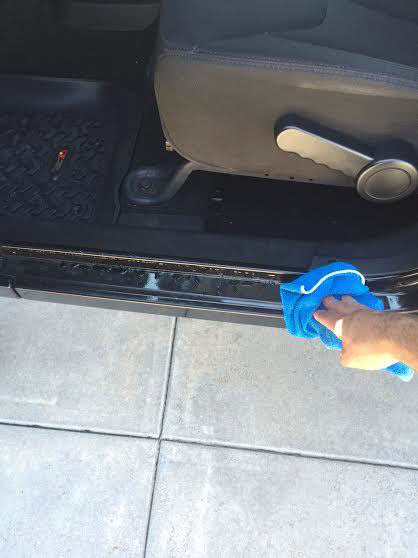
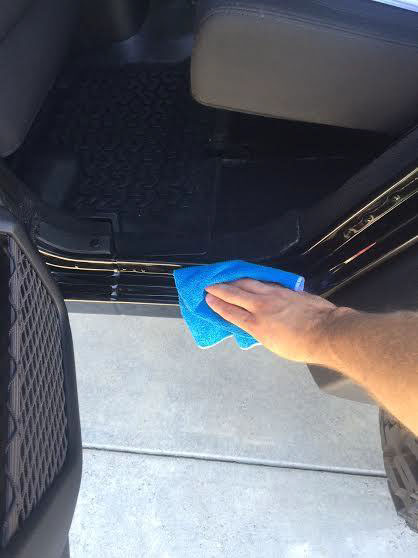
1. Clean all door sills and outer rocker panel prior to installation with microfiber cloth and alcohol or alcohol wipes.
Installation Instructions:
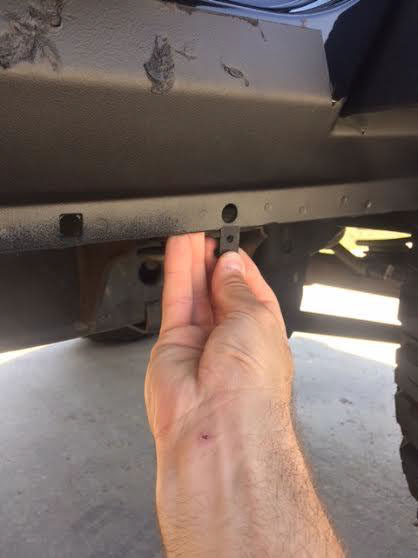
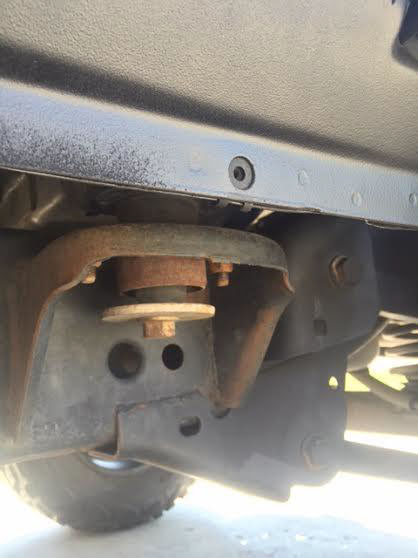
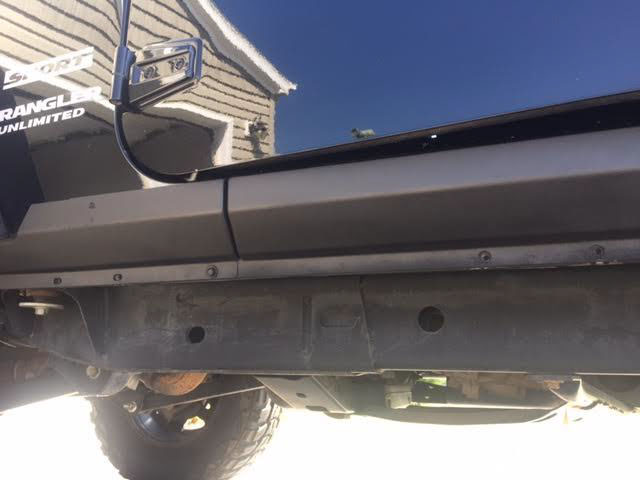
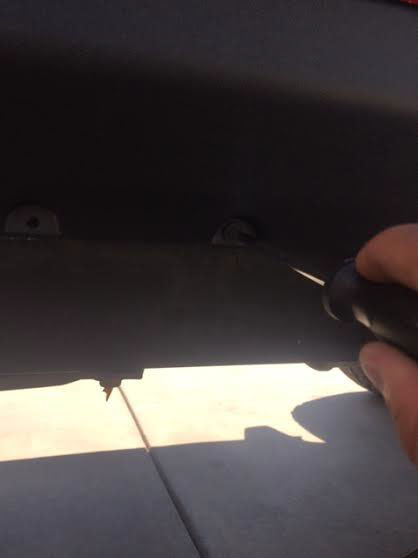
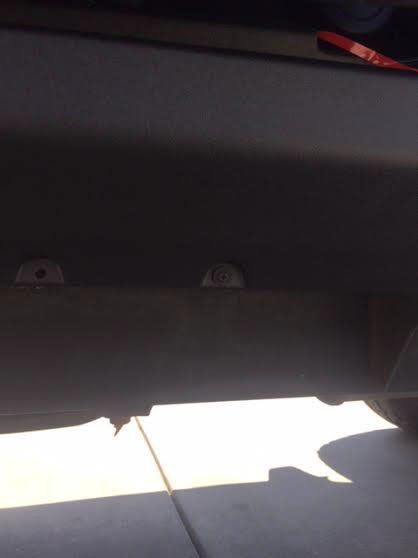
1. Place #10 6x screw clip over each of the 6 factory drilled holes with thread facing toward the inside of the rocker panel at vehicle frame. (Left and Right side of vehicle)

2. Screw in # 8 PH Screws (Do Not Tighten) Top portion of armor should hang off and not attach to door sill. Left and Right side of vehicle)
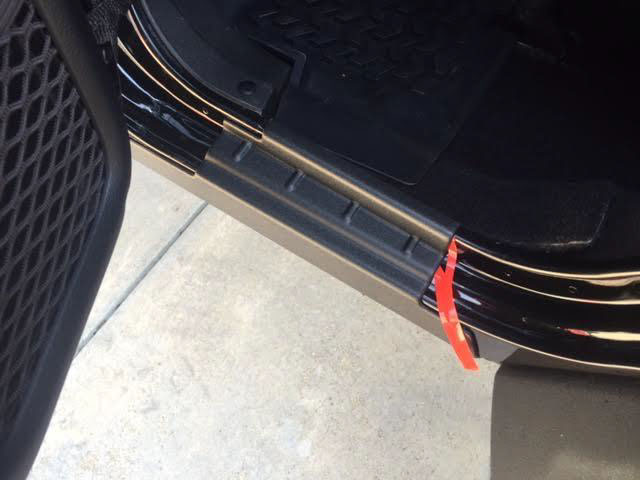
3. Remove red adhesive strips beginning with lower strip; working your way to the top strip pressing firmly on armor as strips are removed for adhesion to vehicle.
Lower Strip
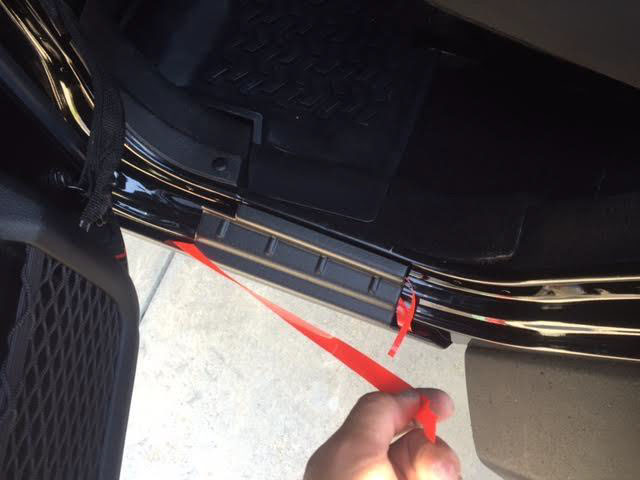
Middle Strip
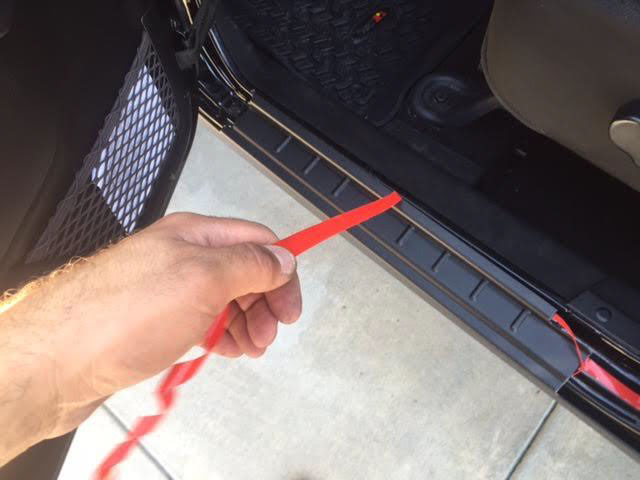
Door Sill Strip
4. Once all adhesive strips have been removed and armor has connected to rocker panel; tighten all screws.
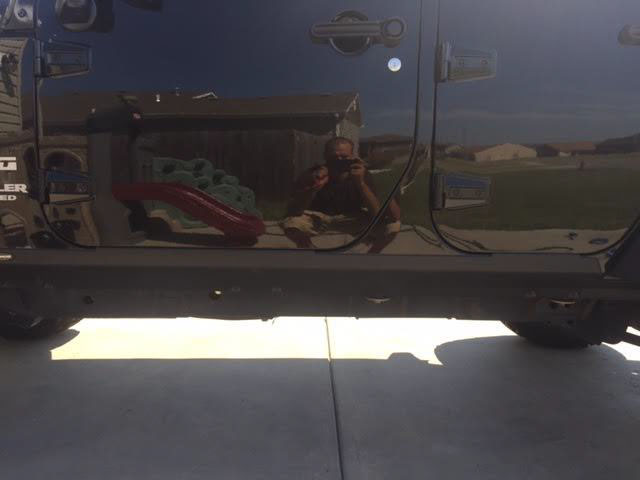
Congratulations on your new Bushwacker Rocker Panel and Sill Plate Combo Armor install.
Installation Instructions Written by ExtremeTerrain Customer Timothy Vinson 09/04/2015

