 FREE 1 to 3-Day Delivery on Orders $149+ Details

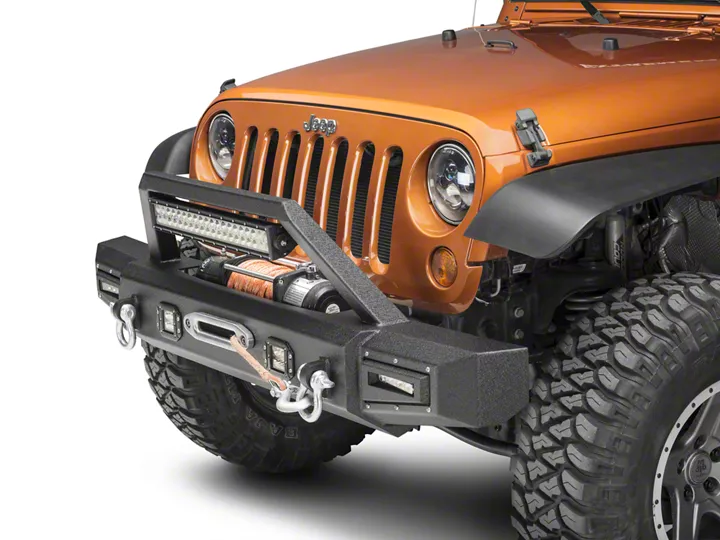
How to Install Barricade Vision Series Front Bumper w/ LED Fog Lights, Work Lights & 20 in. LED Light Bar on your 07-18 Jeep Wrangler JK; 2018 Jeep Wrangler JL
Installation Time
1 hours
Tools Required
- Flat Blade Screw Driver
- Socket Set
- Wire Cutters
Shop Parts in this Guide
Contents:
(1) - Front Bumper
(1) - Hardware Kit
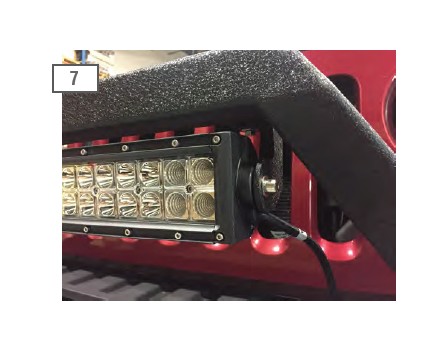
(1) - Light Bar
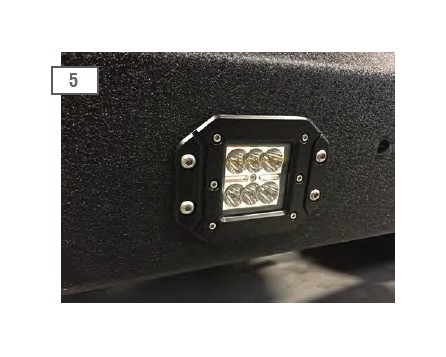
(2) - Flush Mount Square LED Lights
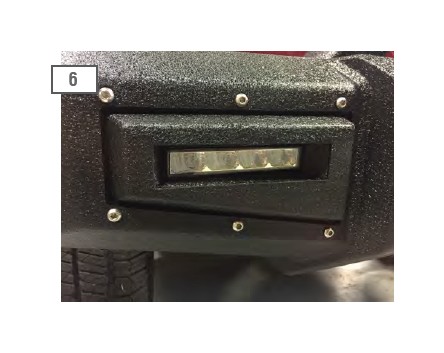
(2) - Bumper Mount Horizontal LED Lights
(2) - Stand Alone Light Harness
(1) - Splice in LED Light Harness
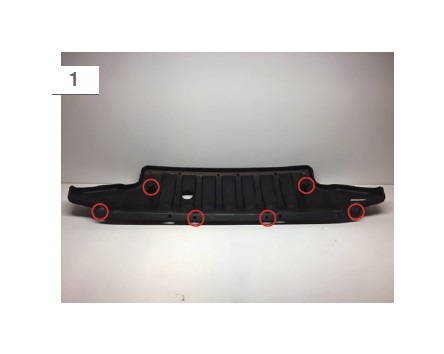
Remove the (6) plastic push pins securing the factory splash shield to the vehicle. (4) Across the front edge, (2) on the rear edge.
Remove the factory fog light connectors and free the fog light wiring loom from the bumper. Secure the factory fog light wiring harness out of the way.

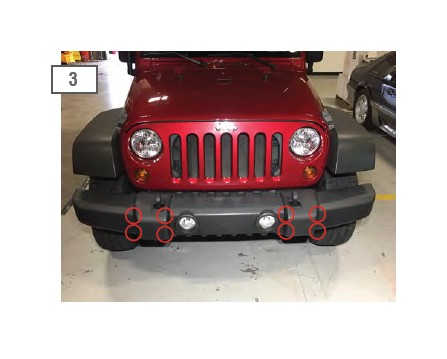
From under the vehicle access and remove the (8) 18mm nuts securing the factory bumper to the vehicle.
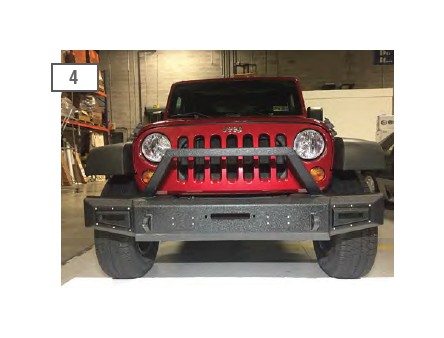
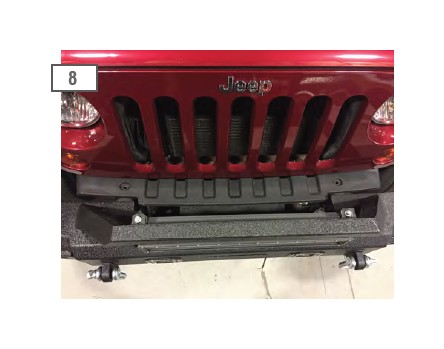
Install the Barricade bumper using the factory reinforcement tabs and the supplied hardware (4) (2) - Bumper Mount Horizontal LED Lights nuts and (4) bolts.
Remove the center block off plates to install the flush mounted bumper lights. The Allen bolts will be reused.
Install the horizontal LED bumper lights. **Note: The mounting tabs may need to be manipulated slightly so that the light can slide in easier.
Install the LED light bar using the provided hardware.
Reinstall the filler plate if a winch is not going to be used.
The bumper mounted outer horizontal LED lights can be wired to the factory fog light switch using the preexisting fog light wiring harness The black lead off of the LED light will get connected to a ground, the gray lead will be wired to switched 12v . With the fog light switch turned on, use a test light determine which wire is the 12v and which is the ground. Using wire connectors, splice or crimp the LED wiring leads to the appropriate fog light wiring. Test the lights before taping/shrink wrapping the connections. Secure any loose wires out of the way.

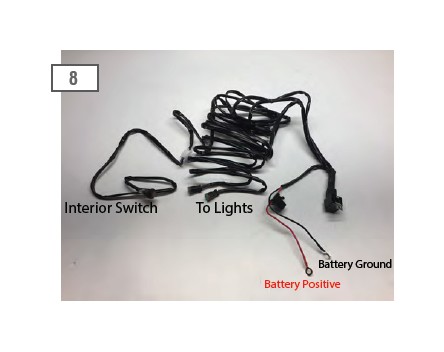
Using the supplied LED wiring harnesses, connect the red eyelet to the positive battery terminal, and the black eyelet to the negative terminal. Run the on/off switch to the passenger compartment using a suitable body grommet or by drilling your own hole. Zip tie the excess wire away from heat and moving parts. Connect the plugs to the supplied LED lights. **Note: (2) Separate harnesses will be used. (1) Harness will be used for the light bar. (1) Will be used for the square bumper mount LEDS.
Trouble Shooting:
If the LED light stops working at any time, first check the fuse for the wire you tapped into is in working order. Then ensure that the wiring connections are sound. Wiring connections can look good but the connections may not necessarily be completing the circuit. Always make sure that the light is getting the appropriate voltage on the LED side of the wiring connection.
