 FREE 1 to 3-Day Delivery on Orders $149+ Details

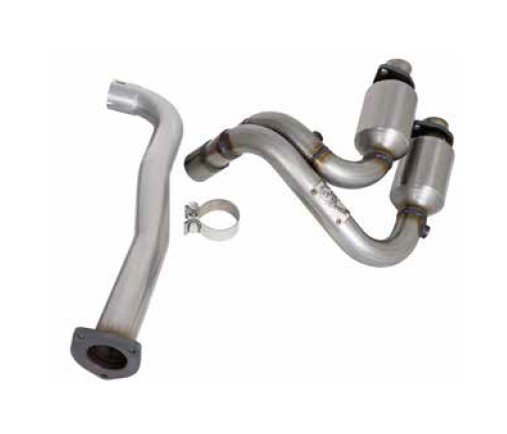
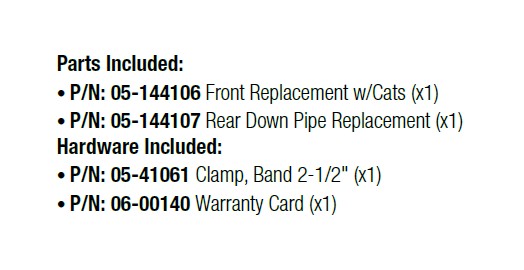
How to Install AFE Direct Fit Catalytic Converter - Front (00-03 4.0L Wrangler TJ) on your Jeep Wrangler
CAUTION: Allow time for your vehicle to cool down prior to installation. When working on or under your vehicle proceed with caution. Exhaust systems reach high temperatures and may cause serious burns. Wear protective safety equipment; eye goggles and gloves to ensure a safe installation. aFe recommends professional installation on our products.
Step 1: Support the vehicle on jack stands disconnects the negative battery terminal
from battery.
Step 2: Remove the O2 sensors between the FRONT & REAR of the OE cats.
Step 3: Remove the (x3) nuts securing the catalytic converter down pipe to the
exhaust system.
Step 4: Remove the (x4) 15mm bolts securing the catalytic converters to the stock
exhaust manifold.
Step 5: Remove down pipe. Be careful when initiating this step removing the
four bolts will cause the. Catalytic Converters to fall so it is a good
idea to have the help of a second hand when removing this down pipe.
Step 6: Install aFe Direct Fit Cat Replacement using OE bolts to securing the
catalytic converters to the stock exhaust manifold DO NOT TIGHTEN.
Step 7: Install the down pipe to the exhaust system using OE (x3) nuts DO NOT TIGHTEN.
Step 9: Tighten the (x4)15mm bolts from step 4. Tighten the (x3) nuts from Step 3.
Step 8: Re-Install O2 sensors between the FRONT & REAR of the cats.
Step 10: Re-Check all your work.
Step 11: Remove vehicle off jack stands.
Step 12: Re-Check all bolts/nuts clamp after 50-100 miles.

