 FREE 1 to 3-Day Delivery on Orders $149+ Details

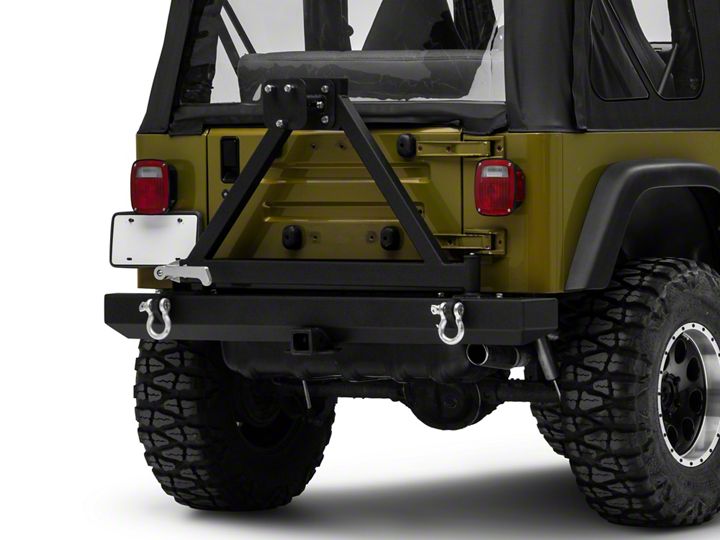
How to Install a Barricade Classic Rear Bumper on your 1987-2006 Jeep Wrangler YJ, TJ
Tools Required
- 13mm-19mm Sockets
- 13mm-19mm Wrenches
- Allen Key Set (Metric)
- Torx Bit Set
Shop Parts in this Guide

STEP 1
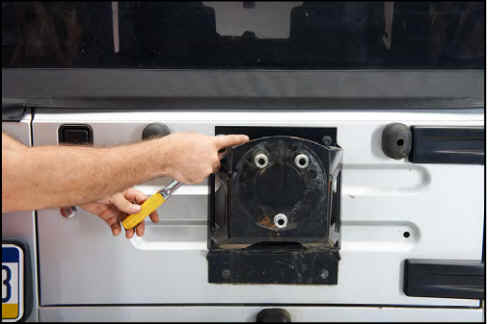
Remove the rear tire and the (4) 13mm bolts securing the tire carrier.
STEP 2
Remove the Torx screws, on the top and bottom, holding the end caps on the rear bumper and remove them.
STEP 3
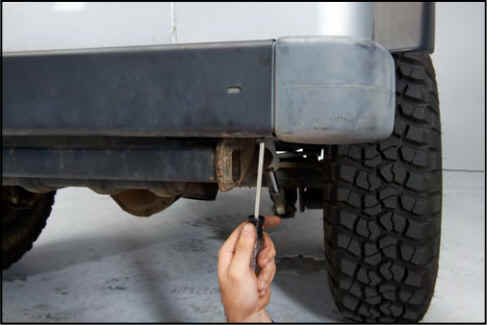
Using an 18mm socket, remove the (4) bolts securing the rear bumper
STEP 4
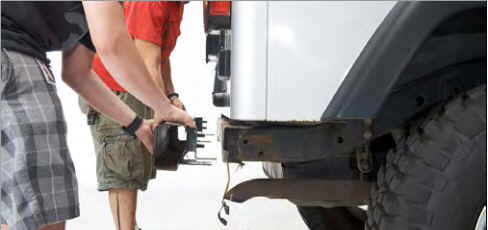
Slide the bumper away from the back of the vehicle.
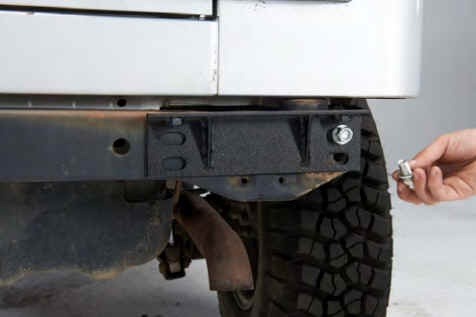
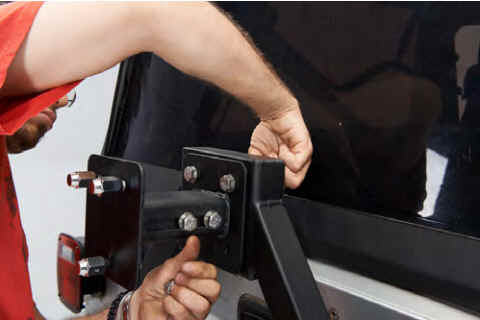
STEP 5
Using the supplied brackets and 18mm hardware, mount them to the vehicle in the factory mounting holes as pictured.
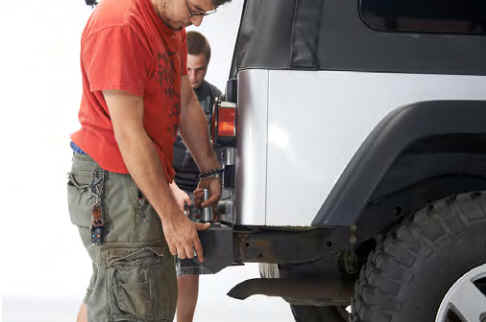
STEP 6
Slide the new bumper into position on the mounting brackets and line the 4 holes on the top of the bumper up with the 4 holes on the mounting plates.
STEP 7
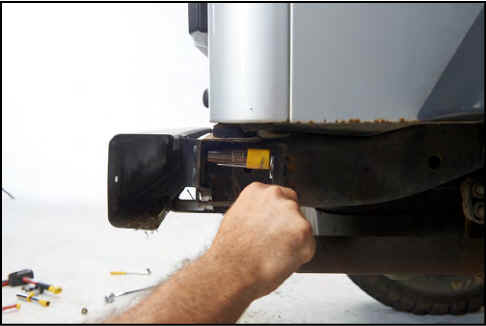
You may have to remove the plate bracket for extra clearance. Using a 10mm socket, remove the plate holder.
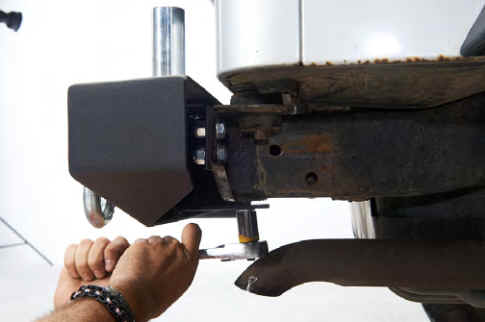
STEP 8
Using the 18mm supplied bolts, washers and nuts, install the rear bumper onto the vehicle, leaving it loose for adjustment.
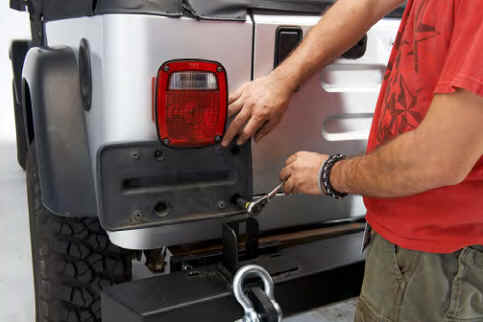
STEP 9
Once it is in place and centered, tighten all the bolts.
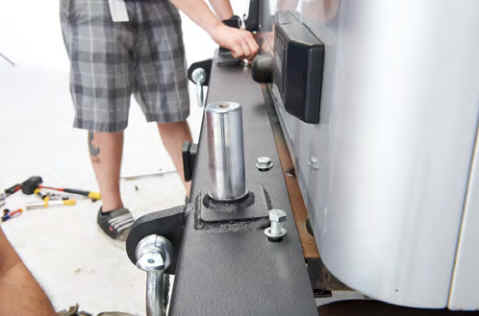
STEP 10
Install the swing arm by sliding it over the post on the bumper. *Note it may help to grease the post for smoother operation.
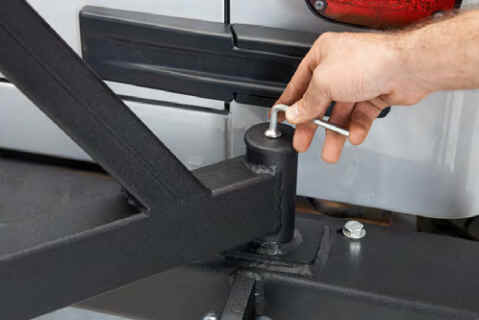
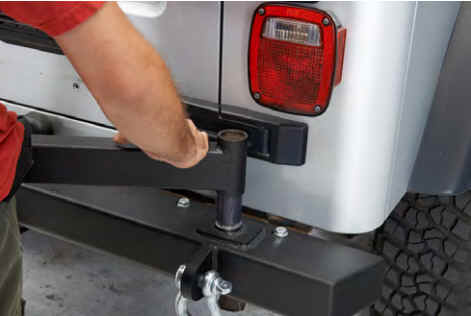
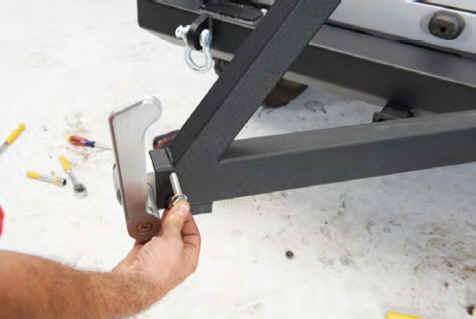
STEP 11
Install the top cap and secure it using the hex bolt.
STEP 12
Slide the latch assembly into the swing arm and secure using the 17mm bolts and nuts.
STEP 13
Finally, install the rear tire carrier onto the rear swing arm using the (4) 18mm bolts and nuts and tighten them down. Then, reinstall the rear tire.

