FREE 1 to 3-Day Delivery on Orders $149+ Details

How to Install Barricade Front Fenders w/Flare on your 1997-2006 Jeep Wrangler TJ
Installation Time
5 hours
Tools Required
- 13mm & 7mm Wrench & Socket
- Dye Grinder
- 4mm Allen Wrench
- 5/16 & 1/4 Drillbit
INCLUDED COMPONENTS:
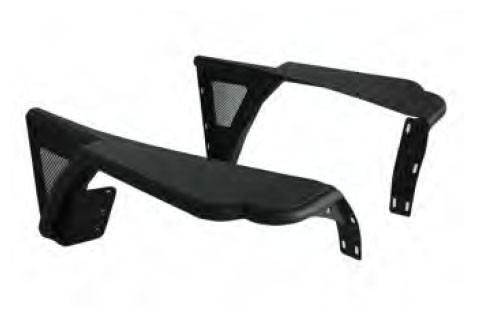
2 Fenders
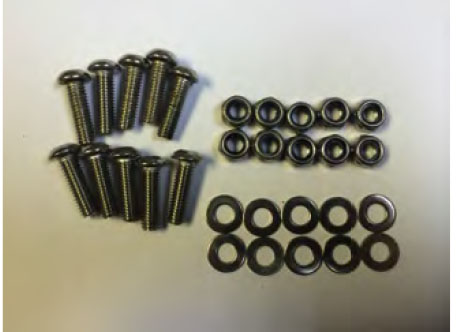
10 7/8 Allen Screws
10 6/32 Nylon Nuts
10 6/32 Flatwashers
Please read and understand all instructions before starting the installation. The manufacturer is in no way responsible for any personal injury or vehicle damage that may occur during the installation or use of this product. CAUTION: This product is designed primarily to enhance the appearance of this vehicle. Do not rely on it in any way to protect against injury or death in the event of an accident.
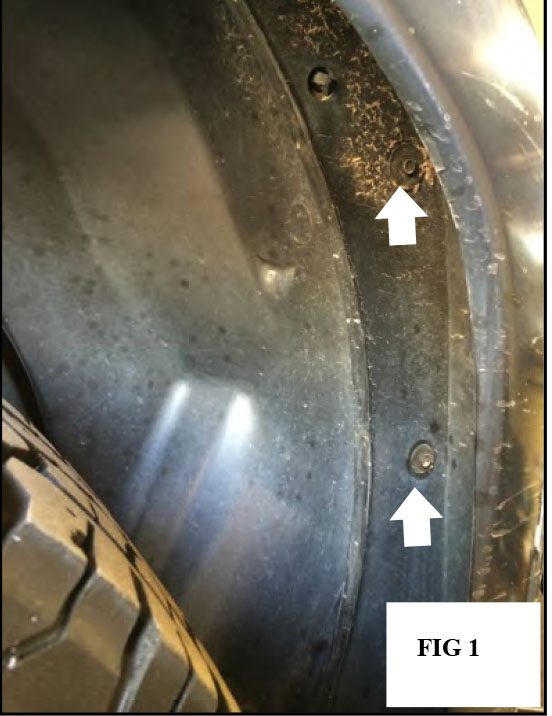
1. Remove 7mm Bolts that connect the plastic fender to the chassis, Once this is completed, Remove the Fender shown in Fig. 1 also remove the Side Steps by removing the Bolts from underneath the Chassis.
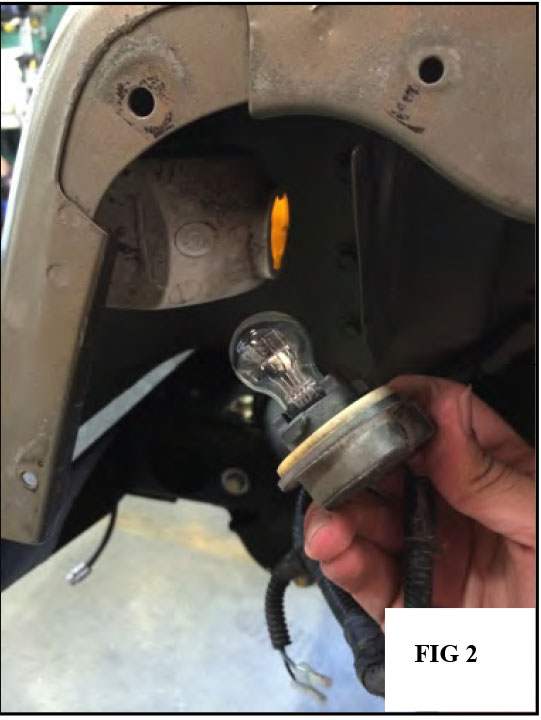
2. Twist and Unplug the Signal Lights from the Fender shown in Fig. 2
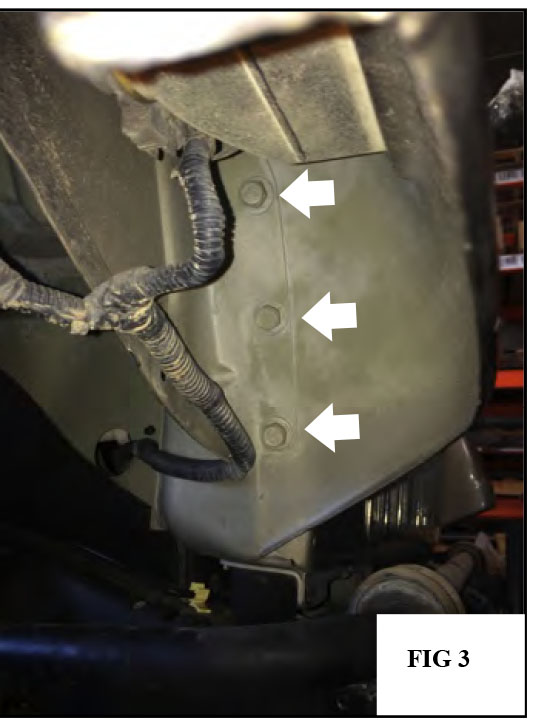
3. Using a 13mm Socket Wrench, Remove 3 13mm Bolts from underneath the side Fender shown in Fig. 3 These will be re-used for the new fender.
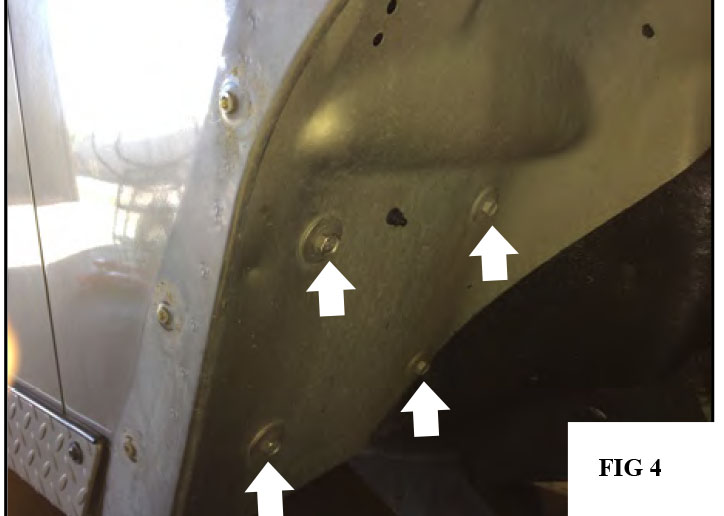
4. Using a 13mm Socket Wrench again, Remove 4 13mm Bolts from the rear Fenderwell shown in Fig. 4 These will be re-used for the new fender.
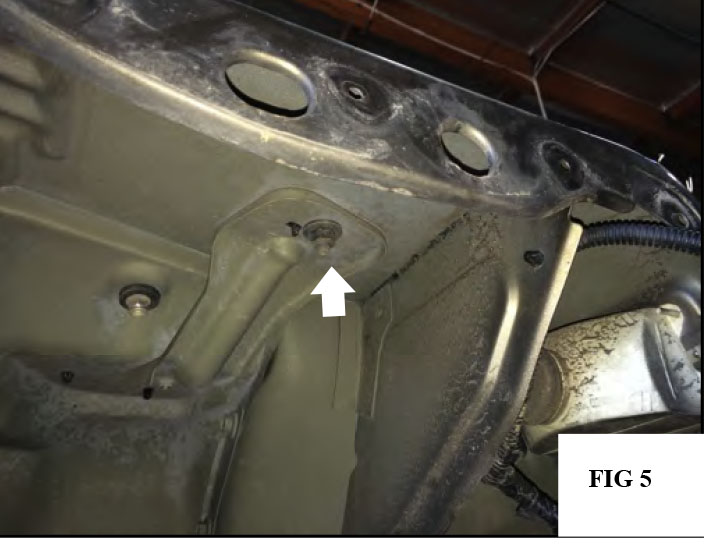
5. Remove 1 13mm Bolt from underneath the OE fender to remove the hood latch shown in Fig. 5
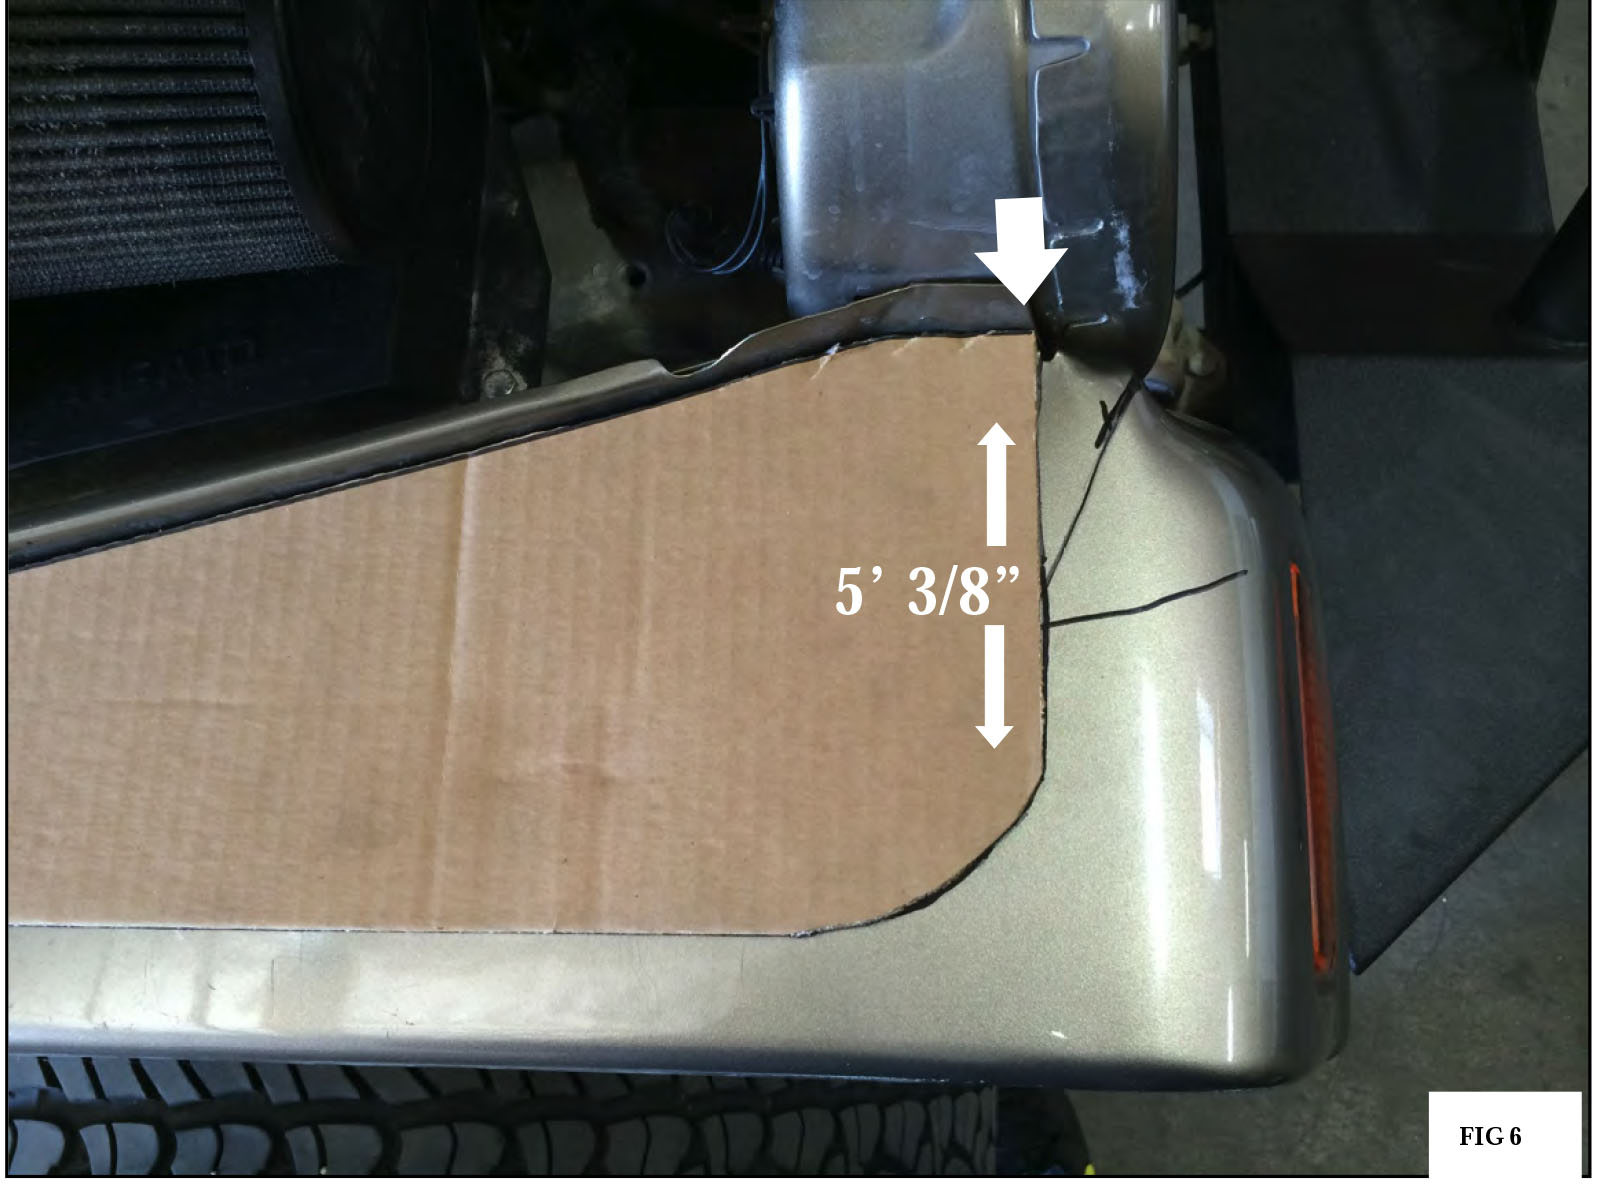
6. Create a template to ensure of where to cut on the OE fender, there is a metal piece protruding upward right next to the OE headlight shown in Fig. 6, This will be your starting point. From that point towards the outer edge of the OE fender will be 5’3/8” long to mark with a marker.
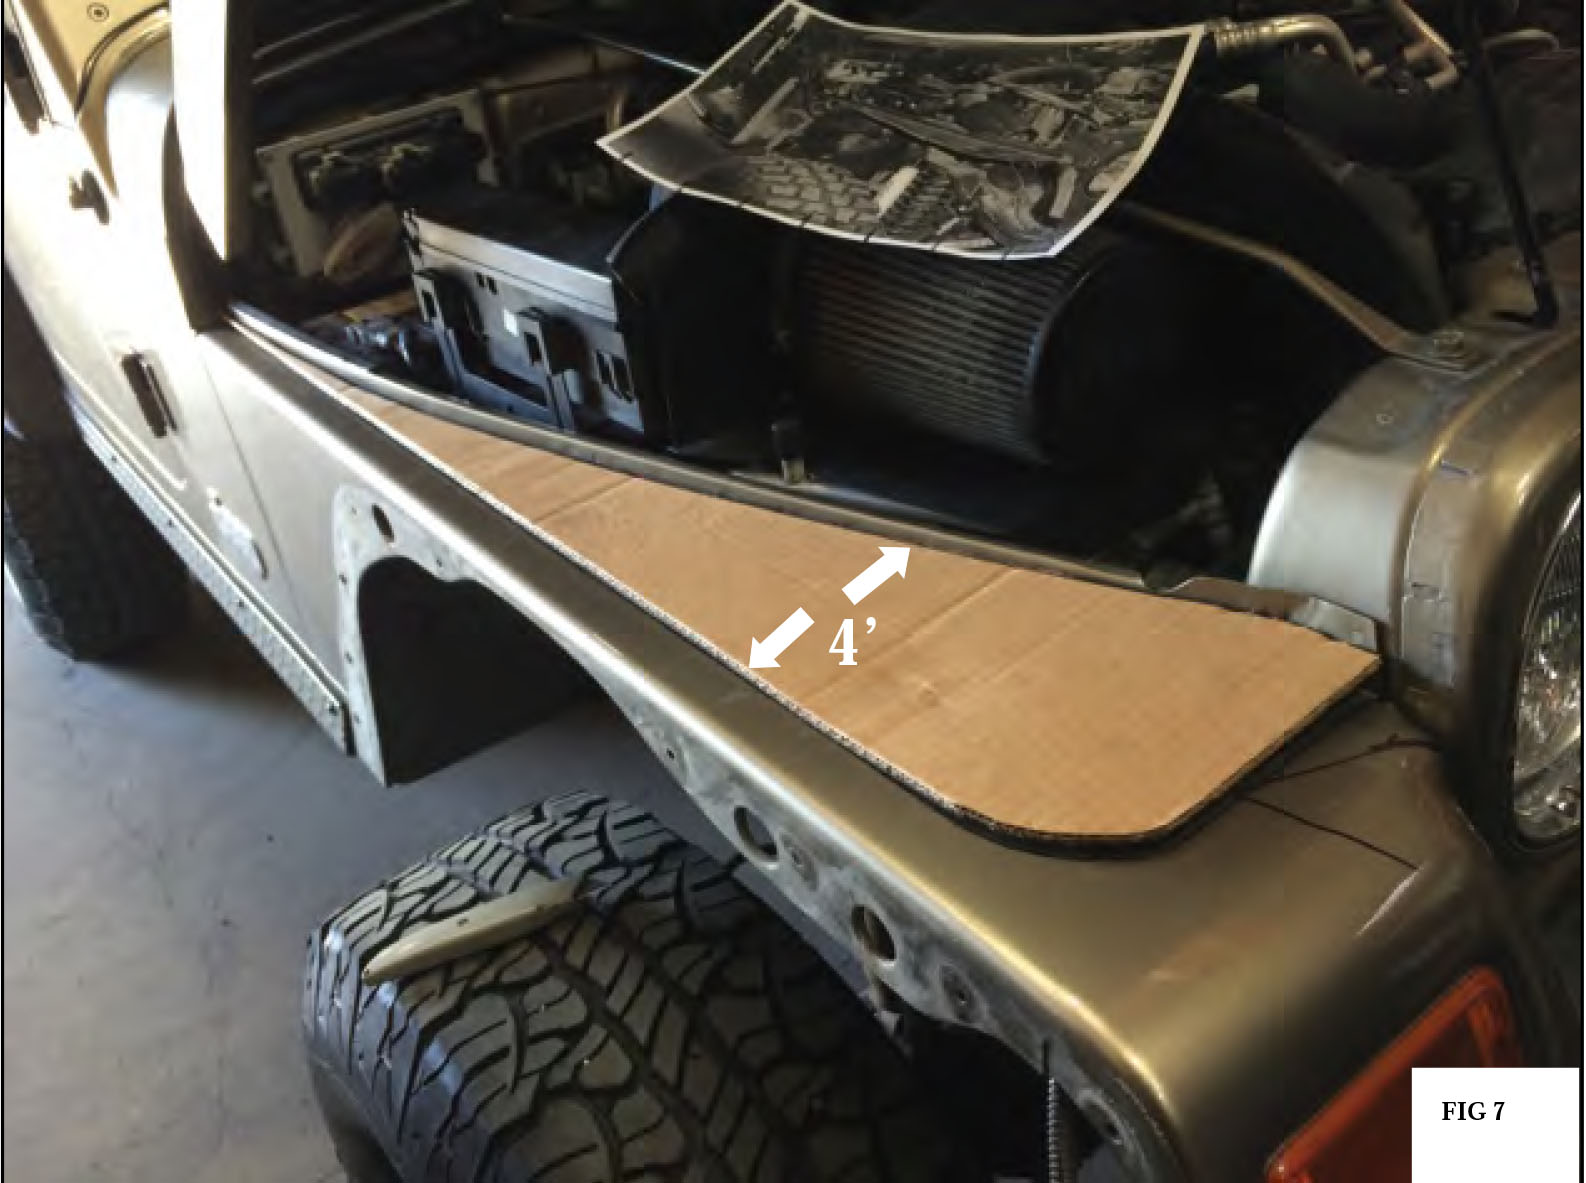
7. About 12 inches towards the inner fender, mark 4’ towards the outer OE fender shown in Fig. 7
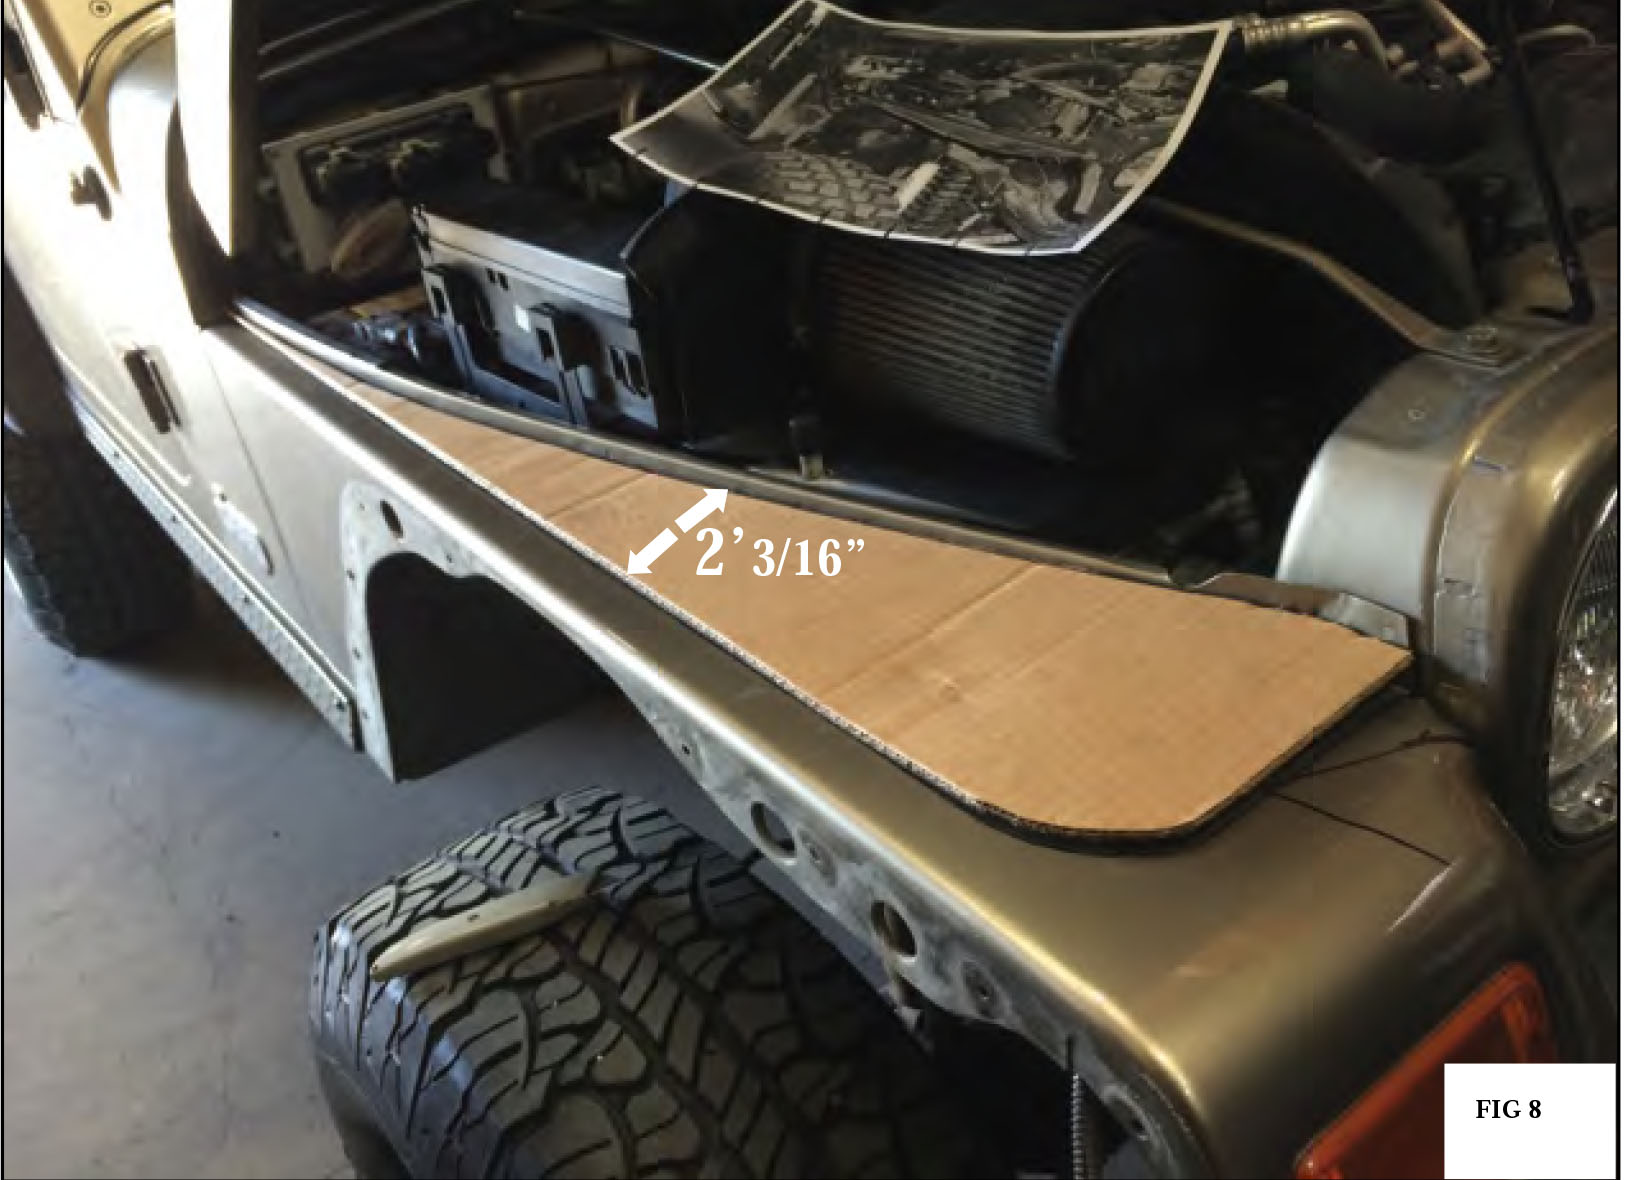
8. From the 4’ mark, go 8’ towards the inner fender and mark with a marker 2’ 3/16” towards the outer OE fender to the Template shown in Fig. 8
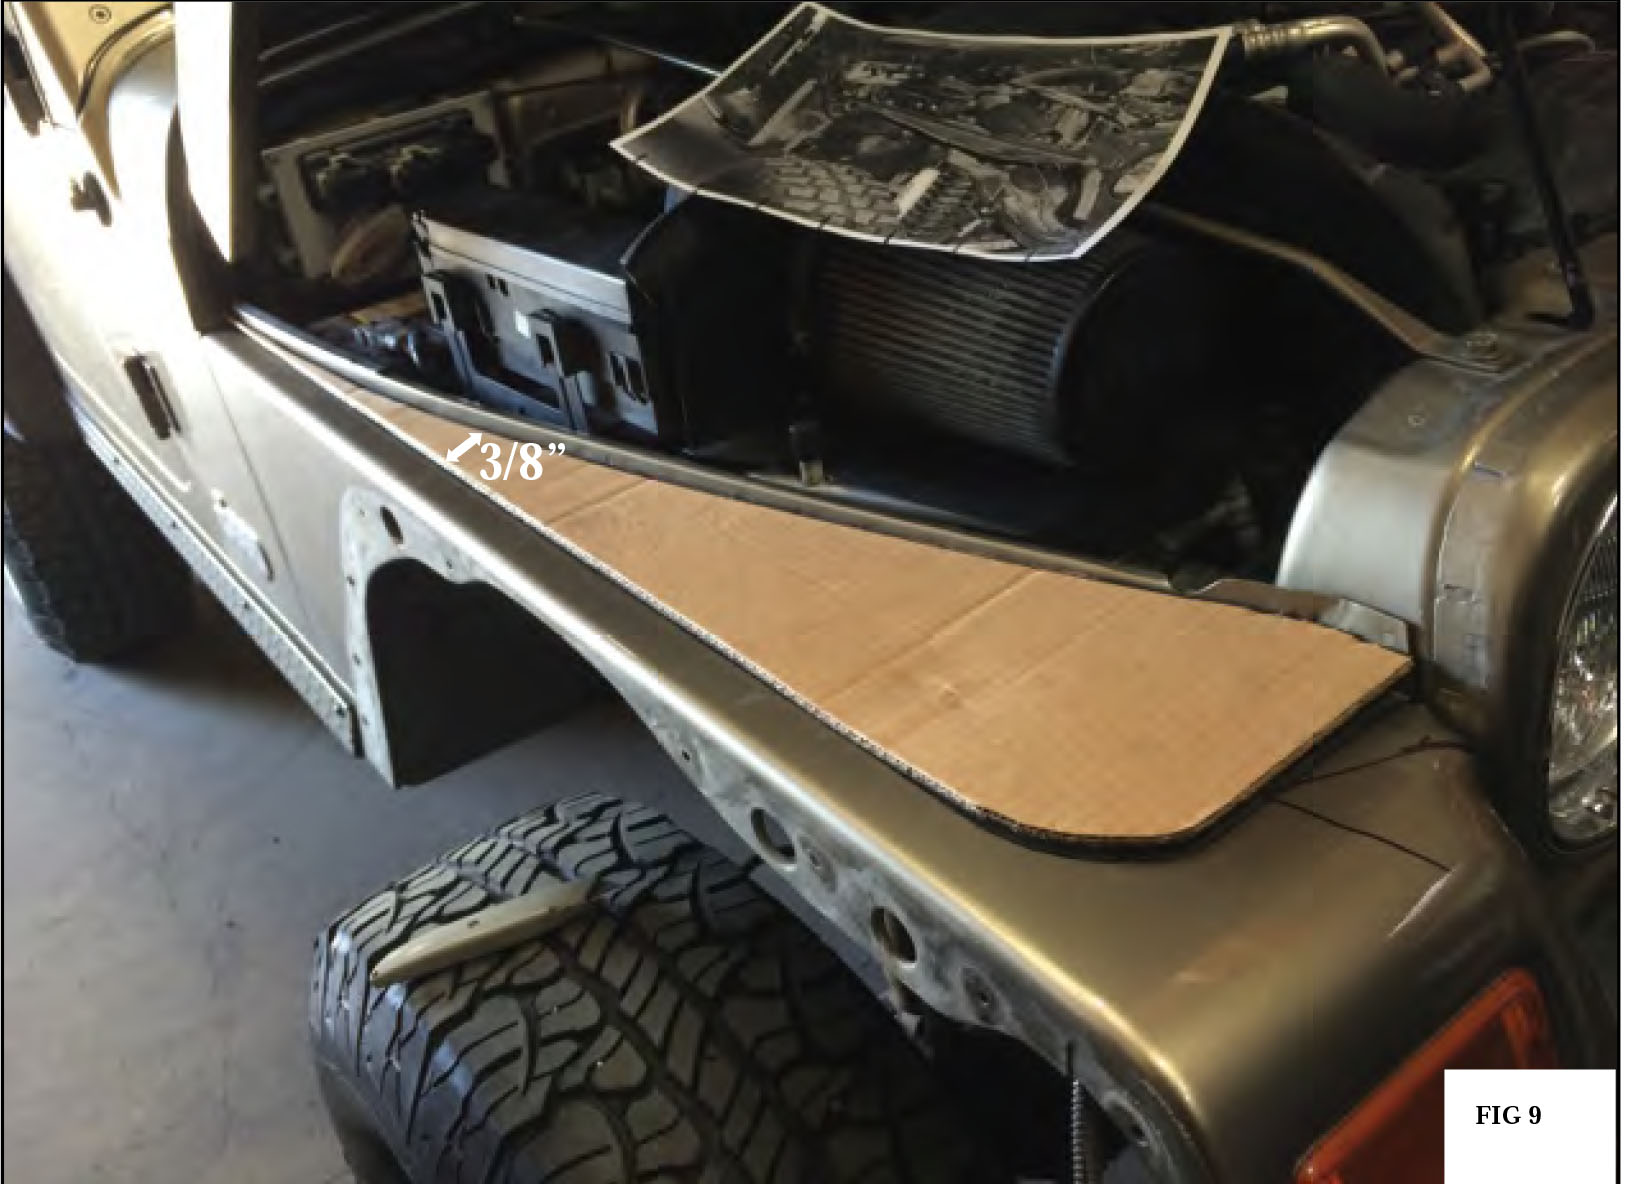
8. And lastly from the 2’ 3/16” mark, go 11’ towards the inner fender and mark with a marker 3/8 towards the outer OE fender to the Template shown in Fig. 9 The total length from the starting point to the end of the fender is 39’1/2”
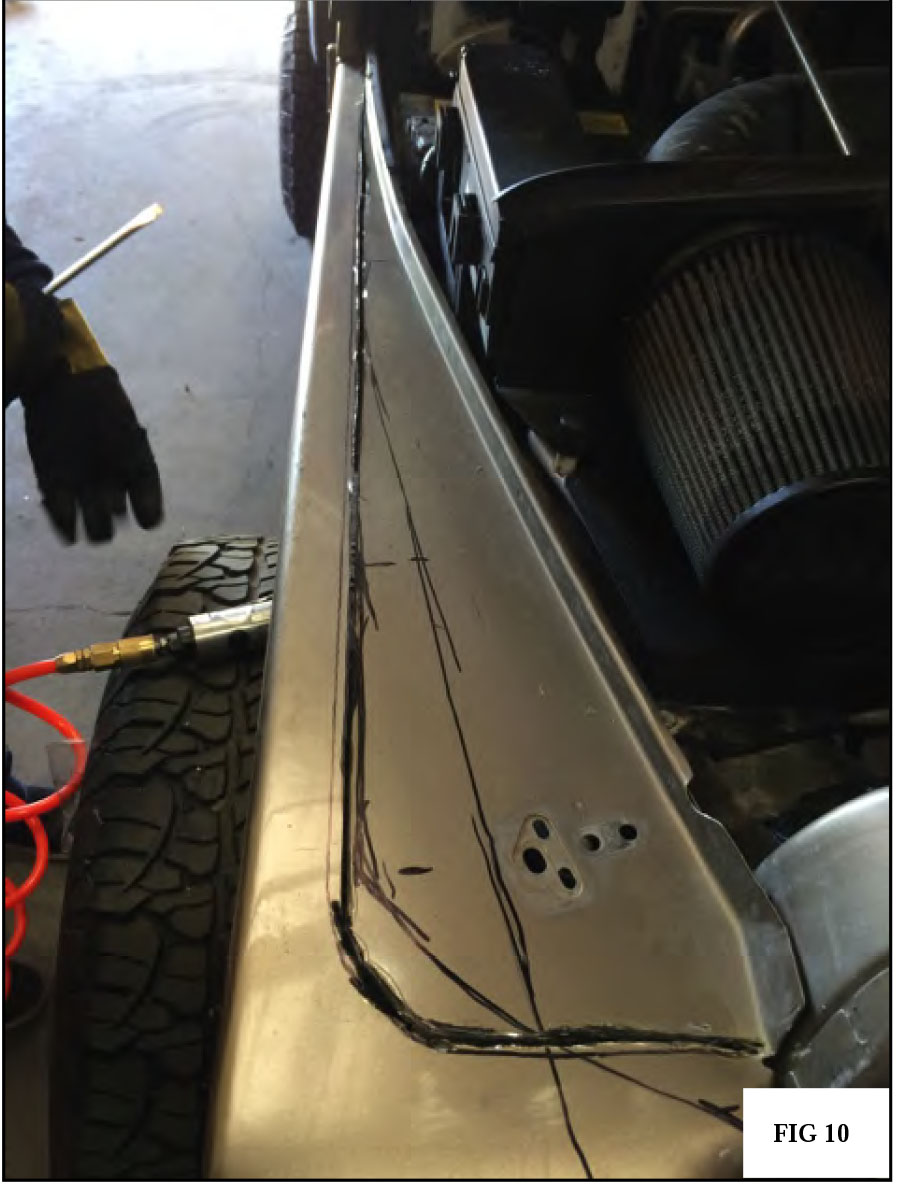
9. Once you have these measurements to the Template, mark them on the OE fender and begin cutting by using a Dye Grinder shown in Fig. 10
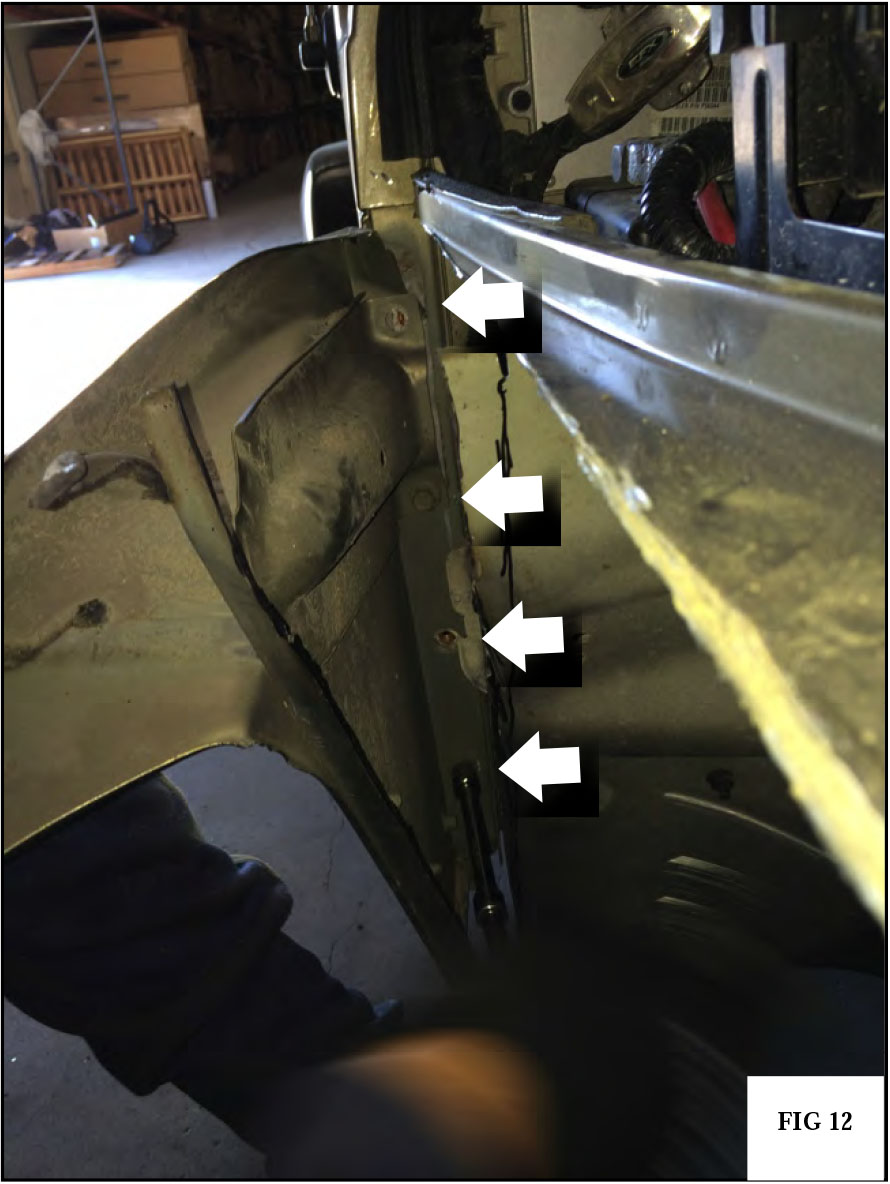
10. Once you cut the OE fender, bend it outward and cut off the remaining part of the fender that is protruding out, once you cut that part off there will be 4 13mm bolts that connects the inner fender, with a 13mm socket, start removing these 4 bolts shown in Fig. 12
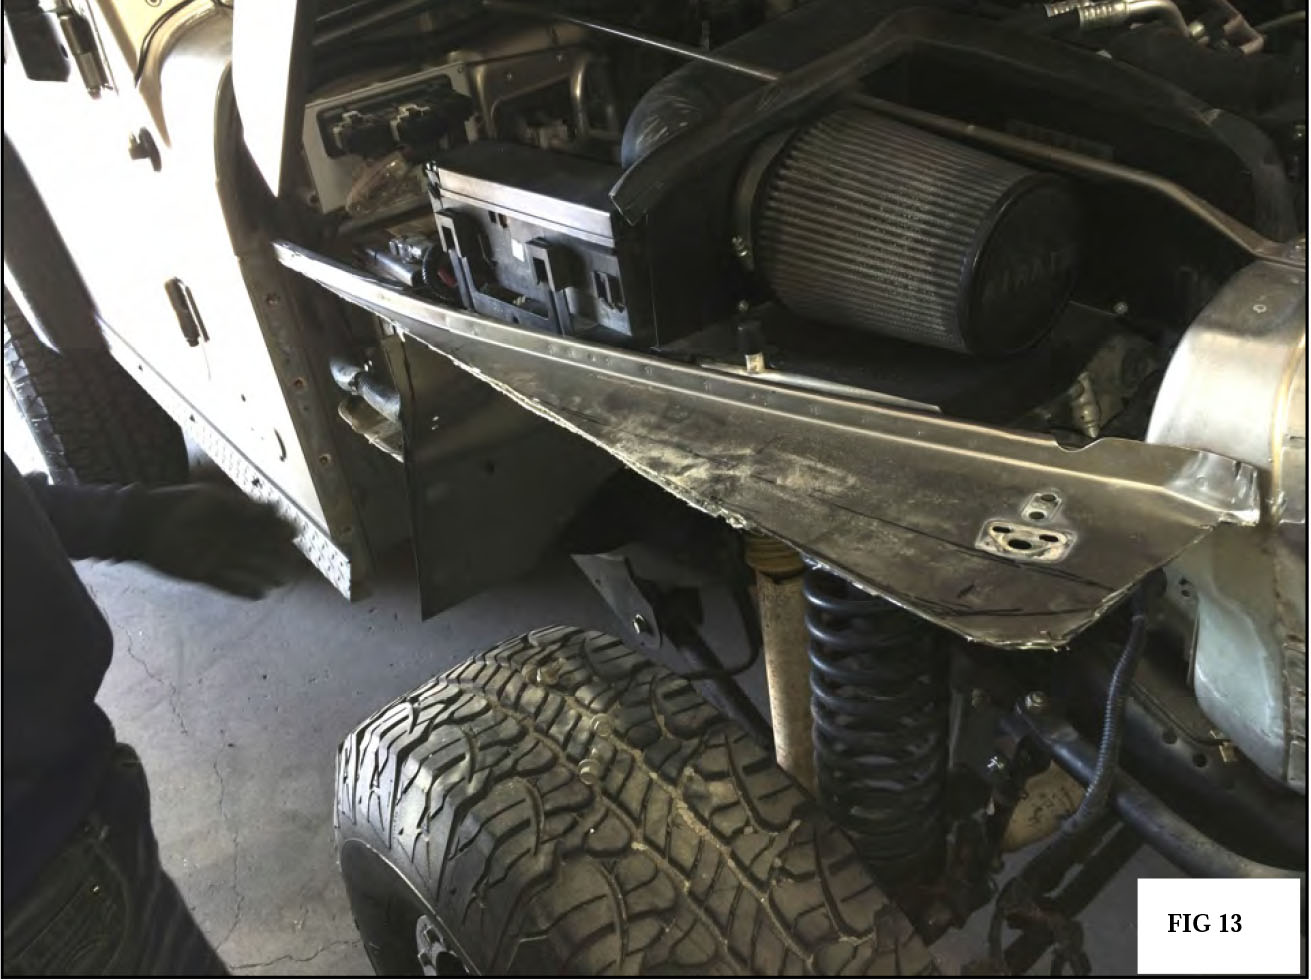
11. Now remove the cut OE fender off and it should look like Fig. 13

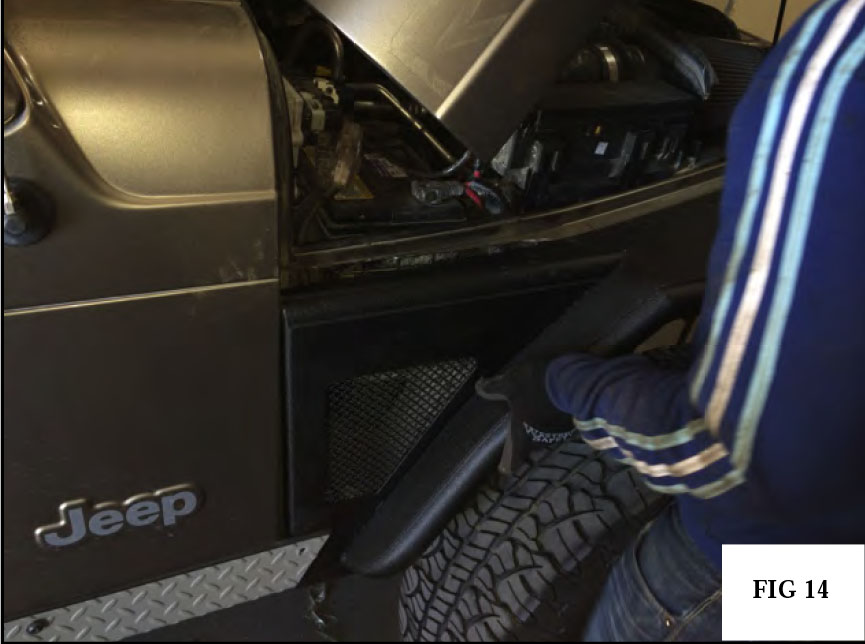
12. Place the new fenders onto the Jeep shown in Fig. 14 NOTE if the new fender does not seem to go in, grind excess material from the OE fender.
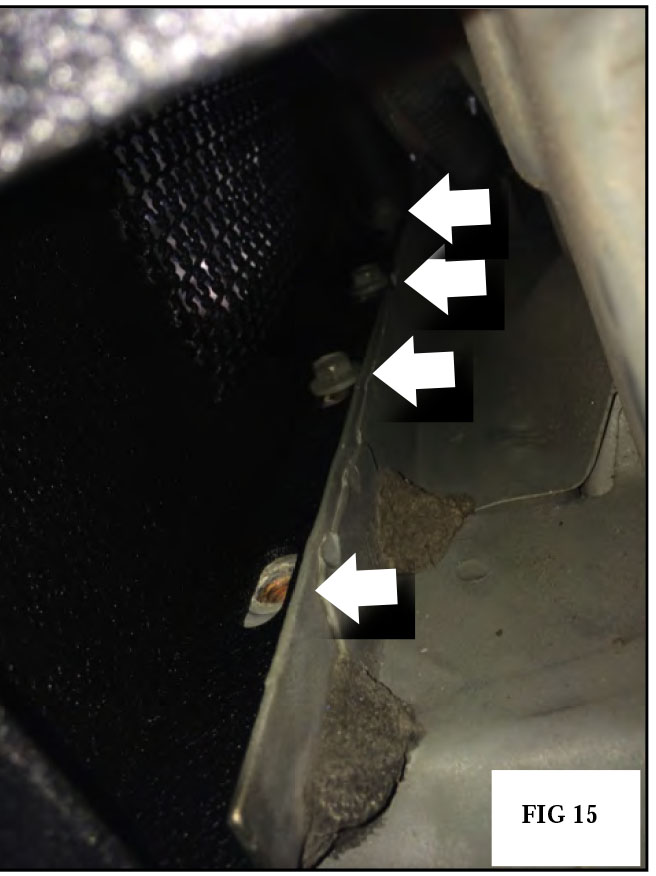
13. With a 13mm Socket, Thread back in the 4 13mm bolts that run Vertically on the inner Fender shown in Fig. 15 14. Insert the 4 OE 13mm bolts on the inner fenderwell with a 13mm Socket wrench shown in Fig. 16
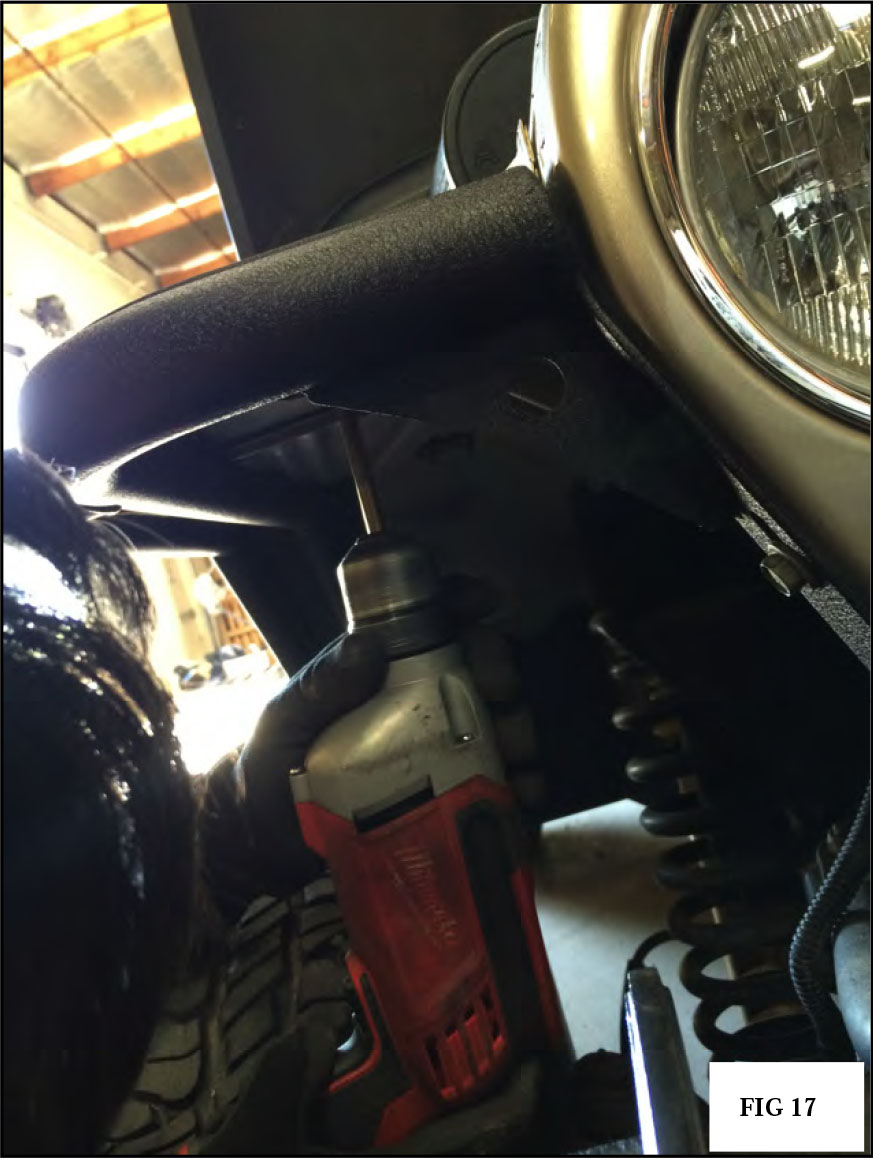
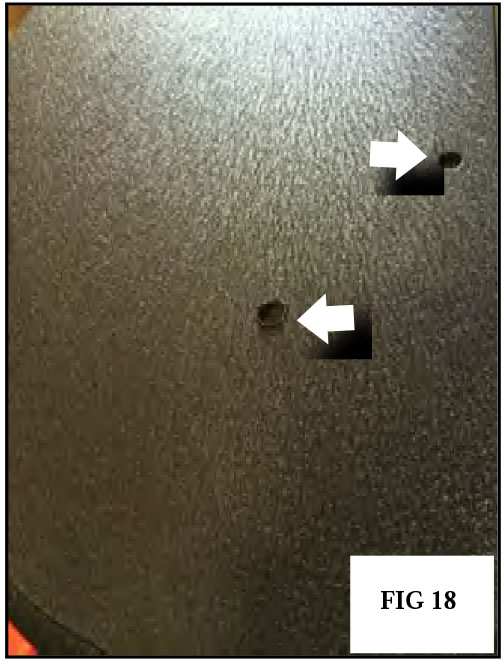
15. Using a 5/16 Drillbit, Drill through the holes from underneath the OE fender for the Hood Latch and use a Drillbit for the 5 holes that are on the new Fender to place the 5 Allen Screws threaded with the flatwasher and 6/32 nylon lock nut.
Once you have done this, Congratulations on your new Fenders. Enjoy