FREE 1 to 3-Day Delivery on Orders $149+ Details

How to Install Barricade Front Fender on your Wrangler

Shop Parts in this Guide

Step 1
Remove factory flare from your vehicle. Discard flare and hardware.
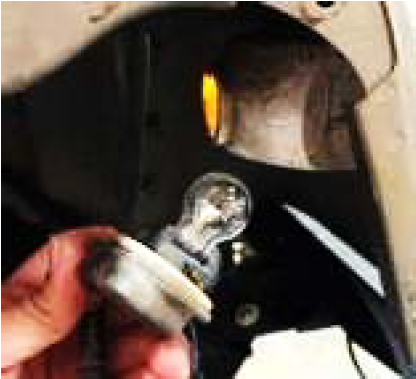
Step 2
Twist and unplug the signal lights from the fender. As shown above.
Note:
If equipped with factory side step remove and set aside for reinstallation.
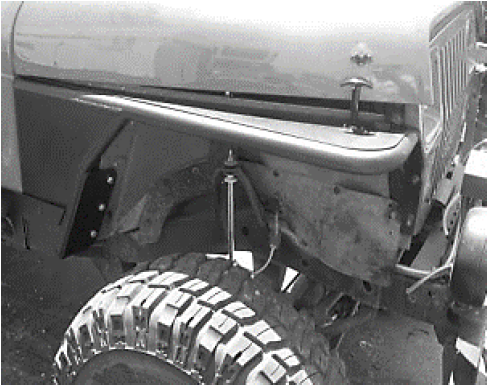
Step 3
Proceed to the front side of the fender well. Using a 13mm socket, remove 3 bolts from underneath the side fender as shown above. Set aside hardware aside for later use.
Step 4
Proceed to the rear side of the fender well. Using a 13mm socket remove 4 bolts from the rear fender. Set hardware aside for later use.
Step 5
Remove factory bolts securing hood latch to factory fender. Set aside hardware and hood latch for reinstallation
Step 6
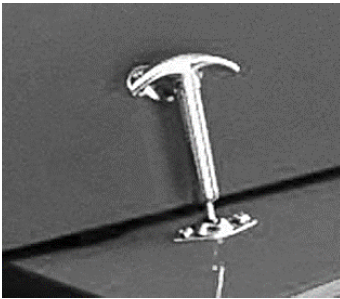
Pry off the rubber cushion. Set aside for later use. (Step not illustrated)
Step 1
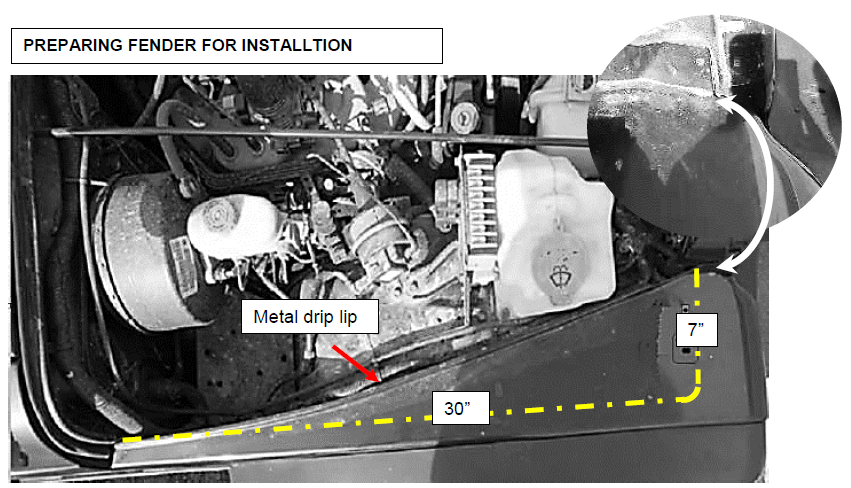
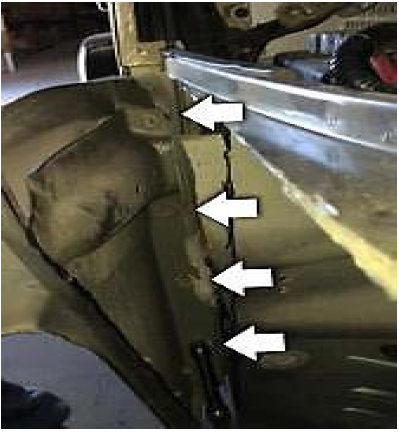
Note the metal drip lip on the inner side of the fender. Draw 7” long line from the front edge of the lip out towards the outer edge of the fender. This will be your starting point. Draw a 30” long line toward the back of the fender. These lines represent where you will cut away your factory fender.
Step 2
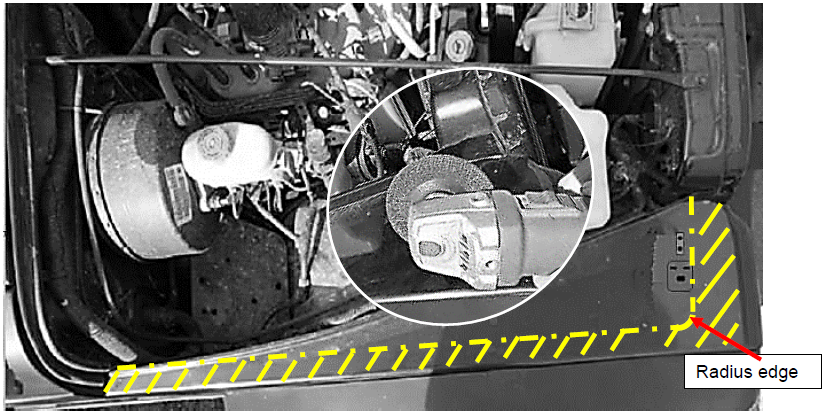
Using an electric grinder or similar metal cutting tool proceed to cut the fender where you market the lines.
Tip: Make sure to radius the front edge to avoid any sharp corners that could result in a nasty cut.
Step 3
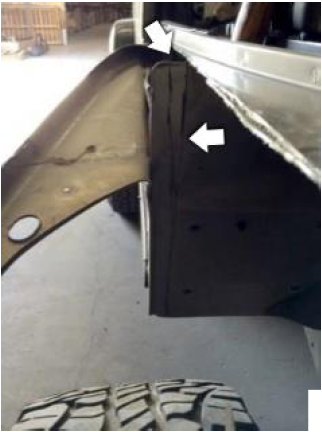
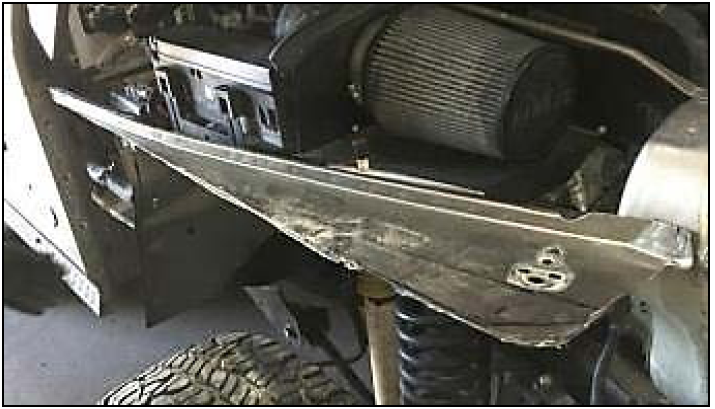
Once you cut the OE fender, bend it outward and cut off the remaining part of the fender along the rear edge of the fender as shown above.
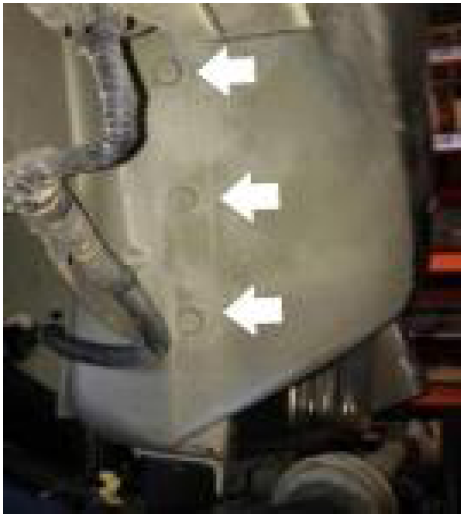
Step 4
With the fender now cut off, locate four factory bolts that connects the inner fender. Using a 13mm socket, remove the four bolts. Discard factory fender save bolts for later use.
Step 7
When the cut metal parts are all removed, your modified fender should look like the picture above.
Step 1
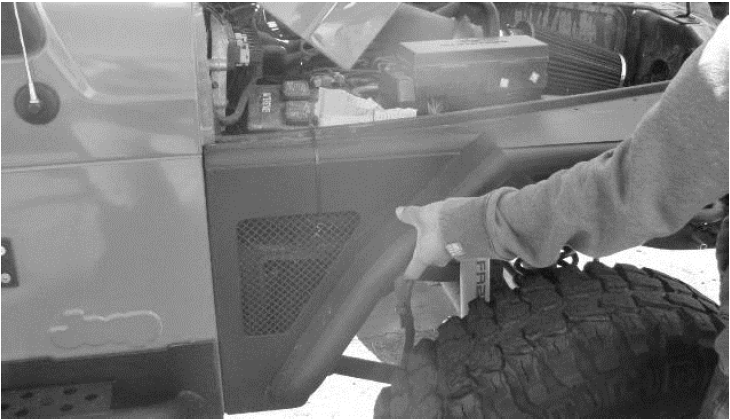
Place the new fender on to the jeep. Note: If the new fender does not seem to fit grind excess material from the original fender.
Step 2
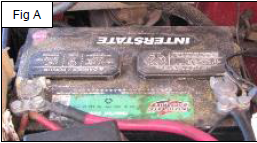
Note: Since we are illustrating the passenger side fender you will need to remove the factory battery so you have access to the back wall of the fender. Fig A
Step 3
With the battery removed you now have access to the back wall of the fender. Using a 13mm socket, reinstall four factory bolts that run vertically on the inner fender.
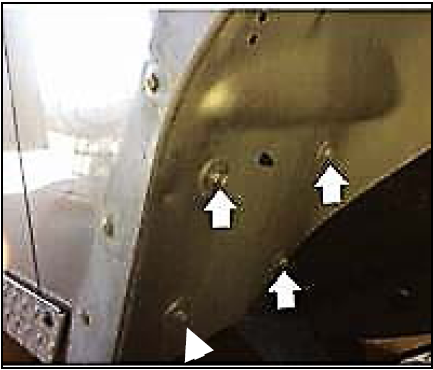
Step 4
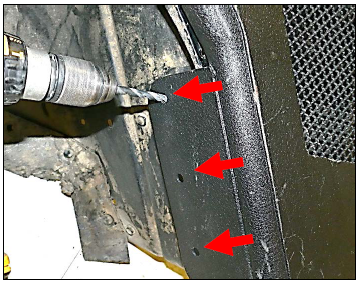
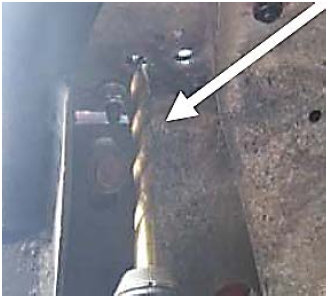
Using the holes in the new fender as a guide drill 3 holes using a 3/8” bit through the factory sheet metal. Install supplied Mounting bolts (F) washers (G) and lock nuts (H).
Step 5
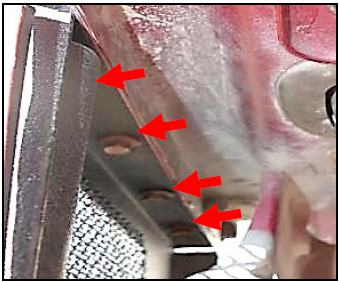
Using the holes in the new fender as a guide Drill Five (5) 1/4 inch holes through the factory sheet metal.
Step 6
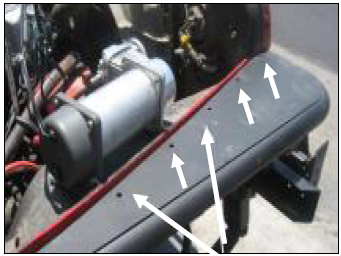
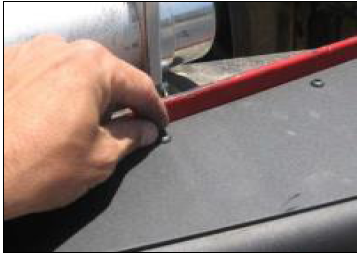
Place a button head bolt M6x1.0x20mm (C) with supplied flat washer M6X1.0 (E) through the fender hole and through drilled holes. Start a supplied nylon lock nut M6X1.0 (D) at the end of the bolt. Tighten nuts with 10mm socket.
Step 5
Working on the underside of the fender, Use the holes in the factory fender as a guide to drill holes to re-install the hood latch and rubber stop.
Step 7
Reinstall factory hood latch and rubber cushion using factory hardware.