FREE 1 to 3-Day Delivery on Orders $149+ Details

How to Install a Barricade Corner Guard on your 1987-1995 Jeep Wrangler YJ
Installation Time
1 hours
Tools Required
- 18mm Wrench
- 9/64” Allen Wrench
- 3/8” Drill Bit
- Drill

Shop Parts in this Guide
Parts List
(1) Left Guard
(1) Right Guard
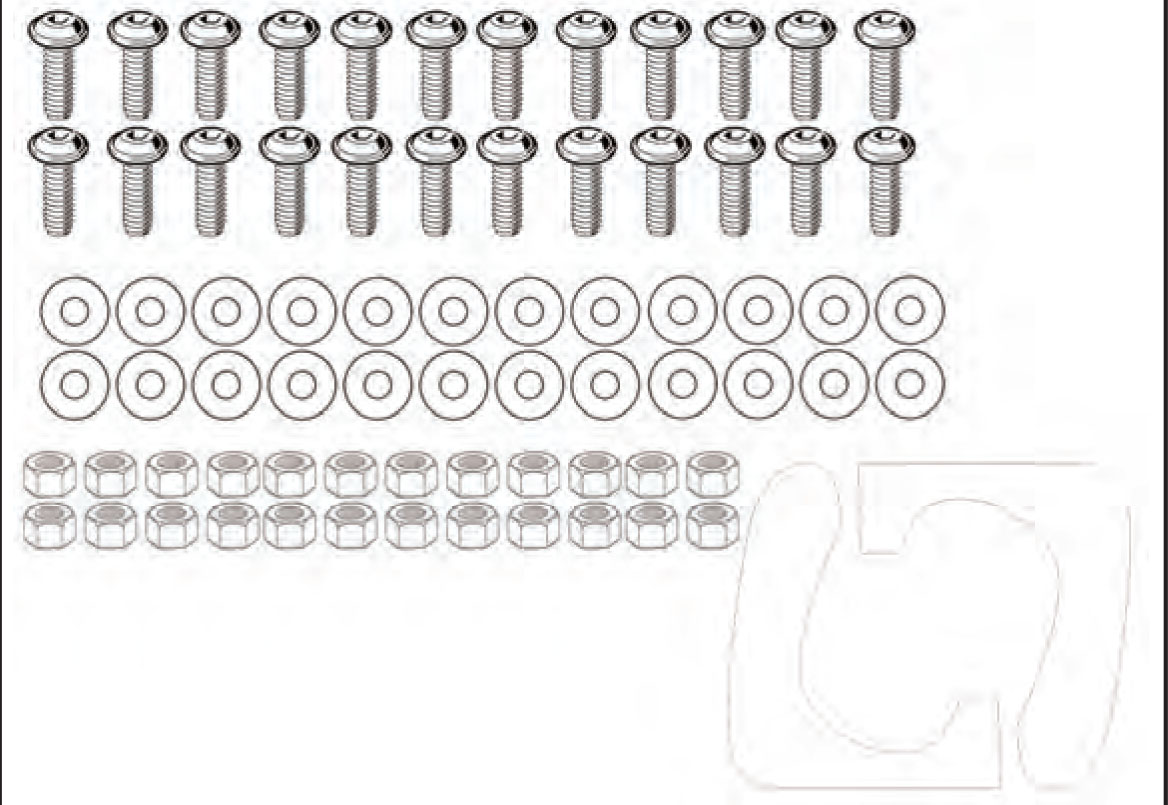
(24) 9/64 Allen Bolts
(24) 1/4” washers
(24) 18mm Locknuts
Please Read and Understand All Instructions Before Beginning Installation
Installation should always be performed by qualified individuals only. Auto makers offer varied models for each vehicle and occasionally manufacture more than one body style of the same model. To assure your part is correct or for technical assistance please contact our customer service team. The manufacturer is in no way responsible for any personal injury or vehicle damage that may occur during the installation or use of this product. CAUTION: This product is designed primarily to enhance the appearance of this vehicle. Do not rely on it in any way to protect against injury or death in the event of an accident.
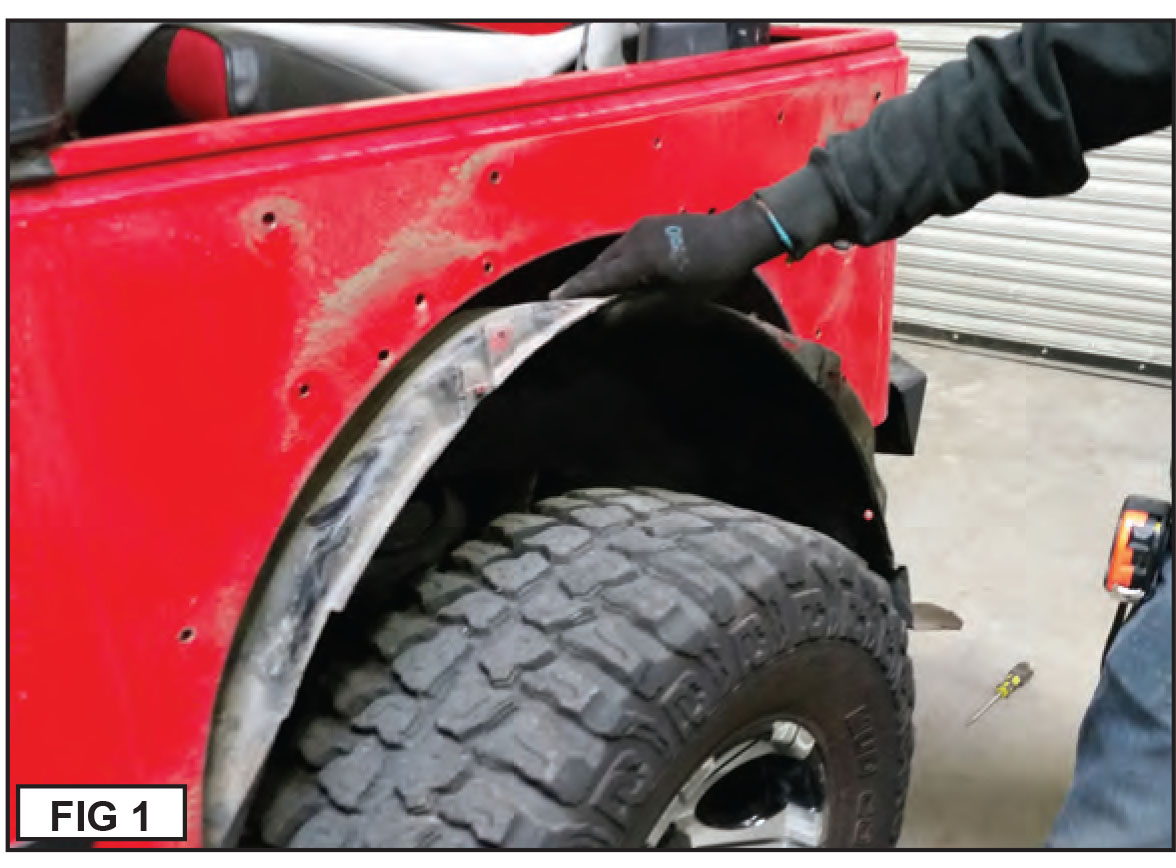
STEP 1
Remove the rear factory flares. Refer to dealer guide or if using aftermarket fender flares follow the manufacturers guide. Fig. 1
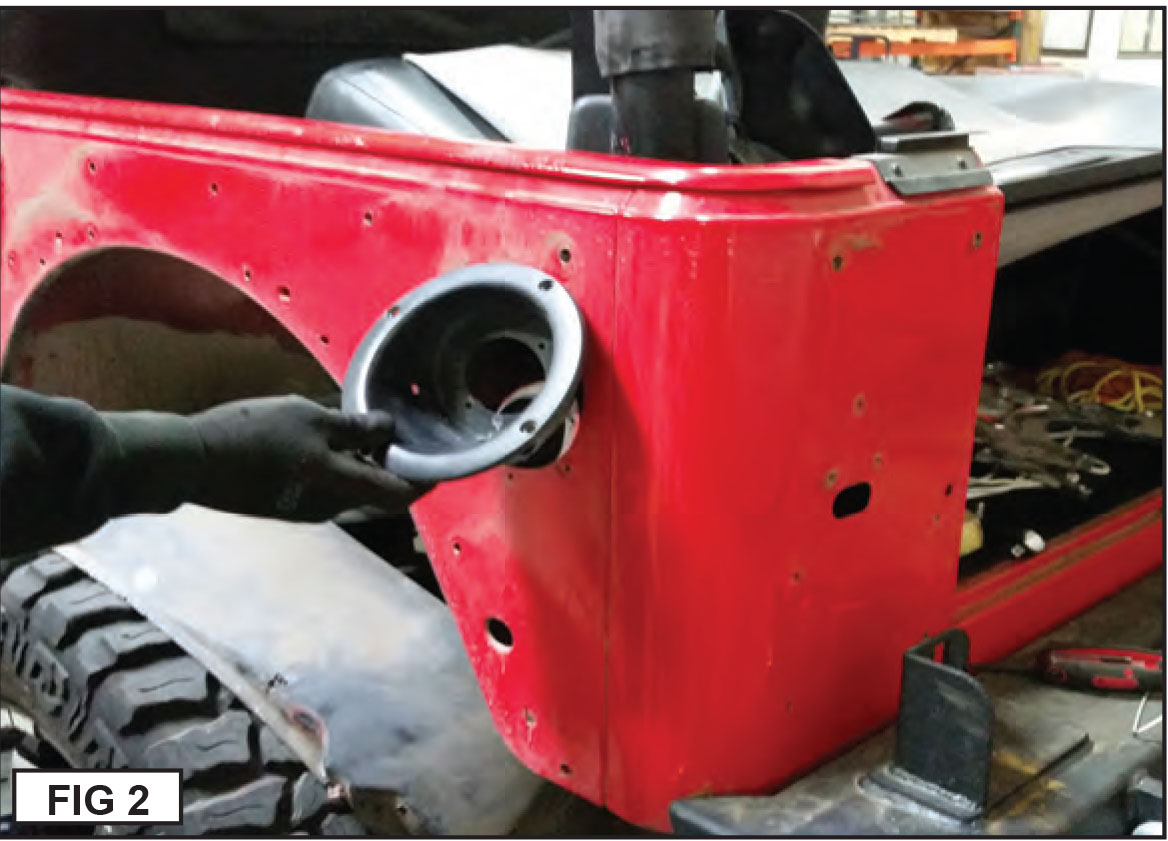
STEP 2
Remove factory fuel filler surround, taillights and license plate assembly. Fig. 2
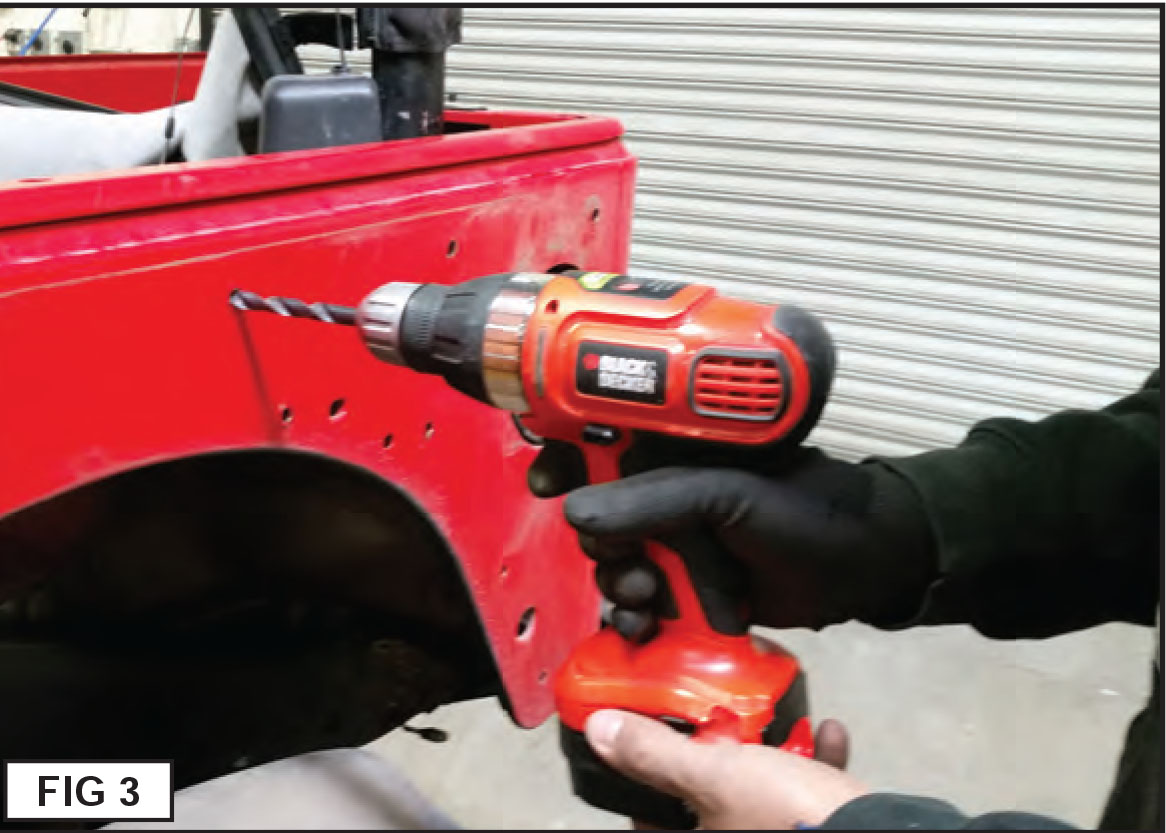
STEP 3
Temporarily lay the guards over the sheet metal, use the pre-drilled holes in a guard as a guide to mark the mounting holes. Using a 3/8" drill bit, drill the corresponding holes into the vehicle. Fig. 3
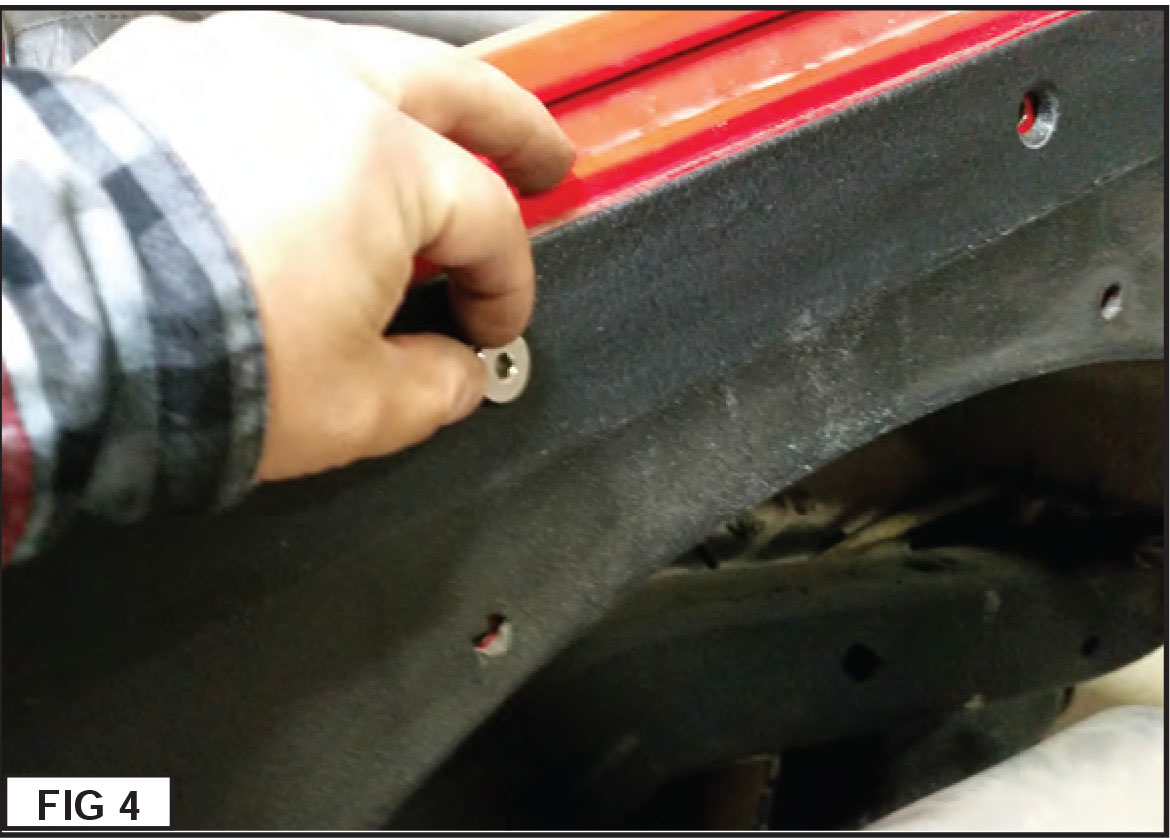
STEP 4
Attach the guards to the vehicle using the supplied Allen bolts, washers and locknuts. Fig. 4
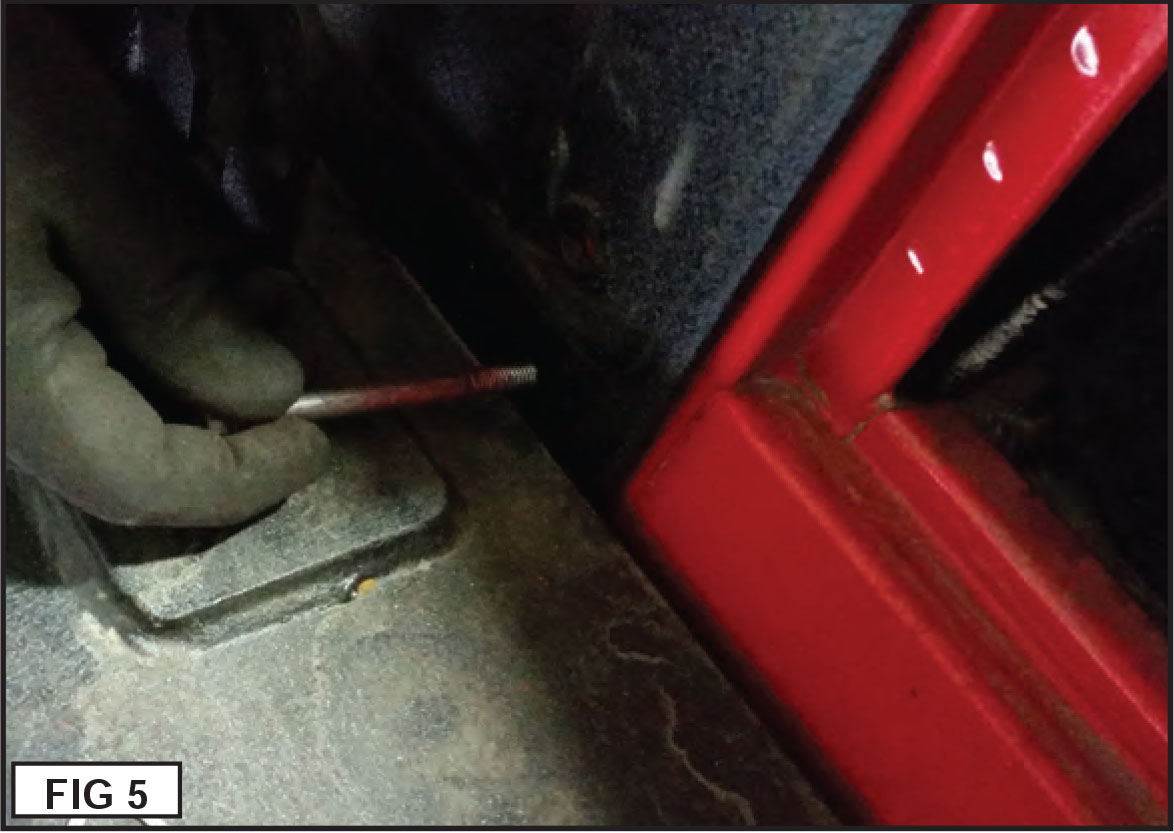
STEP 5
The longer bolt inserts into the lower left (drivers side guard) / lower right (passenger side guard). Fig. 5
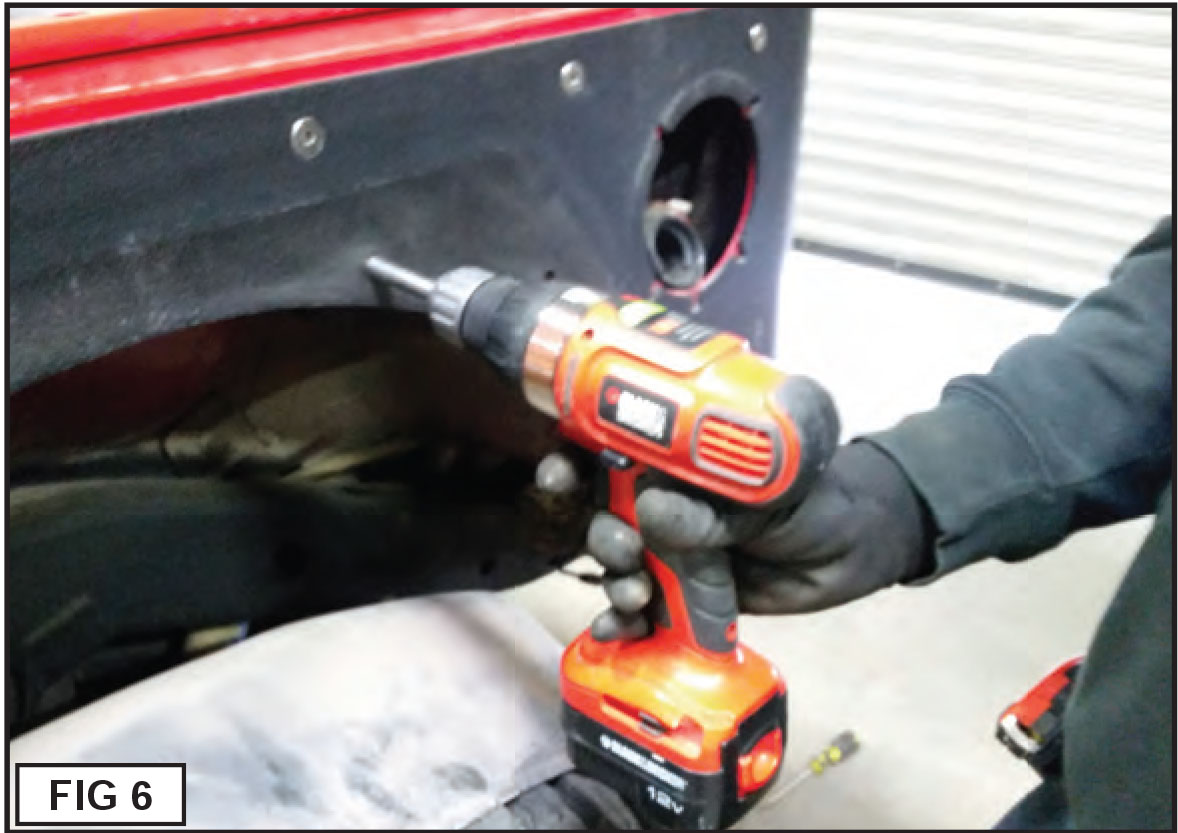
STEP 6
If you are installing fender flares, line up the fender flare to the guard and drill the respected bolts for installation. Fig. 6
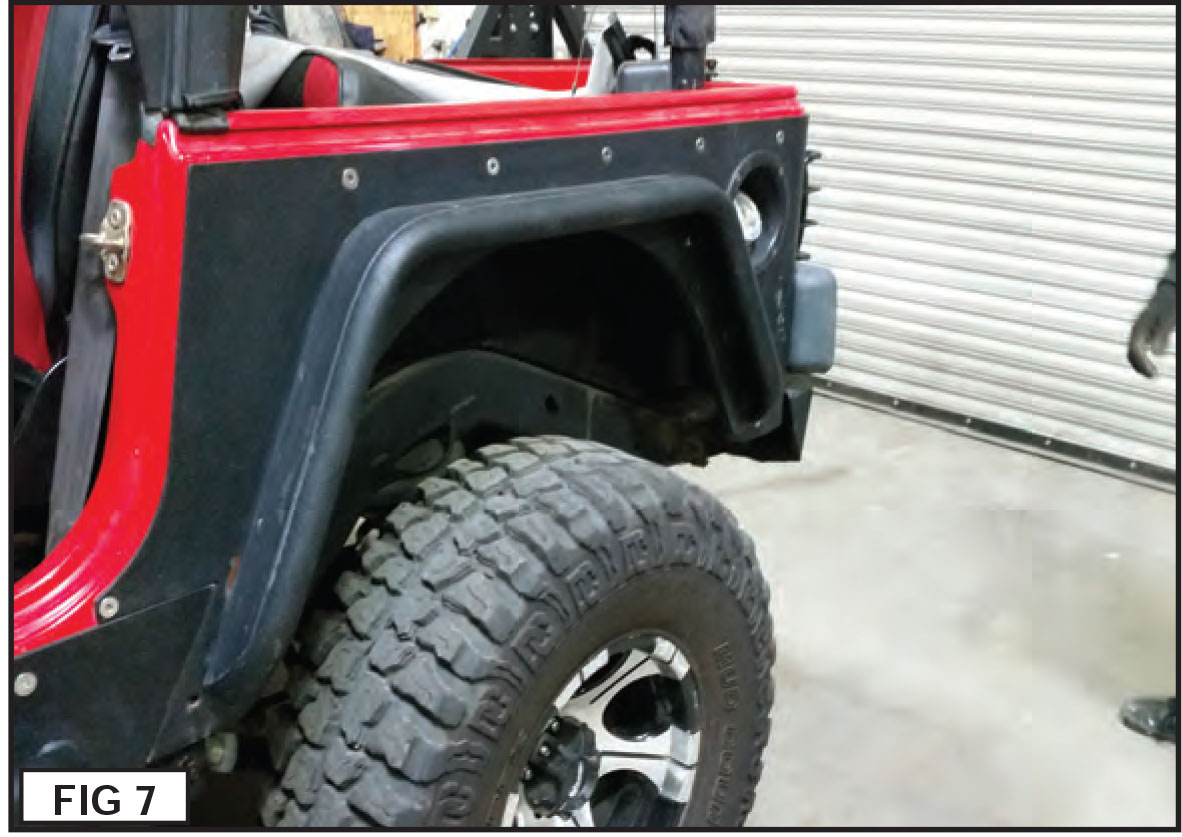
STEP 7
The installation is now complete. Reattach all components. Fig. 7