 FREE 1 to 3-Day Delivery on Orders $149+ Details

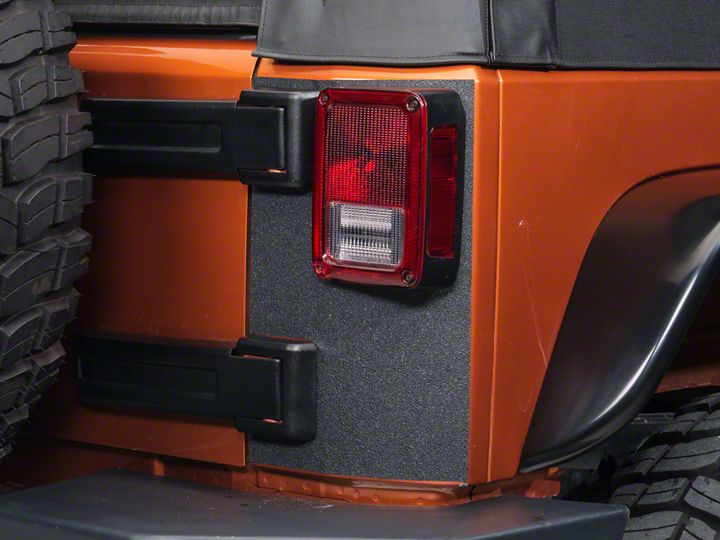
How to Install XT Graphics Rear Corner Decal - Real Tree on your 07-18 Jeep Wrangler JK; 2018 Jeep Wrangler JL
Installation Time
15 minutes
Tools Required
- X-acto knife
- Spray bottle with soap & water mixture
- Surface cleaner– such as Mequiars Deep Crystal System paint cleaner
Shop Parts in this Guide
Prep:
Clean car well to ensure good adhesion of the decal. Fill a spray bottle with a mixture of water and soap (we use baby shampoo), about 4 large drops per 32 oz. spray bottle of water. Be sure to install decal out of direct sunlight. Also having someone to assist you if you can is very help-ful. It may be necessary to separate multiple decals on one sheet by cutting with scissors.
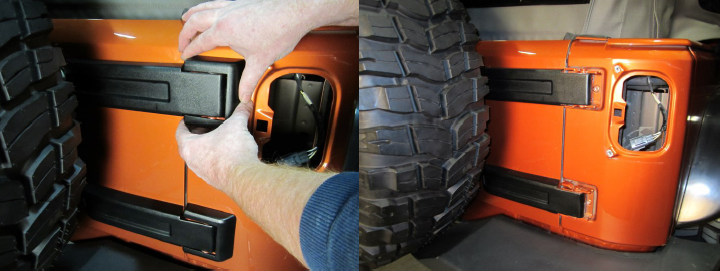
Step 1:
Remove rear tail light. On the TJ you will remove the lens to gain access to the mount-ing bolts. On the JK remove the 2 inner screw to remove the whole taillight. Disconnect wiring harness connector on both models. Remove the license plate mounting bracket. On the JK remove the Hinge cover trim. Do this by gripping the trim on top and bottom near the hinge pin. Gently pull it out and away from the hinge.
Step 2:
Once all hardware has been removed, Peel backing from material exposing the adhe-sive. Also spray back of decal as your peeling the backing paper off. spray the vehicle with the shampoo solu-tion. Place decal on the car. You will be able to maneuver the decal into position because of the soap and water solution you sprayed on earlier. On the JK align the material starting with the upper taillight mounting clip. The material should just touch this bracket. On the TJ use the tail-light mounting holes and wiring harness opening.
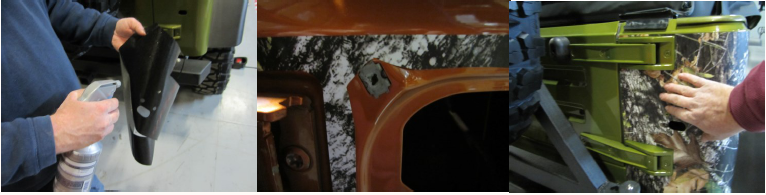
Step 3:
Maneuver the rest of the material to fit . On the JK you should start at the center and word down then in towards the hinges. If any thing misaligns peel back and read-just. On the TJ start at the center where the light mount is and work to the left then right. Then up and down. Again if it is not aligned peel back and readjust.
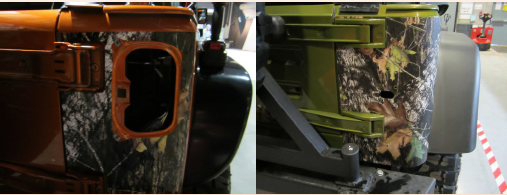
Step 4:
After installing you may use a hair dryer to dry the material . Re install the lights and license plate bracket. Be sure to allow to dry before use
On some products it may be necessary to trim to fit the decal using an X-acto knife.
On some products with complex surface curves you may use a hair dryer cautiously to help conform the decal Do not over heat it will shrivel or wrinkle.
Leave several hours, depending on climate, of dry time before cleaning car. Use a quick detailer in a spray bottle for the initial clean-ing then hand wash car waiting at least several days for the first time after drying. Do not power wash vinyl or wax vinyl.
Leave several hours, depending on climate, of dry time before cleaning car. Use a quick detailer in a spray bottle for the initial clean-ing then hand wash car waiting at least several days for the first time after drying. Do not power wash vinyl or wax vinyl.
