FREE 1 to 3-Day Delivery on Orders $149+ Details

How to Install Addictive Desert Designs Universal Light Mount Kit on your 87-18 Jeep Wrangler YJ, TJ, JK & JL

Shop Parts in this Guide
PREPARATION
1. Disconnect the negative terminal on the battery. Park the vehicle on level ground and set the emergency brake.
2. We recommend reading through the installation instructions in whole before performing the work.
3. You will need the following tools:
a. 9/16” Socket or Wrench
b. Ratchet
Note: this installation requires 2 people for best results
4. Included in Kit:
4 – Carriage Bolts – 3/8”-16 x 1”
4 – Flat Washers – 3/8”
4 – Nylon Locking Nuts – 3/8”-16
6 – Sets of Light Mounts
INSTALLATION
1. This installation guide will not go over every set of mounting tabs or lights, but is meant to give a general idea as to how these tabs are to be mounted.
2. Choose the appropriate mounts for the light you have purchased (correct amount of mounting holes, faced the right direction, etc.).
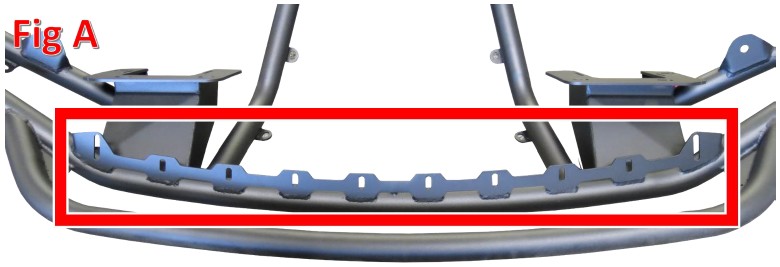
3. Choose the appropriate mounting locations for the light you have purchased. (Fig A)
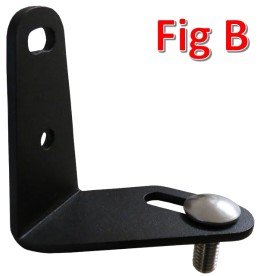
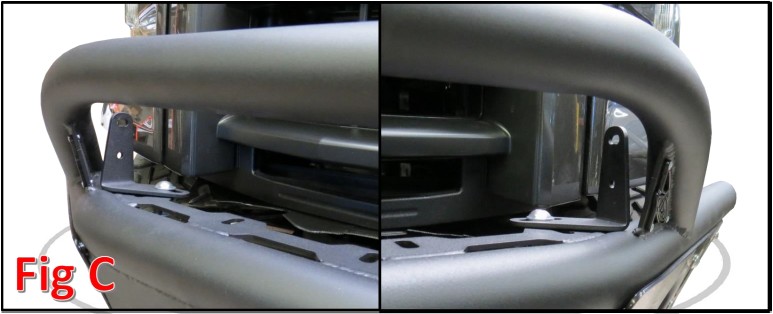
4. Use the supplied 3/8” Carriage Bolts (x2), 3/8” washers (x4), and 3/8” locking nuts (x2) to attach the mounting tabs to the bumper. Tighten the mounting tabs tight enough to where they take force to move, but not so tight that you cannot move the mounts by hand. (Fig C). We recommend using the carriage bolts with the rounded head facing upwards, as shown in Fig B.
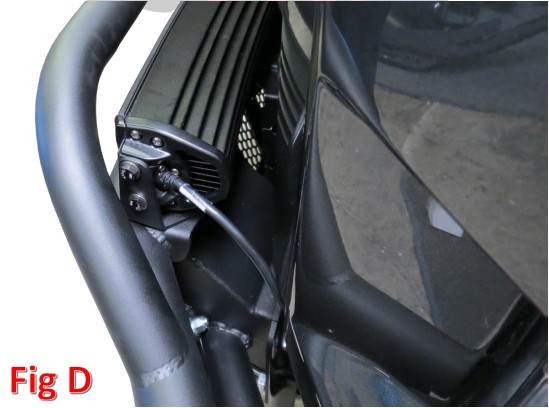
5. Set the light bar in place to check the position of the mounting tabs. Move the mounting tabs to their final position, then tighten the mounting nuts to 30 foot pounds. (Fig D)
6. Use the light manufacturer’s instructions to complete the light installation.
7. Stand back and enjoy your new lights.
8. Check and re-tighten if needed, all mounting bolts after 100 miles and periodically thereafter.