 FREE 1 to 3-Day Delivery on Orders $149+ Details

How to Install Vividline Interior LED Kit + License Bulb (07-18 Wrangler JK) on your Jeep Wrangler

Shop Parts in this Guide
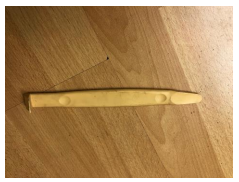
Tool Required
Interior Trim Panel Remover
Installation Instructions
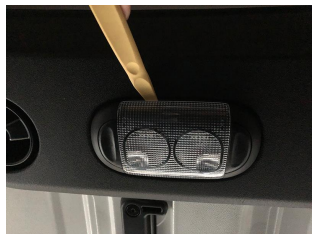
1. Start by carefully prying off the map light cover with a plastic trim remover.
2. Remove the (2) map bulbs. Wrapping the bulbs in tape will make the process easier.
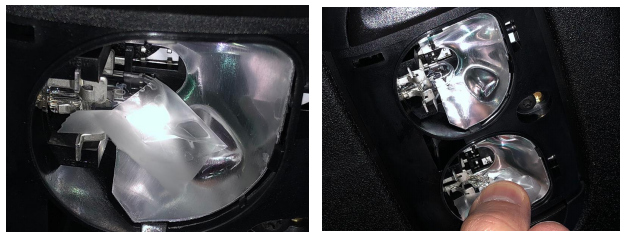
3. Insert the new LED map bulbs. The bulbs are polarity sensitive, so you might need to flip the orientation if they don’t turn on.
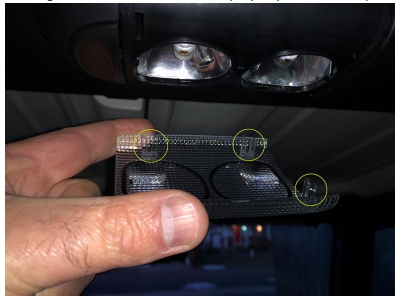
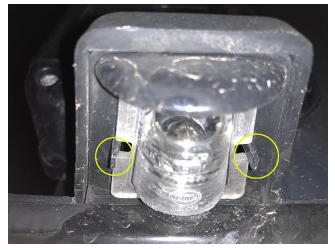
4. Once bulbs have been properly inserted, reattach the plastic cover. The cover has two horizontal tabs along the front and two vertical tabs along the back. Ensure the cover is properly oriented and press into place.
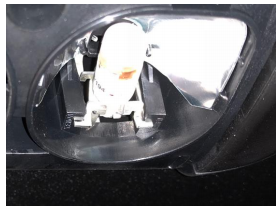
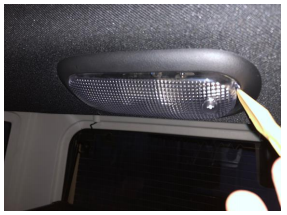
5. To begin the replacement of the rear cargo light, start by prying the cover off along the end of the light that pushes in. Insert the plastic trim tool and gently pry down.
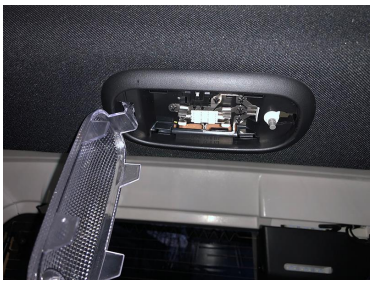
6. Pry factory bulb out with the help of the interior trim tool.
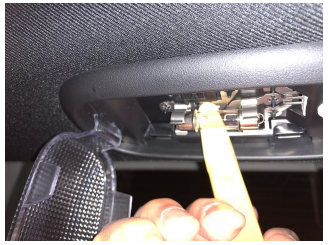
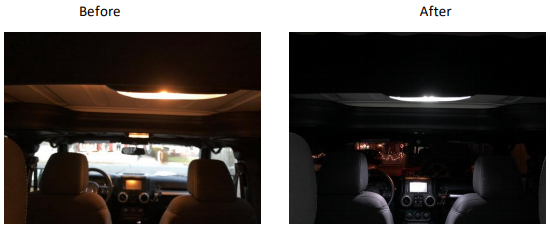
7. Insert the new LED bulb into place. Make note of the orientation of the LEDs and ensure they are angled down into the cabin. If the LED bulb is too loose, squeeze prongs and snap back into place. Once installed and tested, snap the cover back into place, completing the install of the interiorlights.
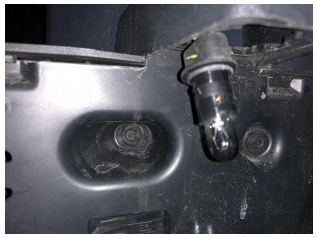
8. To replace the license plate bulb, start by pressing on the two outer tabs of the bulb housing.
9. Rotate the bulb connector to remove from the housing.

10. Remove the old bulb and replacing it with the new LED bulb. Finish the install by reinstalling all the parts. Its important to note that the LED bulb might be too long and not allow the bulb housing to fully seat, therefore not providing a watertight seal.
Installation Instructions Written by ExtremeTerrain Customer Louis Orellana 1/13/18
