FREE 1 to 3-Day Delivery on Orders $149+ Details

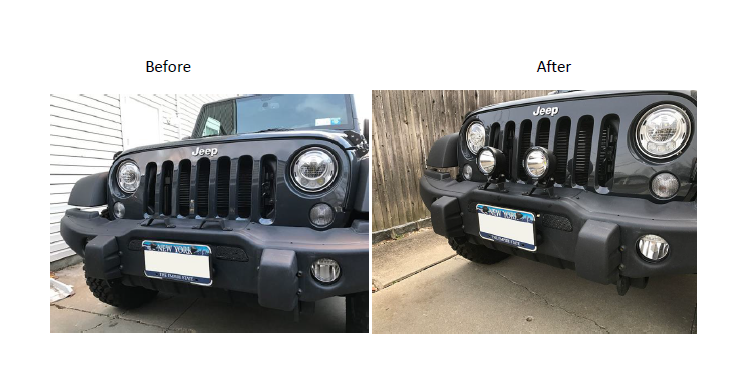
How to Install Vision X 4.5 in. LED Cannon - Pair - 1,000 Foot Range on your 87-18 Jeep Wrangler YJ, TJ, JK & JL
Installation Time
1 hours
Tools Required
- 3/8” Ratchet (optional)
- 13mm and 17mm wrenches
- 6mm allen head socket (optional)
- Provided allen key
Pre-installation notes: The installation of these lights will require a lighting mounting bracket. The location of the mounting bracket can vary greatly, dictating most of the installation process. This guide will be working off the light bracket provisions used on an AEV front bumper. In addition, the lighting kit comes equipped with a complete wiring harness for both lights. The harness includes relays and a switch. If you choose to wire the lights directly to an SPOD electrical system, you can cut the positive and negative leads to the relays and wire accordingly. The install guide will explain the routing for wiring from the engine bay through the firewall if you choose to use the provided switch.
Installation Instructions:
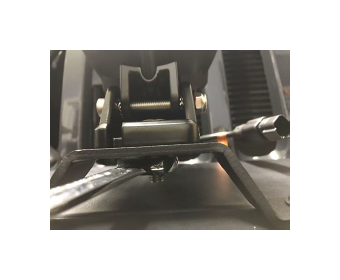
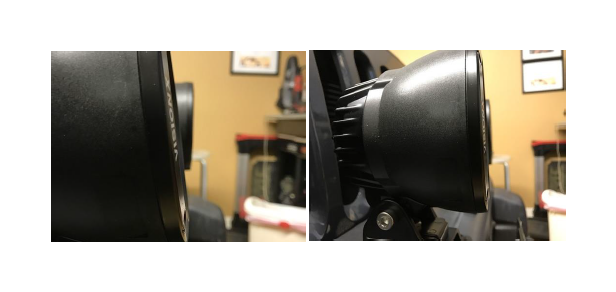
1. To make the installation easier, the provided light base has a self-clamping provision for the top portion of the mounting bolt. Position the light base onto your desired mounting bracket.
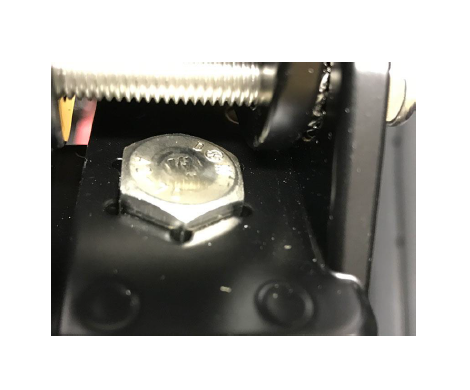
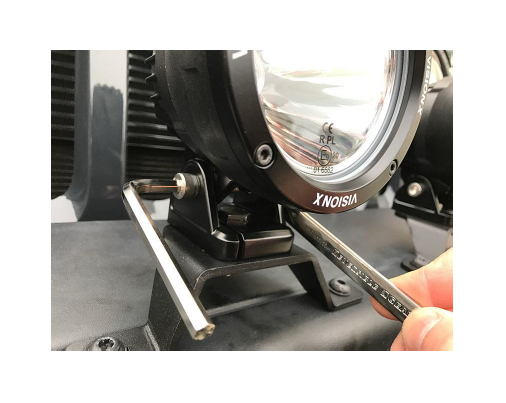
2. Once placed in the desired mounting bracket, install washer and nut provided with the kit. Loosely tighten into position with the 17mm wrench. You will also need to loosely tighten the top allen bolt with the provided allen key and 13mm wrench, alternating both as it compresses the self-clamping provision.
3. Temporarily adjust the angle and position of the lights to ensure they are parallel with each other. Looking at the lights from the side will help with the initial alignment.
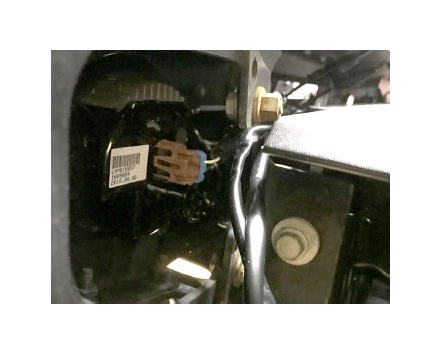
4. Connect the provided wiring harness, ensuring that the ends snap and lock into position, for a watertight fit.
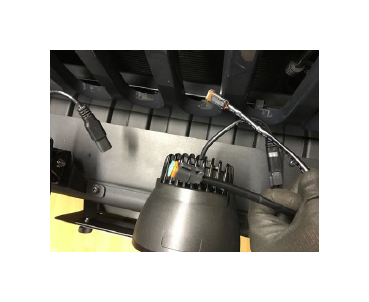
5. Route the wire harness through the bumper and into the engine bay. Due to the variety of bumper options, this step can vary greatly. Try to route the wiring towards the driver’s side and back towards the fire wall. If you choose to power the lights through an SPOD power source, cut the harness at the relay point and wire the power source accordingly. If you choose to maintain the wiring, route the relayed power ends to the battery and the switch towards the firewall.
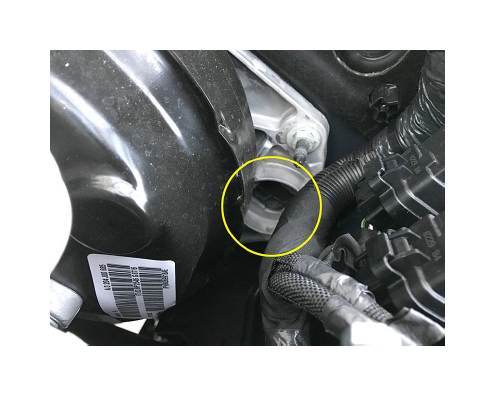
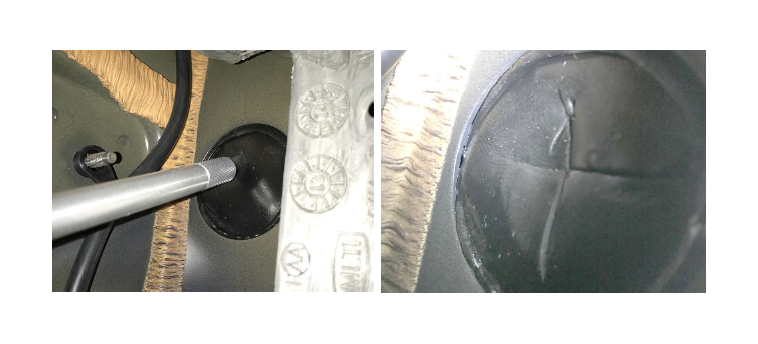
6. Once the wiring has been routed and secured, locate the firewall entry point by the brake booster (highlighted).
7. From inside the jeep, by the pedals on the driver’s side, look to find the back end of the fire wall location, you’ll need to make an X-incision with a blade to feed the wiring through.
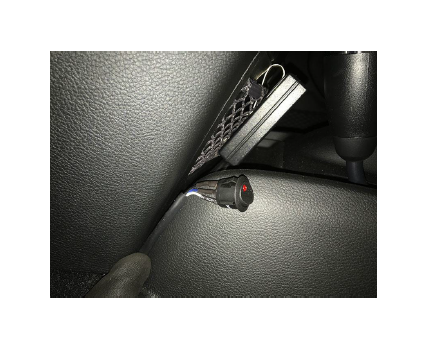
8. Feed the wiring through the new opening and safely route/secure along the inner dash, ensuring that the wires do not come in contact with the pedals. Route the switch to the desire mounting location to finalize the install.
9. Once fully wired and operational. Find a flat area with a wall for final adjustment. Use the provided allen key and 13mm wrench to tilt the lights for vertical adjustment and the 17mm wrench to adjust the horizontal plane.