 FREE 1 to 3-Day Delivery on Orders $149+ Details

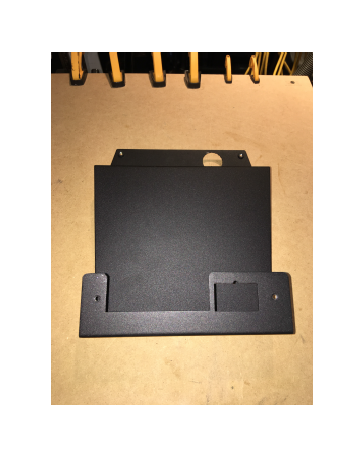
Tuffy Security Full Console, Deluxe (11-17 Wrangler JK)
Installation Time
1 hours
Tools Required
- 18mm socket
- 18mm ratchet
- T-30 torx bit
- Flat and phillips screw drivers
- 3/8 socket
- 11/32” socket
- 3/32” socket
- Plastic trim tool

Shop Parts in this Guide
Parts list included
1. Park vehicle, turn off engine and engage the parking brake
2. Be sure to wear safety glasses for the entire install as loose debris and dirt on
the underside of the vehicle can dislodge and fall into your eyes
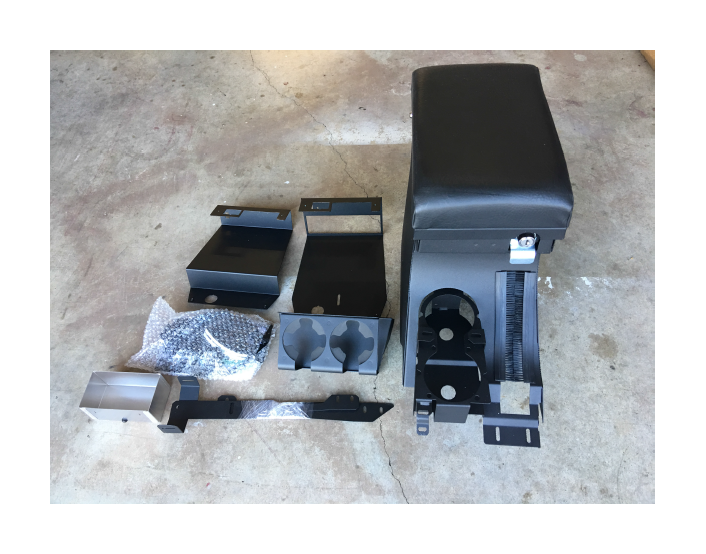
3. Lay out all parts from shipping box and organize what you need.
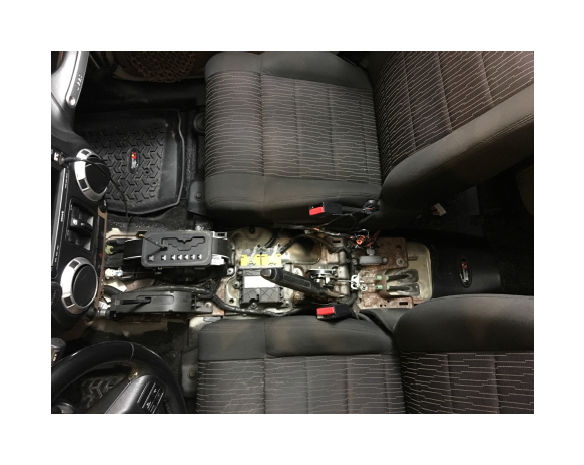
4. Let’s begin this install by removing your factory console and electric accessory
plugs, if included. Once that’s finished, we can move on to the next step.
5. Let’s begin assembling the console, based on your Jeep configuration. My
Jeep has a dash-mounted stereo, so we will use the divider bracket and leave
the electronics mounting bracket in the box.
This is what the divider bracket looks like.
6. I don’t have a USB port in my console currently, so I used the #14.5 plate
cover found on your #14 break apart cover plates assembly, and covered the
USB port hole in my divider bracket.
This is the divider and notice how there is a rectangular hole in the top left portion. That’s the USB port hole that we are going to cover up with the plate cover.
This is what it looks like when you mount the plate cover. You will be using the 2 allen head screws along with the 2 nylock nuts for this step.
7. If your Jeep has an auxiliary 115 volt power plug in the console, now is the time to mount the plate and plug into the console before mounting the divider plate. Assembling in this order will free up some interior room to work.
This is the plate that will mount on the frontfacing, top portion of the console. The plate is the #14.2 front insert plate with 115v power. You will be using the same phillips head screws for this step along with the hex washer nuts.

This is what it looks like with the 115 volt plug installed.
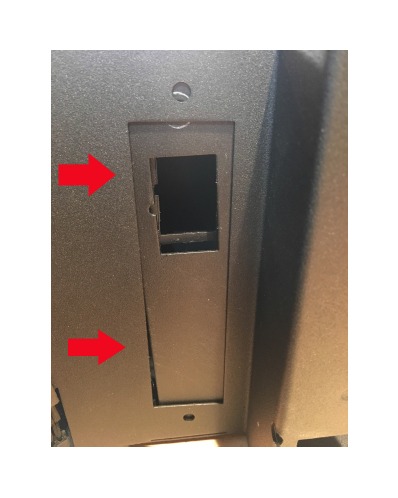
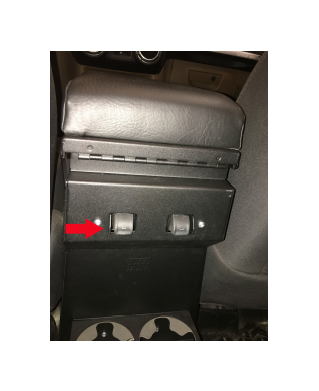
7. My Jeep has rear electric window controls that were originally on the back of my factory console. If you have the same controls, now is the time to mount them in the new console. You will be using the #13 rear window switch cover.

This is what the rear window switch cover looks like.
What I did, is I mounted the switch in the rear window switch cover and left it out
of the console until I mounted the console.
You’re going to need to run the window controls, ac port controls and 115 volt electrical plug controls through the bottom of the console before mounting the console to the frame. When you do this, you have to route the rear window control wire through the bottom, rear section of the console before plugging the wire harness into the rear window controls. This would be a nightmare if the console was already mounted! So, just mount/place the window controls in and wait to mount it until you run the wires and plug in the harness.
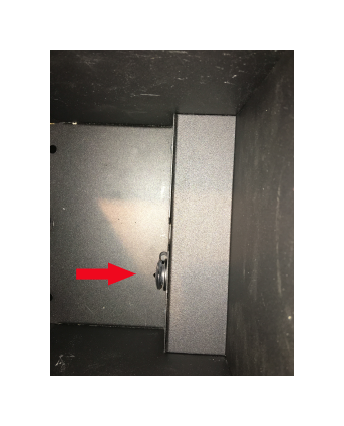
8. The last step before mounting the Tuffy console, is to mount the 12 volt power port if your Jeep comes equipped with one in the factory console.

This is the mounting location in the divider plate. You simply slide the 12 volt power module inside and it snaps in place.
This is what it should look like when you’re finished mounting it inside the console using the included phillips and hex washer nut hardware.
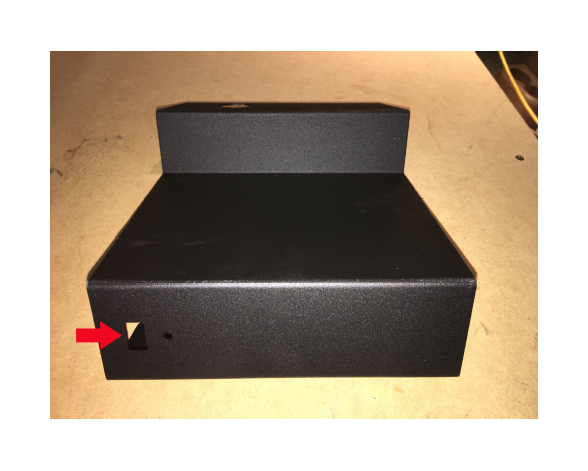
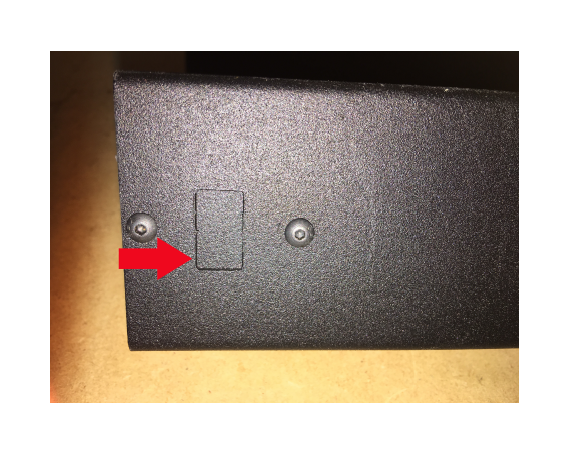
9. Time to attach the mounting brackets to the console before mounting.
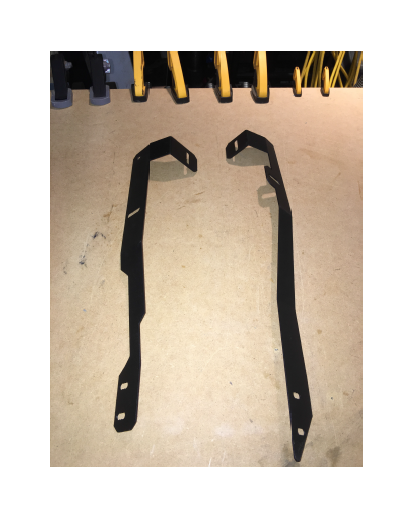
These are what the brackets look like. The #9 bracket is for the passenger side and it’s the shorter bracket. The #10 is for the driver side and it’s the longer bracket. You will secure these with the phillips hardware and hex washer nuts.
You will use 2 screws and washers per side. I wouldn't tighten them completely until you mount the console and wiggle them in place. Then tighten them all the way.

This is what the console looks like with the mounting brackets attached and ready for installation.
10. FINALLY, it’s time to mount the console!!! For this step, there are 2 crucial points to remember before installing the fortress of a console. The first thing is to make sure the driver and passenger seat belts, female ends mounted to the frame, are in the upright position. Do whatever is necessary to keep them upright. Use tape, paracord, etc. If they fall down and the console rests on top of them, good luck buddy.
The second thing to remember is to fish the wiring harness underneath the console and fish the rear window control portion of the harness up through the console, via the rear of the console.
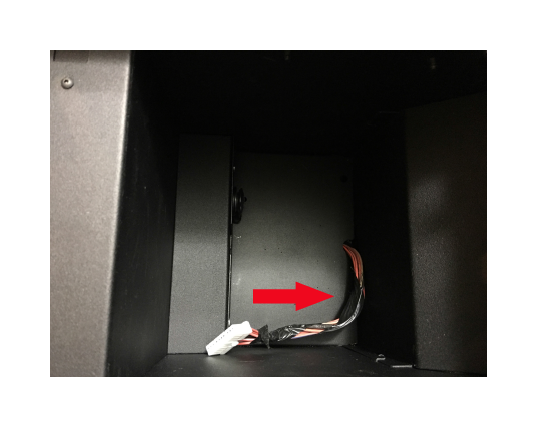
This is what it looks like when you fish the wires through the bottom, rear and up to the rear window control mount.
11. OK, once the console is resting in place and you have run all the wires to the appropriate receptacles, connect the wires to the correct plugs in any order you see fit.
12. Connect the rear window wiring harness to the rear window controls and then mount the rear window switch cover. You may want to test it before mounting at this point.
This is what it looks like when the rear window switch mount is mounted in the rear of the console using the supplied phillips and hex washer nuts.
13. The next step is to mount the cup holder on the rear of the console. Complete this step BEFORE mounting the console. It will give you much needed clearance to work with.
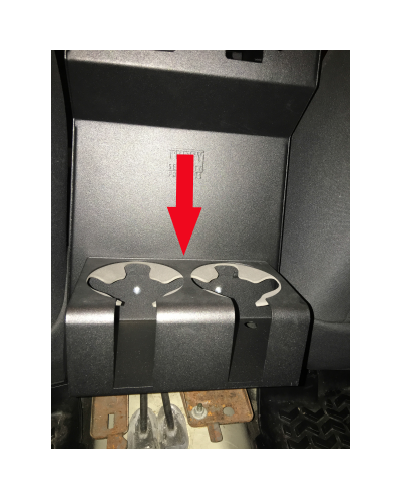
This is what it looks like when you mount the cup holder in place. It’s amazing :)
14. Ok, time to secure the console to the Jeep frame. You will be using the factory nuts that you removed from the old console for this step. There are two per side of the console.
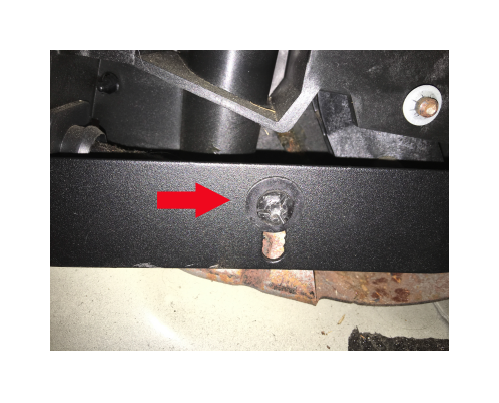
This is what the front bolt location looks like. Be sure and slide each front seat backward to access the front bolts.
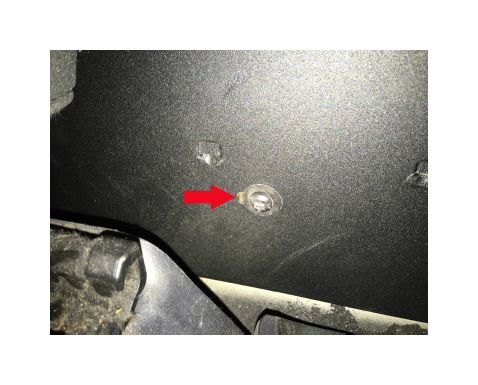
This is what the rear bolt location looks like. Be sure and slide each front seat forward to access the bolts.
15. Now it’s time to make sure all your bolts are snug and not over tightened. Let’s slip the front plastic cover over the gear shifter and 4-wheel drive shifter.
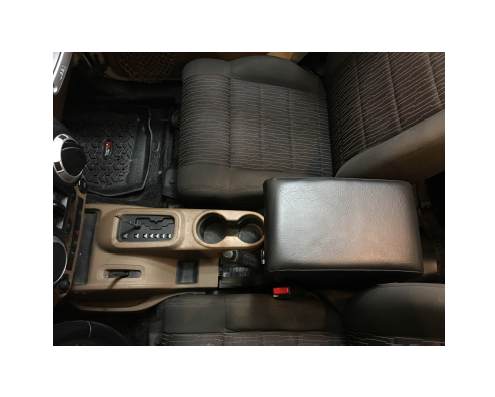
This is what it should look like.
16. Now, just pop your 4-wheel drive and shifter knobs on to their posts and you’re all set!
This is an excellent addition to any Jeep with it’s added security and peace of mind.
For added security, you will want to order the Tuffy Security Box found here : http://www.extremeterrain.com/tuffy-security-glovebox-black-jk-14901.html for the total, secure Jeep experience.
Enjoy!
