
How to Install Tuff Country 2 in. Suspension Lift Kit w/ Shocks (07-17 Wrangler JK) on your Jeep Wrangler
Installation Time
4 hours
Tools Required
- Torque wrench
- Standard socket set
- Standard wrench set
- Metric socket set
- Metric wrench set
- Tape measure
- Hydraulic floor jacks
Parts list:
Part # Description Qty.
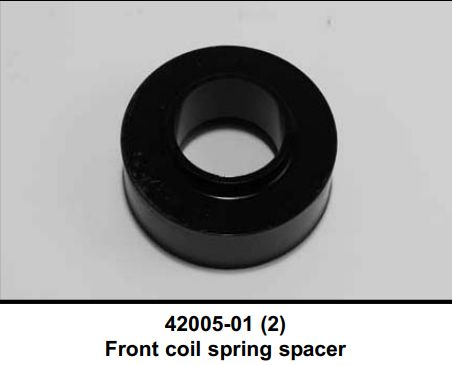
42005-01 Front coil spring spacers 2
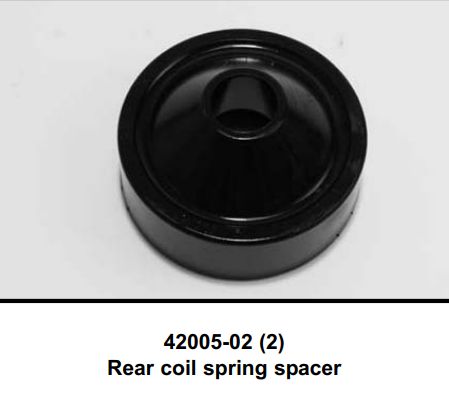
42005-02 Rear coil spring spacers 2
42005INST Instruction manual (customer) 1
42005INST Instruction manual (installer) 1
MIRRORHANGER Rear view mirror hanger 1
WARNINGDECAL Warning decal 1
Front end installation:
1. To begin installation, block the rear tires of the vehicle so that the vehicle is stable and can’t roll backwards. Safely lift the front of the vehicle and support the frame with a pair of jack stands. Place a jack stand on both the driver and the passenger side. Next, remove the front wheels and tires from both sides.
2. Working on the driver side, place a hydraulic floor jack under the front differential. Repeat procedure on the passenger side. Carefully raise up on both hydraulic floor jacks until they come into contact with the front differential.
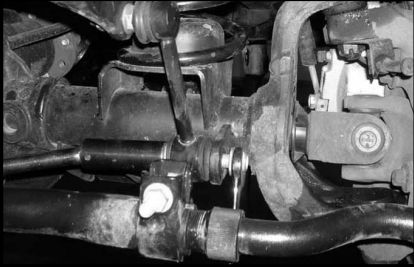
3. Working on the driver side, remove the lower mounting hardware that connects the stock sway bar end link to the stock lower bracket that is attached to the front axle. Save the stock hardware for later re-installation. Repeat procedure on the passenger side. Let the stock sway bar hang.
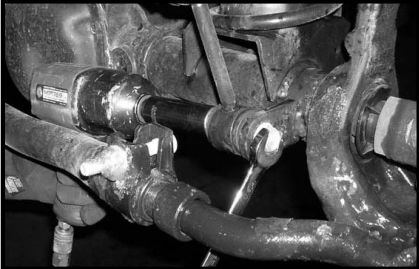
4. Working on the driver side, remove the stock mounting hardware that connects the stock shock into the stock lower mount. Save the stock hardware for later re-installation. Repeat procedure on the passenger side. Special note: There is no need to remove the shock completely from the vehicle. Keep the stock shock mounted to the stock upper mounting location.
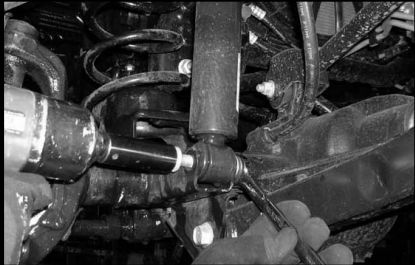
5. Carefully lower down on both hydraulic floor jacks until the front coil springs can be removed. Working on the driver side, remove the stock coil spring. Set aside for later reinstallation. Repeat procedure on the passenger side. Special note: Make sure to keep the driver and passenger side coil springs separate from each other. We need to make sure that the driver side coil spring gets installed back into the vehicle on the driver side and the same with the passenger side.
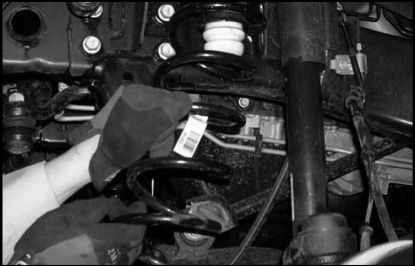
6. Locate the new front coil spring spacers. Working on the driver side, install the new coil spring spacer over the stock bump stop cup. Repeat procedure on the passenger side.
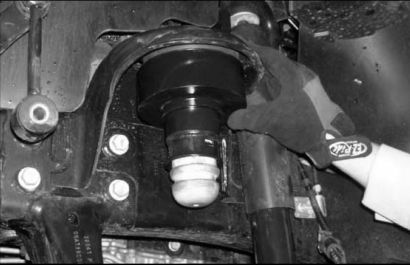
7. Locate the stock driver and passenger side coil springs that were removed in step # 4. Working on the driver side, install the driver side coil spring into the stock location.
Repeat procedure on the passenger side. Carefully raise up on both hydraulic floor jacks until the stock coil springs seat properly into the upper and lower locations.
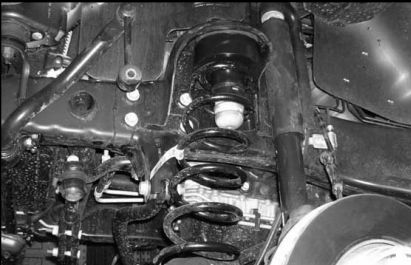
8. Locate the stock lower shock mounting hardware. Working on the driver side, install the stock shock into the stock lower mounting location and secure using the stock
hardware. Make sure to use thread locker or locktite and torque to 65 ft lbs. Repeat procedure on the passenger side.
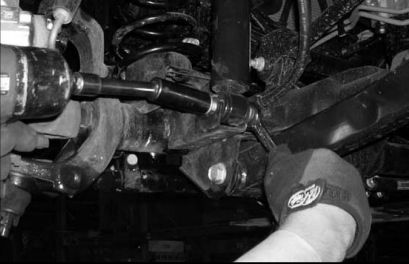
9. Locate the stock front end link mounting hardware. Working on the driver side, install the stock front sway bar end link into the stock lower mounting location and secure using the stock hardware. Make sure to use thread locker or loctite and torque to 45 ft lbs. Repeat procedure on the passenger side.
10. Carefully remove both hydraulic floor jacks from under the vehicle.
11. Check and double check to make sure that all steps for the front end were performed properly and then check again.
12. Install the tires and wheels and carefully lower the vehicle to the ground.
Congratulations, front end installation complete!
Rear end installation:
13. To begin installation, block the front tires of the vehicle so that the vehicle is stable and can’t roll forward. Safely lift the rear of the vehicle and support the frame with a pair of jack stands. Place a jack stand on both the driver and the passenger side. Next, remove the rear wheels and tires from both sides.
14. Working on the driver side, place a hydraulic floor jack under the rear axle. Repeat procedure on the passenger side. Carefully raise up on both hydraulic floor jacks until
they come into contact with the rear axle.
15. Working on the driver side, remove the stock mounting hardware that connects the stock shock into the stock lower mount. Save the stock hardware for later re-installation. Repeat procedure on the passenger side. Special note: There is no need to remove the shock completely from the vehicle. Keep the stock shock mounted to the stock upper mounting location.
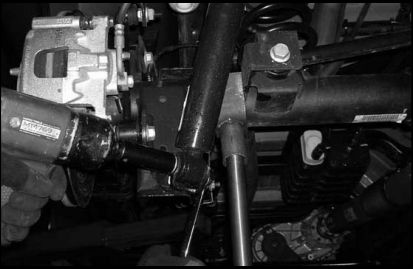
16. Working on the driver side, remove the lower mounting hardware that connects the stock sway bar end link to the stock lower bracket that is attached to the rear axle. Save the stock hardware for later re-installation. Repeat procedure on the passenger side. Let the stock sway bar hang.
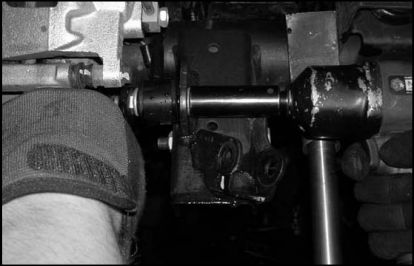
17. Working on the driver side, remove the stock bolt holding the stock brake line bracket to the side of the stock frame rail. Save the stock bolt for later re-installation.
Repeat procedure on the passenger side
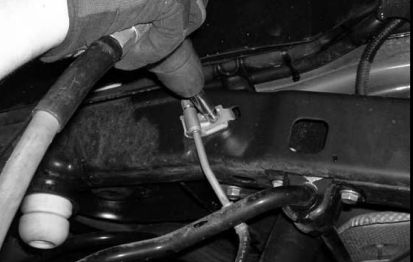
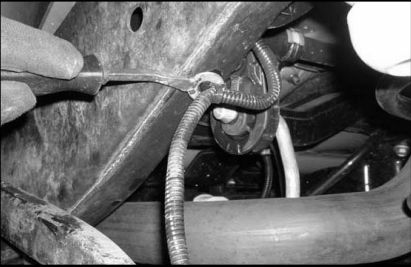
18. Working on the driver side, carefully remove the stock ABS line clip from the bottom side of the stock frame rail. Special note: Take special care not to damage the ABS line clip during removal. This will need to be reinstalled back into the same hole at a later step. Repeat procedure on the passenger side.
Special note: If the vehicle that you are working on is a soft top, please follow step # 19 - 24.
Special note: If the vehicle that you are working on is a hard top, please skip to step # 25.
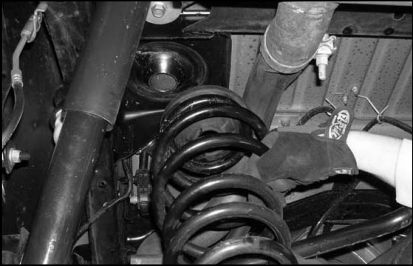
19. Carefully lower down on both hydraulic floor jacks until the rear coil springs can be removed. Working on the driver side, remove the stock coil spring. Set the stock coil
spring aside for later re-installation. The stock upper isolator can be removed and discarded. Repeat procedure on the passenger side. Special note: Make sure to keep the driver and passenger side coil springs separate from each other. We need to make sure that the driver side coil spring gets installed back into the vehicle on the driver side and the same with the passenger side.
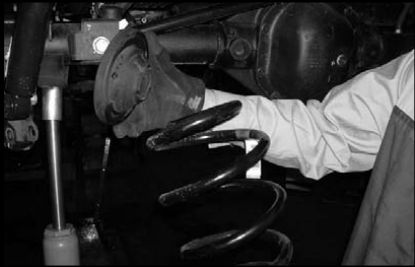
20. Locate the new rear coil spring spacers. Also, locate the stock driver and passenger side coil springs. Working on the driver side coil spring, place the new rear coil spring spacer on top of the stock coil spring and install the stock coil spring and new rear coil spring spacer back into the stock location. Repeat procedure on the passenger side. Carefully raise up on both hydraulic floor jacks until the stock coil springs and spacer seat properly into the upper and lower locations.
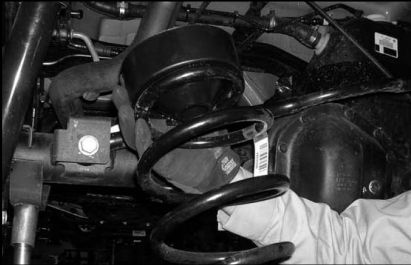
21. Working on the driver side, carefully push the stock ABS clip back into the bottom side of the stock frame rail. Repeat procedure on the passenger side. Special note:
Take care not to damage the stock ABS clip during installation.
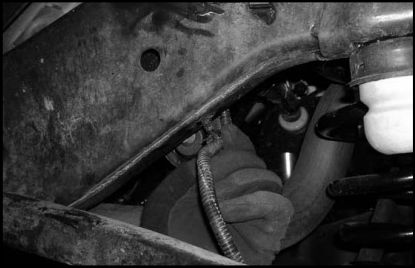
22. Locate the stock brake line hardware. Working on the driver side, re-install the stock brake line bracket to the side of the stock frame rail using the stock hardware. Repeat procedure on the passenger side.
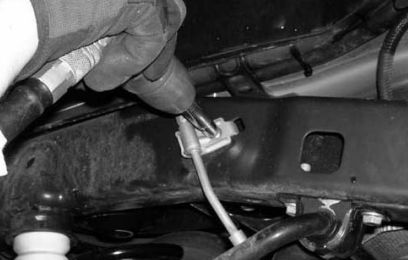
23. Locate the stock lower shock mounting hardware. Working on the driver side, install the stock shock into the stock lower mounting location and secure using the stock hardware. Make sure to use thread locker or loctite and torque to 65 ft lbs. Repeat procedure on the passenger side.
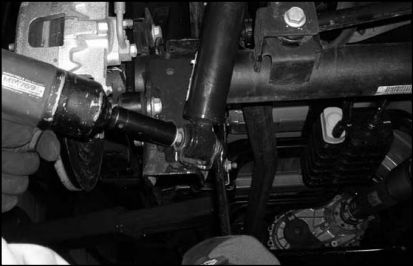
24. Locate the stock end link mounting hardware. Working on the driver side, install the stock rear sway bar end link into the stock lower mounting location and secure using the stock hardware. Make sure to use thread locker or loctite and torque to 45 ft lbs. Repeat procedure on the passenger side
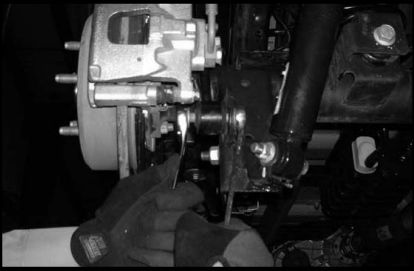
Special note: If the vehicle that you are working on is a soft top, please skip to step # 31.
25. Carefully lower down on both hydraulic floor jacks until the rear coil springs can be removed. Working on the driver side, remove the stock coil spring. Set the stock coil spring and the stock isolator aside for later re-installation. Repeat procedure on the passenger side. Special note: Make sure to keep the driver and passenger side coil springs separate from each other. We need to make sure that the driver side coil spring gets installed back into the vehicle on the driver side and the same with the passenger side.
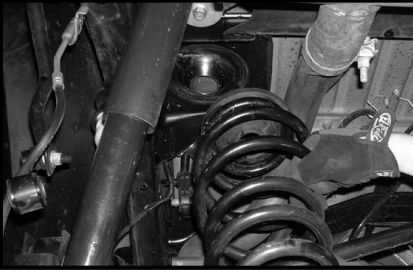
26. Locate the new rear coil spring spacers. Also, locate the stock driver and passenger side coil spring and the stock driver and passenger isolator. Working on the driver side coil spring, place the new rear coil spring spacer on top of the stock coil spring. Now install the stock isolator on top of the new rear coil spring spacer and install the stock coil spring, new rear coil spring spacer and stock isolators back into the stock location. Repeat procedure on the passenger side. Carefully raise up on both hydraulic floor jacks until the stock coil springs and spacer seat properly into the upper and lower locations.
27. Working on the driver side, carefully push the stock ABS clip back into the bottom side of the stock frame rail. Repeat procedure on the passenger side. Special note: Take care not to damage the stock ABS clip during installation.
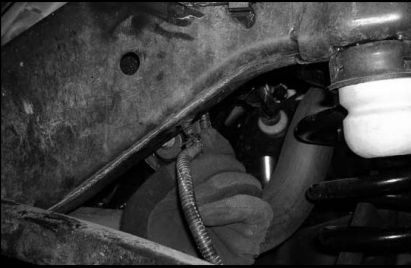
28. Locate the stock brake line hardware. Working on the driver side, re-install the stock brake line bracket to the side of the stock frame rail using the stock hardware. Repeat procedure on the passenger side.
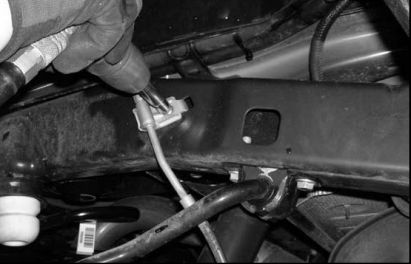
29. Locate the stock lower shock mounting hardware. Working on the driver side, install the stock shock into the stock lower mounting location and secure using the stock hardware. Make sure to use thread locker or loctite and torque to 65 ft lbs. Repeat procedure on the passenger side.
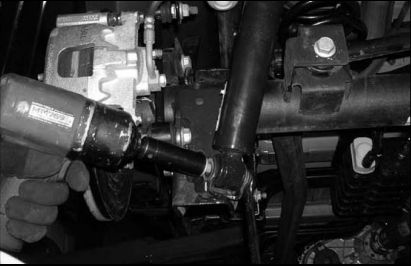
30. Locate the stock end link mounting hardware. Working on the driver side, install the stock rear sway bar end link into the stock lower mounting location and secure using the stock hardware. Make sure to use thread locker or loctite and torque to 45 ft lbs. Repeat procedure on the passenger side.
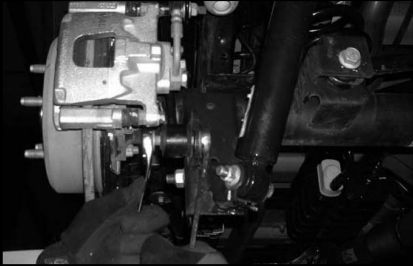
31. Carefully remove both hydraulic floor jacks from under the vehicle.
32. Check and double check to make sure that all steps for the rear end were performed properly and then check again.
33. Install the tires and wheels and carefully lower the vehicle to the ground.
Congratulations, rear end installation complete!
Special note: After the completion of the installation, Tuff Country EZ-Ride Suspension recommends taking the vehicle to an alignment shop and having a proper front end alignment performed.
Tuff Country EZ-Ride Suspension recommends that a complete re-torque is done on all bolts associated with this suspension system. It is the customers responsibility to make sure that a re-torque is performed on all hardware associated with this suspension system after the first 100 miles of installation. It is also the customers responsibility to do a complete re-torque after every 3000 miles or after every off road use. Neglect of following these steps could cause brackets to come loose and cause serious damage to the suspension system and to the vehicle.
Tuff Country EZ-Ride Suspension packages (2) sets of instruction sheets with this box kit. (1) is for the installer and (1) is for the customer. The (1) for the customer has some post installation procedure literature and it is the installers responsibility to make sure that the customer receives a copy of the installation manual along with the literature.
If you have any questions or concerns, please feel free to contact Tuff Country or your local Tuff Country dealer.
