 FREE 1 to 3-Day Delivery on Orders $149+ Details

How to Install Teraflex HD Aluminum Hinged Tire Carrier (07-18 Jeep Wrangler JK) on your Jeep Wrangler
Installation Time
60 minutes
Tools Required
- Box Cutter/Knife
- Trim Removal Tool
- Lug Wrench
- 12mm Socket
- 13mm Socket
- Socket Wrench
- T20 Torx Driver
- Torque Wrench

Shop Parts in this Guide
Installation Instructions:
1. Remove the spare tire using a lug wrench (Figure A).
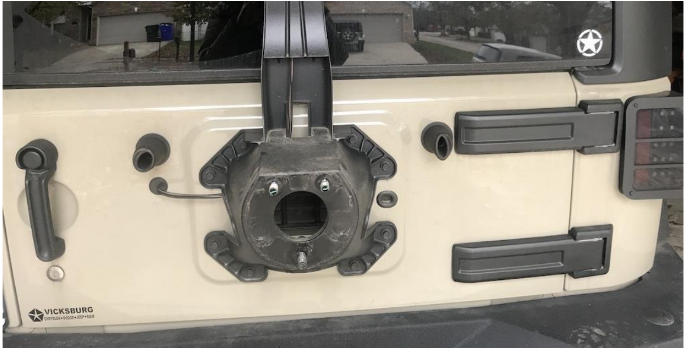
Figure A
2. Locate the tailgate hinge on the vehicle body and remove the plastic trim piece using a trim removal tool (Figure B).
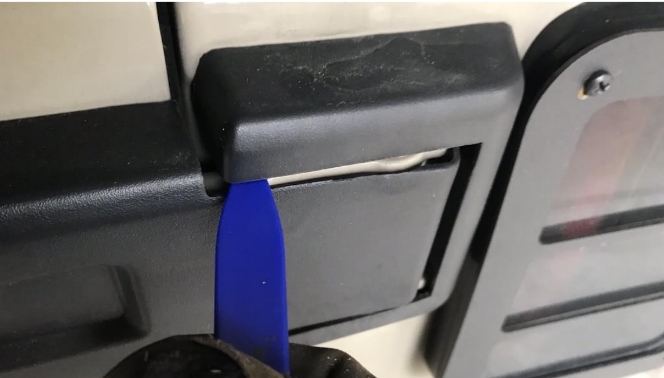
Figure B
3. Locate the tailgate hinge on the tailgate and remove the plastic trim piece using a trim removal tool (Figure C).
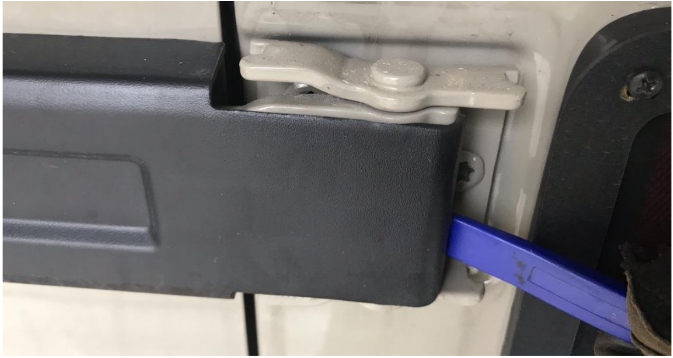
Figure C
4. Remove the four bolts holding the third brake light in place using a T20 torx driver (Figure D).
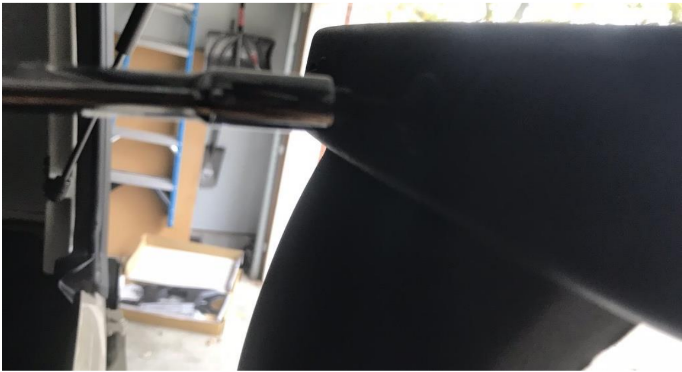
Figure D
5. Unplug the light connector (Figure E).
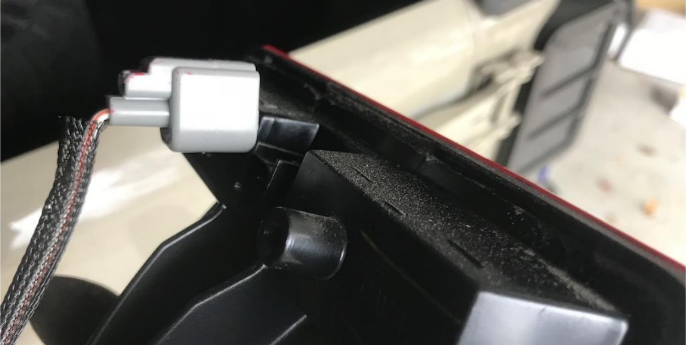
Figure E
6. Remove the eight bolts holding the tire mount in place using a 13mm socket wrench (Figure F).
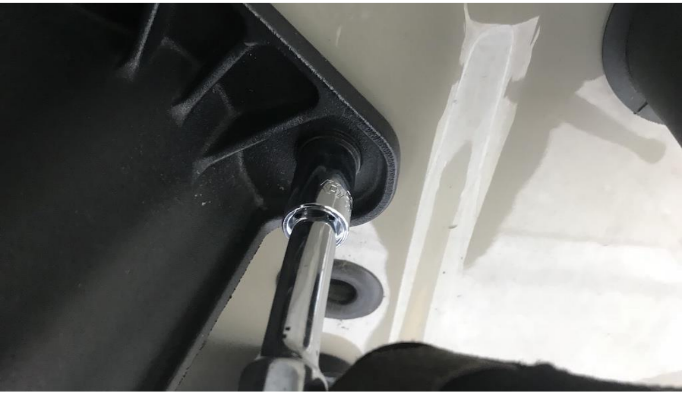
Figure F
7. Place a spacer or wood block under the tailgate to maintain alignment and support (Figure G).
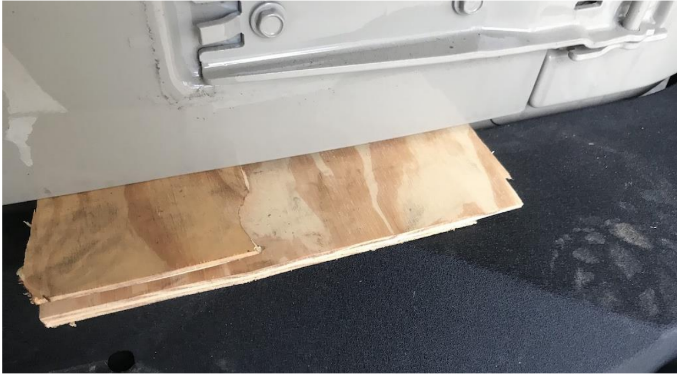
Figure G
8. Remove the four tailgate hinge bolts using a 13mm socket wrench and the six body bolts using a T50 torx driver (provided) (Figure H).
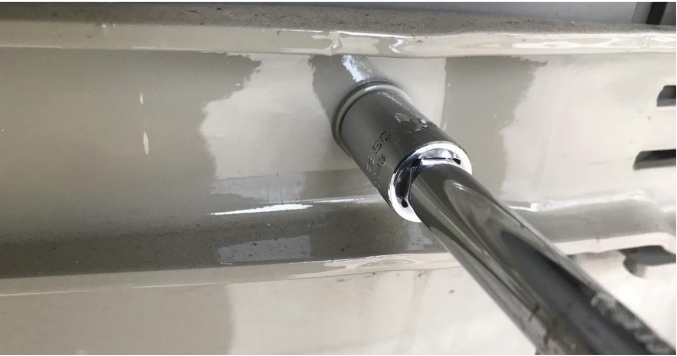
Figure H
9. Move the TeraFlex HD aluminum tire carrier into place and thread the two T50 body bolts into place using a T50 torx driver (provided) (Figure I).
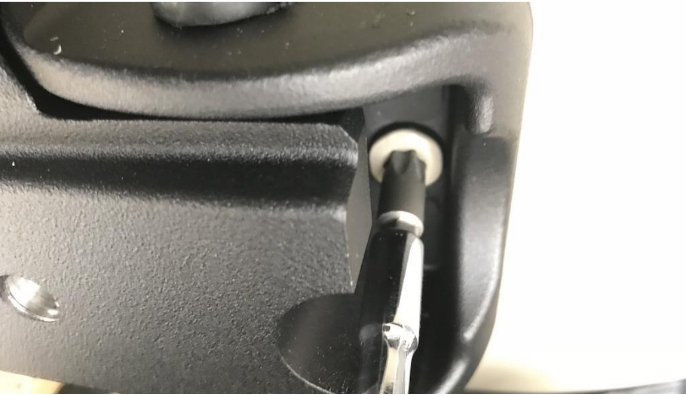
Figure I
10. Open the tailgate carrier and insert the remaining four T50 bolts. Torque to 19 ft. lbs. (Figure J).
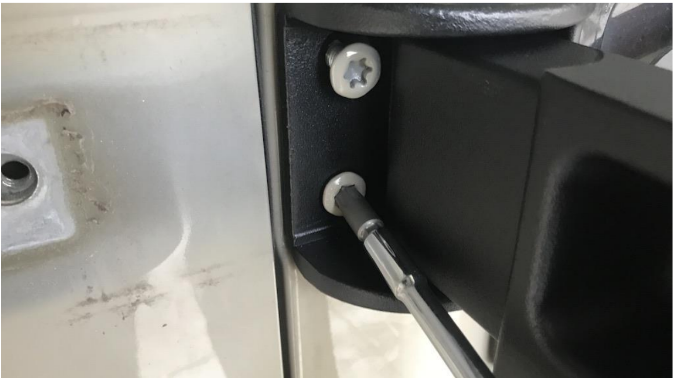
Figure J
11. Thread the four M8 bolts (provided) into place (Figure K).
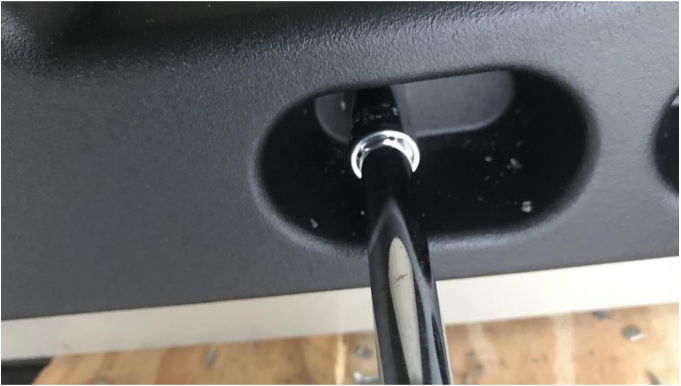
Figure K
12. Torque to 15 ft. lbs. using a 12mm socket wrench.
13. If remounting original tire carrier, reuse eight factory bolts to re-install carrier and torque to 15 ft. lbs.
14. If mounting TeraFlex HD Adjustable Spare Tire Mount (not included), follow instructions for that product (Figure L).
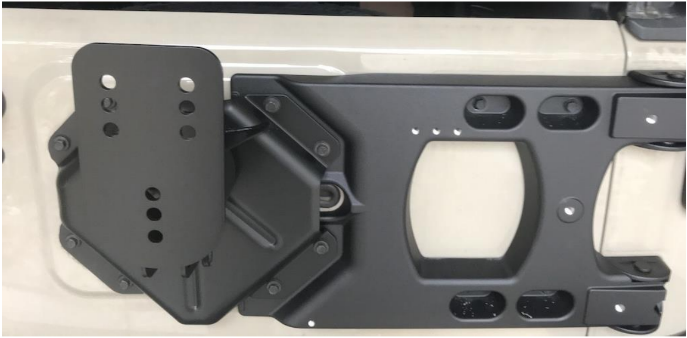
Figure L
15. Ensure tailgate opens and closes properly without misalignment.
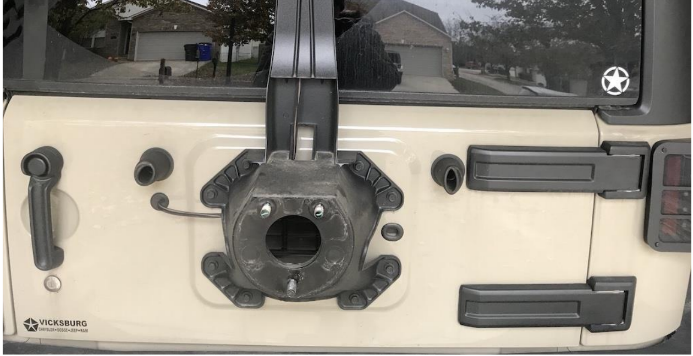
Before
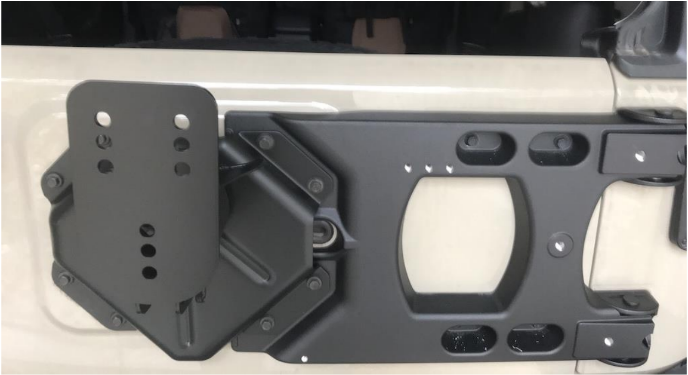
After
Installation Instructions Written by ExtremeTerrain Customer J. Sandlin 11/14/2018

