FREE 1 to 3-Day Delivery on Orders $149+ Details

How to Install Teraflex 2.75 in. Front Bumpstop Kit - Pair on your Wrangler

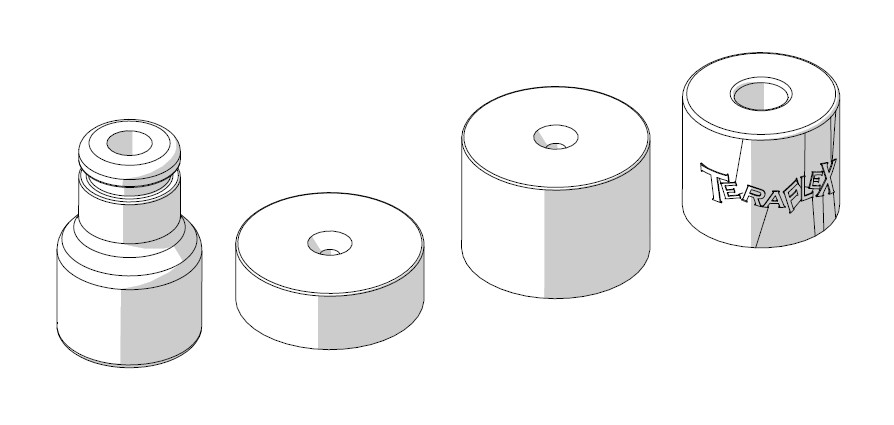
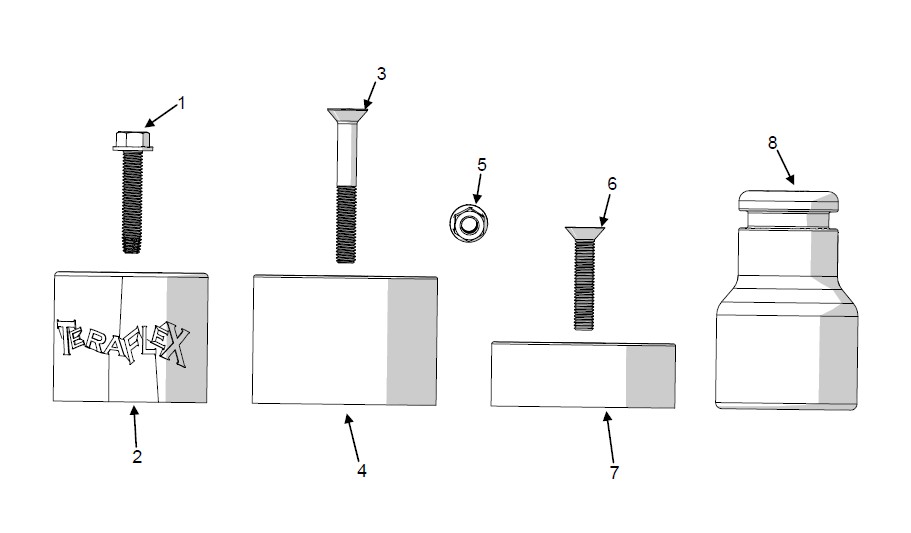
Shop Parts in this Guide
Important Notes:
Prior to beginning this or any installation read these instructions to familiarize yourself with the required steps and evaluate if you are experienced and capable to personally perform these modifications. A factory service manual should be used in conjunction with these installation instructions.
Refer to the parts list to ensure that all necessary components and hardware has been included. If any parts are missing please contact your local TeraFlex dealer for assistance.

INSTALLATION
1. Refer to the factory service manual for lift locations. Raise and support the vehicle. Remove the tires and wheels and support the axle with a jack or jack stands.
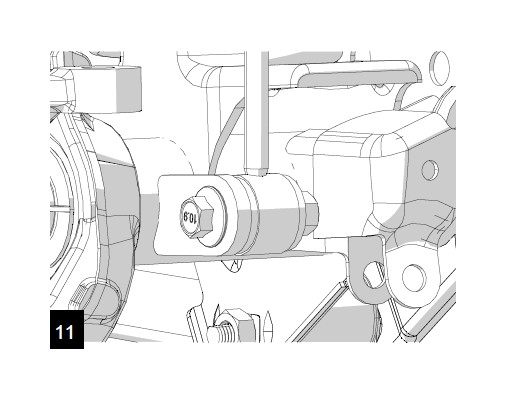
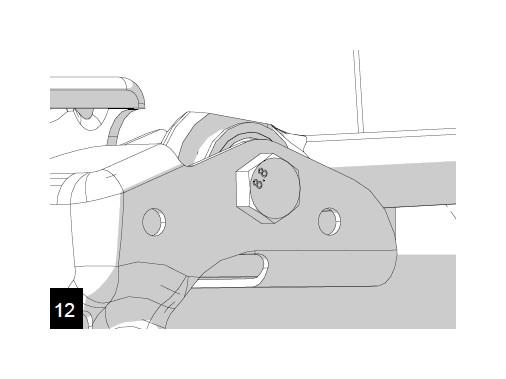
2. Remove the front track bar at the axle with a 21mm. (See e ABS lines at the frame if equipped.)
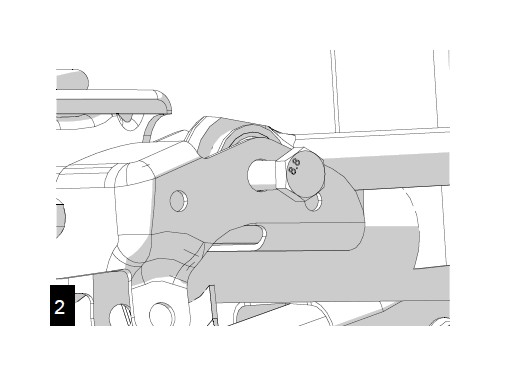
Remove the shocks at the axle with an 18mm. (See Shocks/ Front Removal 999207)
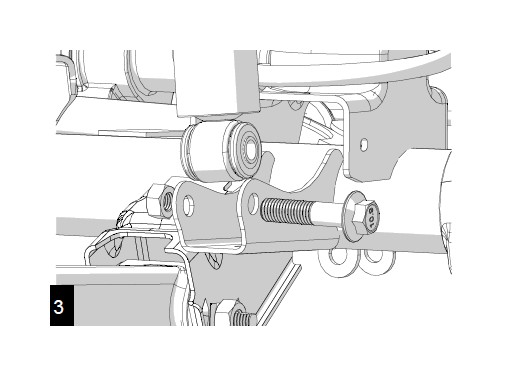
Disconnect the swaybar links front the axle with an 18mm. (See 999027 Quick Disconnect Links/Removal)
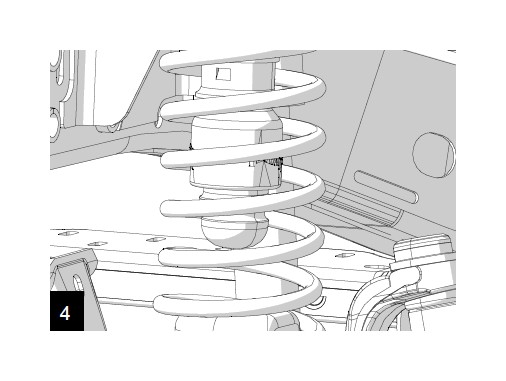
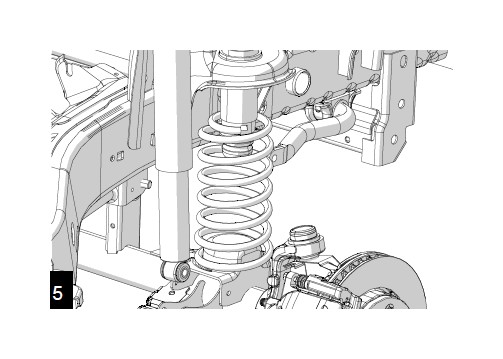
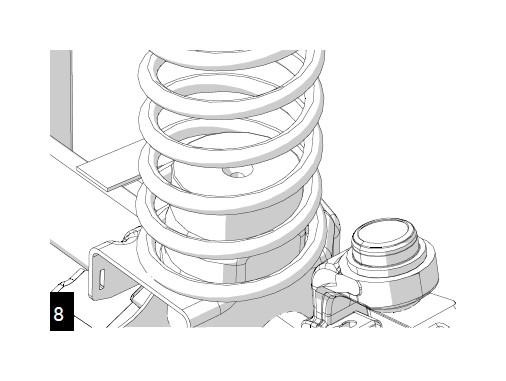
Lower the axle and remove the springs. (See Springs/Front Removal 999206) Upper bumpstop extensions installation see page 5 now.
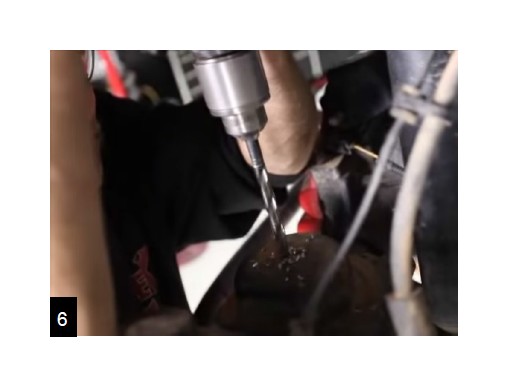
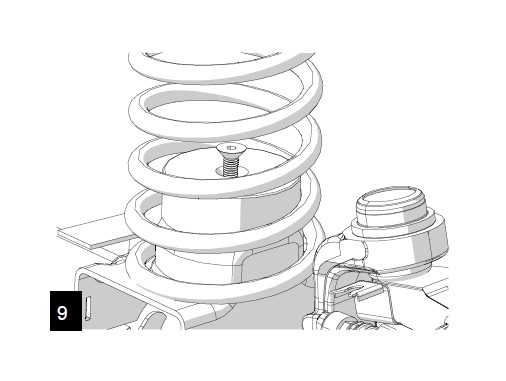
Locate the center of the spring pad and drill a 5/16” hole for standard pad installation. For speedbump pads, drill a 3/8” hole.
Use the standard bumpstop as a guide and thread the self tapping bolt into the hole. After threads are cut, remove the bolt and bumpstop.
Reinstall the springs and spacer together. Install the pad mounting bolt and tighten.
For Speedbump applications, install the bolt through the bumpstop with the nut below the spring pad.
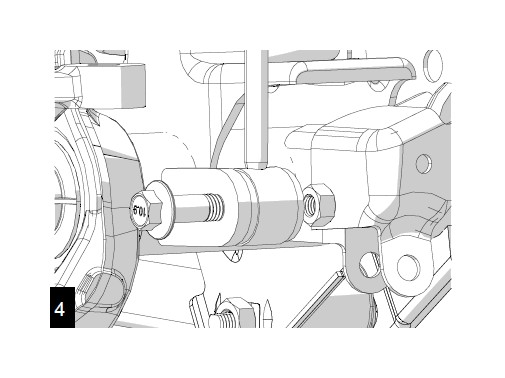
Reinstall the shocks. (See 999207 Shocks/Front/Installation) Torque lower bolt to 56 ft-lbs.
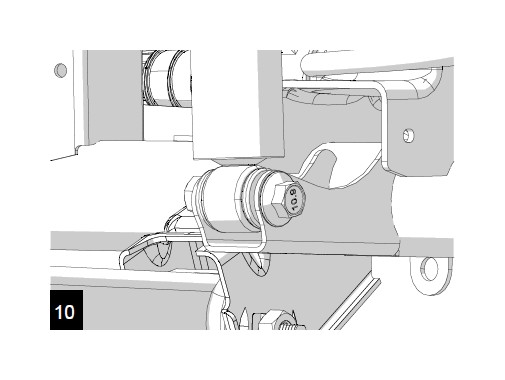
Reconnect the swaybar links to the axle. Torque to 75 ft-lbs.
Reinstall the tires, remove supports and lower to the ground. Reinstall the front trackbar. (See Front Trackbar/Installation)
UPPER INSTALLATION
1. Park the vehicle on a level surface and set the parking brake. Raise the vehicle and support the frame to allow axle droop. Support the axle with a hydraulic jack. Remove the wheels and tires.
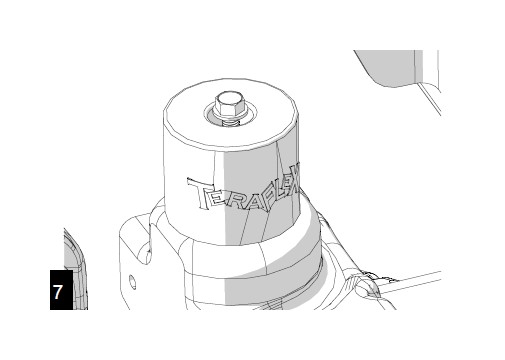
2. Perform steps 2-5 of the lower instructions. Then remove the factory bumpstop from the jounce tube by working it back and forth while twisting and pulling to the side.
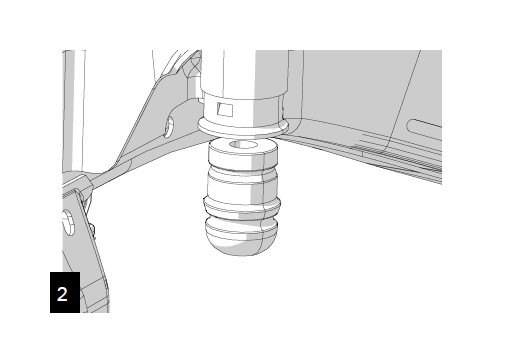
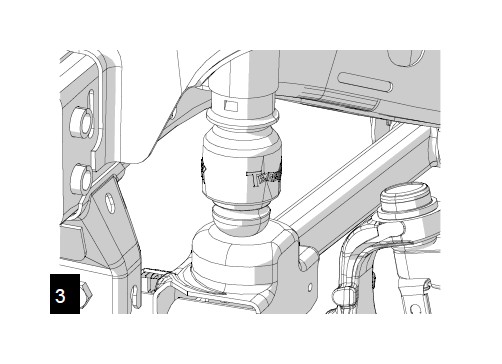
Reinstall the bumpstop by aligning the bumpstop, extension, and jounce tube. Use the hydraulic jack and raise the axle until they are seated together. A grease coating will help.
Reinstall the spring and perform steps 10-12 of the lower instructions.