FREE 1 to 3-Day Delivery on Orders $149+ Details

How to Install Teraflex Complete FlexArm System on your Wrangler
Installation Time
4 hours
Tools Required
- Basic mechanics tool set
- 1-7/8” End Wrench
- 1-1/4” End Wrench
Important Notes:
Prior to beginning this or any installation read these instructions to familiarize yourself with the required steps and evaluate if you are experienced and capable to personally perform these modifications. A factory service manual should be used in conjunction with these installation instructions.
The given arm lengths are for a 3” lift. Installation of this kit requires a full four-wheel alignment.
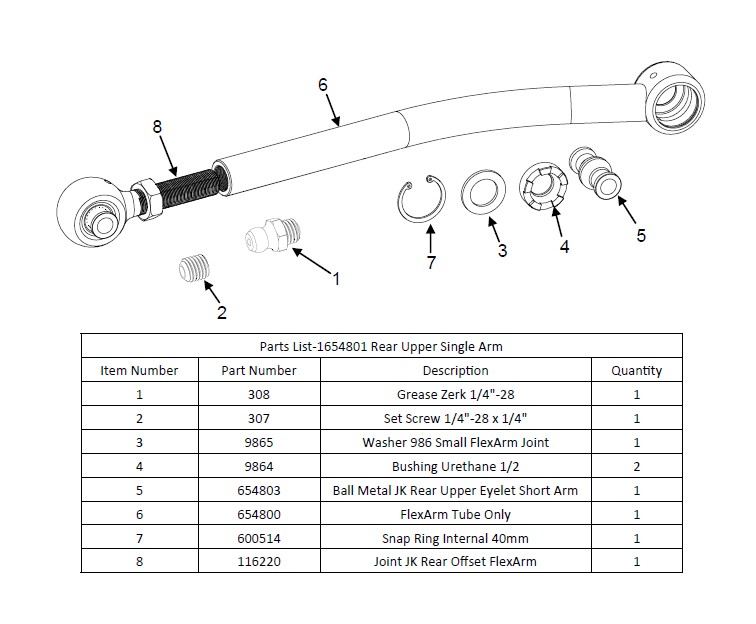
Refer to the parts list to ensure that all necessary components and hardware has been included. If any parts are missing please contact your local TeraFlex dealer for assistance.

1. Raise and support the vehicle. Remove the wheels and tires. See the factory service manual for safe support locations. Do not remove more than 2 arms at a time.
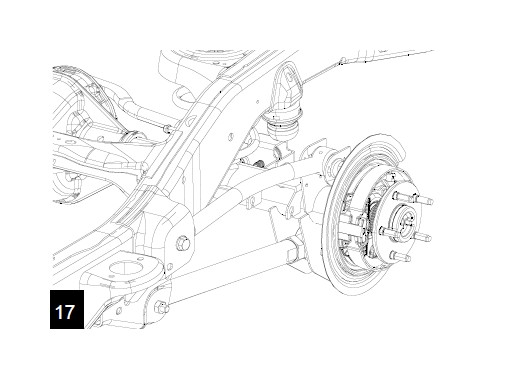
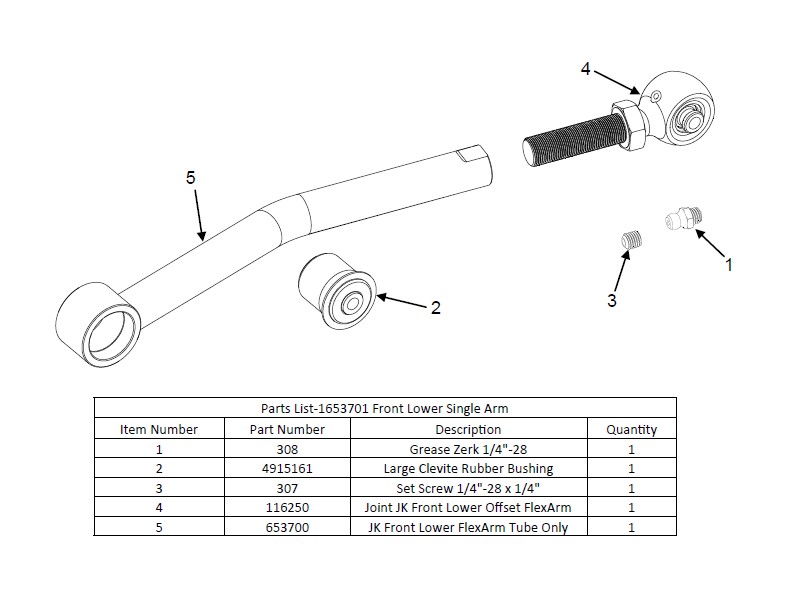
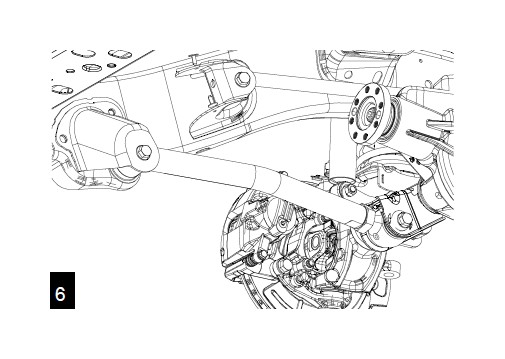
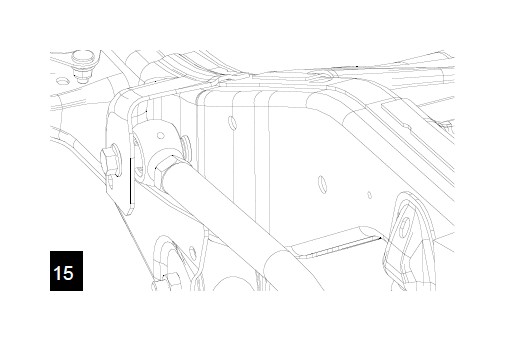
Front Lower Control Arms
2. With a 21mm, remove the axle side bolt. If your vehicle is equipped with cam washers, they will be reused.
Remove the frame side bolt with a 21mm, remove the arm. Repeat on remaining front lower arm.
Install the zerk and plug. Lengthen the new Flexarms to 23 1/8”. Install the rubber bushing end to the frame side bracket with the bend to the inside. Install the bolt finger tight.

Install the flex joint end into the axle side bracket. If your vehicle has cam-bolts, either use cam-bolt eliminator wash-ers or rotate the cam to the full forward position as shown.
After the vehicle is on the ground at ride height, torque the axle side bolt to 117 ft-lbs (159 Nm) and the frame side bolt to 125 ft-lbs (169 Nm)
Front Upper Control Arms
Remove any wiring attached to the upper control arms. Remove the axle side and frame side bolts with a 21mm. Remove both upper control arms.
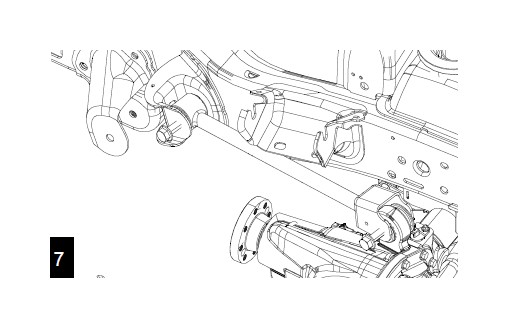
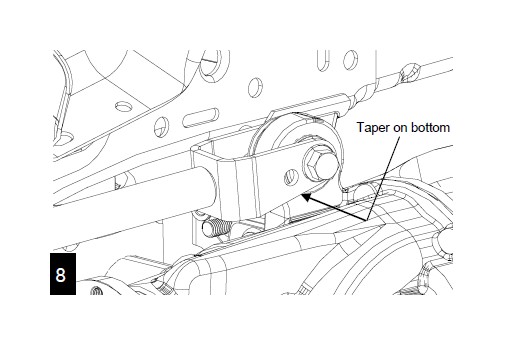
Install the grease zerk and plug. Lengthen the new Flexarms to 18 7/8”. Install the flex joint end into the frame side and the forked end taper oriented as shown. Use the new provided hardware on the axle side. Install all bolts finger tight.
Reattach any removed wiring. After the vehicle is on the ground, torque all bolts to 75 ft-lbs (102 Nm).
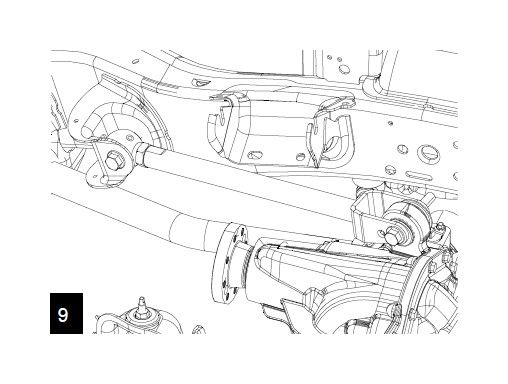
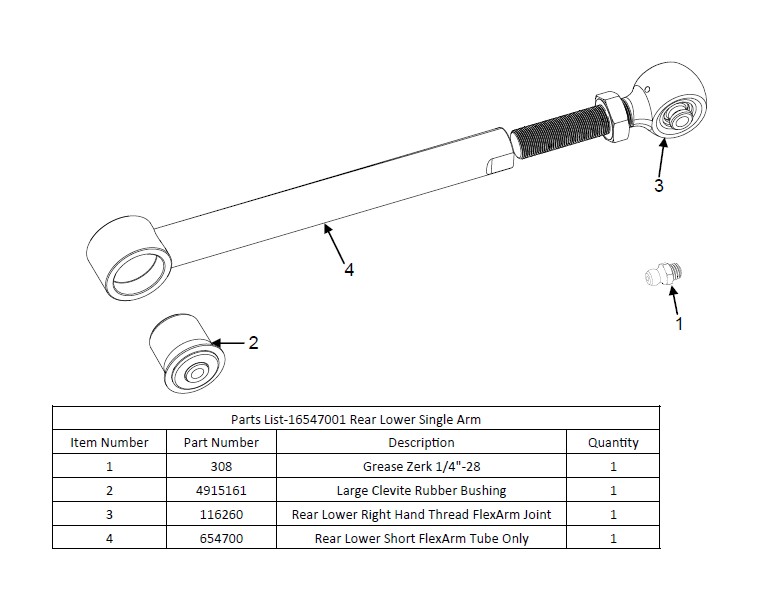
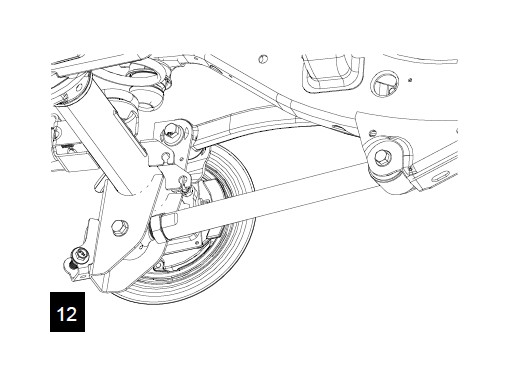
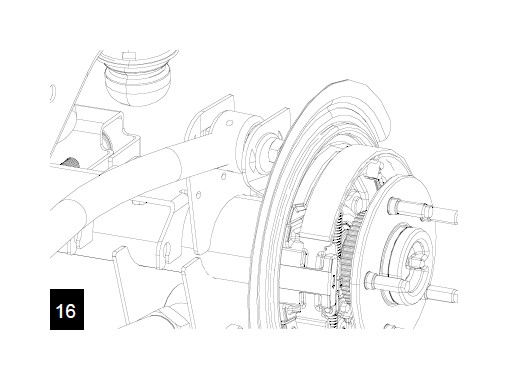
Rear Lower Control Arms
Remove the axle side and frame side bolts with a 21mm. Remove both lower control arms.
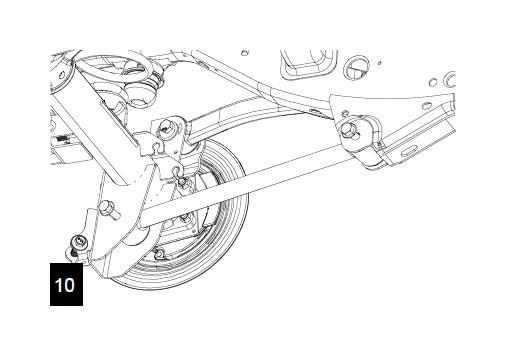
Install the grease zerks. Lengthen the new control arm to 20 1/8” for 2 door models and 20 1/2” for 4 door models. Install the arm into the vehicle with the rubber bushing on the frame side. Install all bolts finger tight.

After the vehicle is on the ground, torque all bolts to 125 ft-lbs (169 Nm)
Rear Upper Control Arms
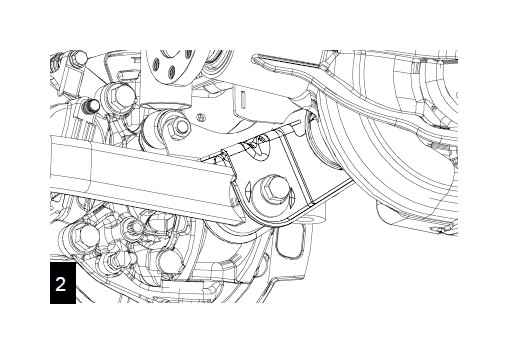
Remove the axle side bolt with an 18mm. If your vehicle is equipped with cam washers, they will be reused.
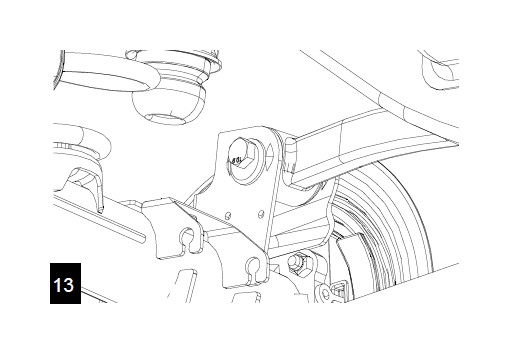
Remove the frame side bolt, the nut is a flag nut, with an 18mm and remove the arm.
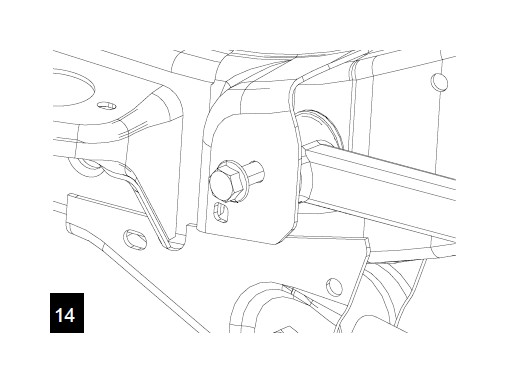
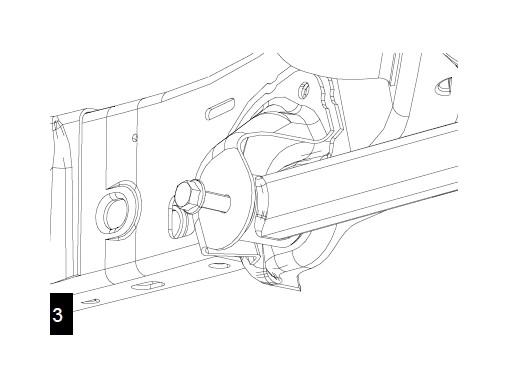
Install the grease zerks and plugs. Lengthen the new Flexarm to 18 5/16” for 2 door models and 18 1/2” for 4 door models. Install the flex joint into the frame side bracket with the bend to the inside. Tighten the nuts finger tight.
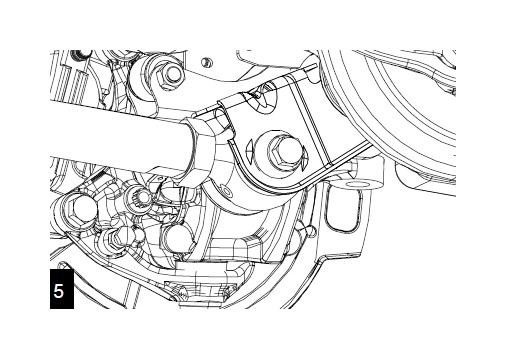
Install the rubber joint into the axle side bracket. If your vehicle has cam washers, rotate the washer to the full rear position.
Once the vehicle is on the ground, torque all bolts to 125 ft-lbs (169 Nm).
Important Notes
Be sure to tighten each jam nut to prevent unwanted joint rotation and thread wear. Re-torque all hardware after 500 miles. All serviceable joints require greasing every 3000 miles or after water crossings. This will greatly lengthen the lift of your joints. Installation of these arms requires a full 4 wheel alignment. We recommend your local ASE Certified mechanic. Failure to do so may result in uneven tire wear and undesired handling characteristics.