 FREE 1 to 3-Day Delivery on Orders $149+ Details

How to Install T-REX TORCH Series LED Light Grille 1 - 12" LED Bar On Your 07-13 Wrangler
Hardware / Parts List:
1 Grille
7 ½” x 135 L Brackets
7 6-32 Nylon Lock Nuts
Step 1
Read and understand all instructions before attempting the install of this grille.
Be sure that the package of hardware matches the hardware list as listed above.
Next, test fit the T-REX grille to the vehicles factory openings. You are now
ready for the install:

Step 2
Using the needle nose pliers; unclip the harness to the factory turn signals.
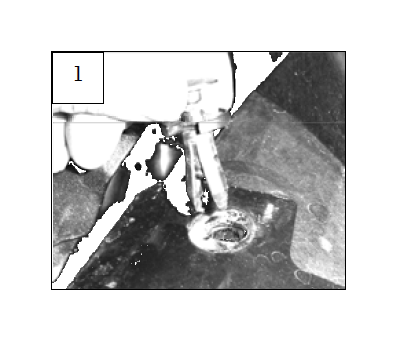
These can be accessed through the wheel wells. Remove the upper factory pop clips holding the grille to the vehicles core support (1). By pulling on the
bottom center of the grille; this will release the four lower grille clips. Remove the grille from the vehicle and place on a soft surface to prevent damaging your factory grille.
Step 3
If the grille is equipped with a one piece factory mesh; remove the mesh by
removing the screws and U clips on the bottom of the grille. Cut the center
vertical bars from the grille shell (2). Sand the edges of your cut marks till
smooth. Check your grille insert in the shell. Trim the necessary areas for the
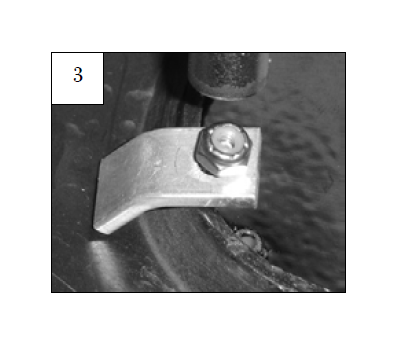
insert to fit properly. From the backside of the grille; place an L bracket and
nylon lock nut on each stud (3). With the grille centered; tighten all of the
hardware.
Step 4
Replace the grille and all hardware. Reconnect the fog lights. Make sure all
hardware is secure.

