FREE 1 to 3-Day Delivery on Orders $149+ Details

How to Install Synergy 2 in.-3 in. Bolt-On Rear Track Bar Bracket on your Wrangler
Installation Time
1 hours
Tools Required
- Sockets: 14mm, 21mm
- Socket Wrench
- 22mm wrench
- Torque Wrench
- Large Screwdriver
- Breaker Bar
- Rubber Mallet

Shop Parts in this Guide
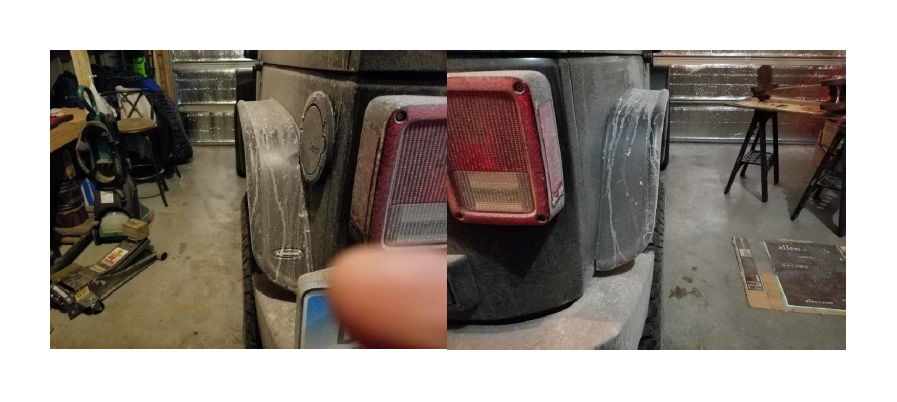
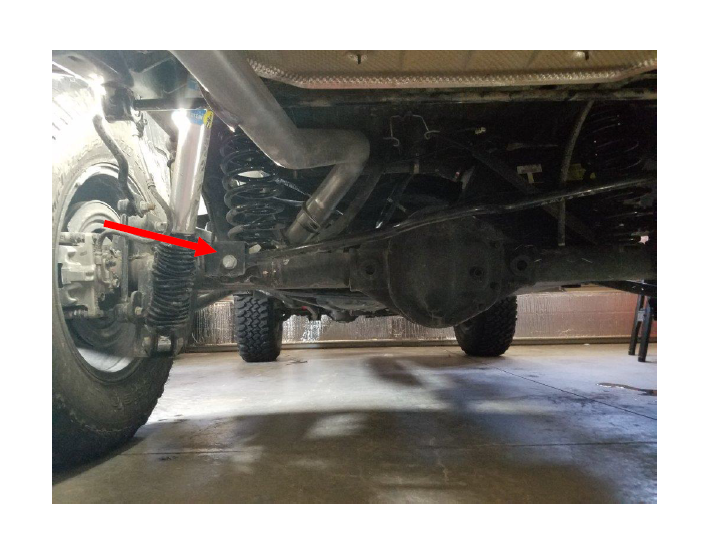
Before Pictures:
You can see here the right wheel sticks out about ½” further than the left. This is with 2.5” lift before the bracket.
Installation Instructions:
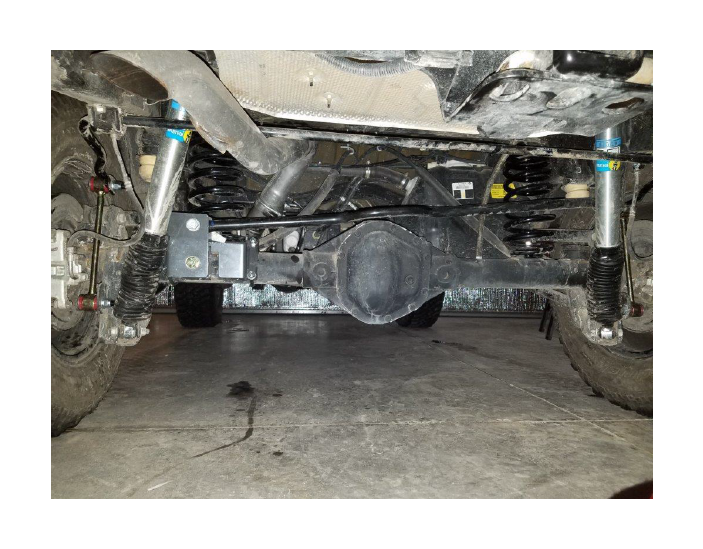
1. Using a 21mm socket and breaker bar, remove the axle side track bar bolt and flag nut. You can then let the track bar hang freely below the bracket. Keep the factory hardware for reinstall.
2. Place the new bracket over the original bracket as shown, then use a rubber mallet to tap it down into place until the bolt holes line up. You may also need to use a large screwdriver to further align the bolt holes.
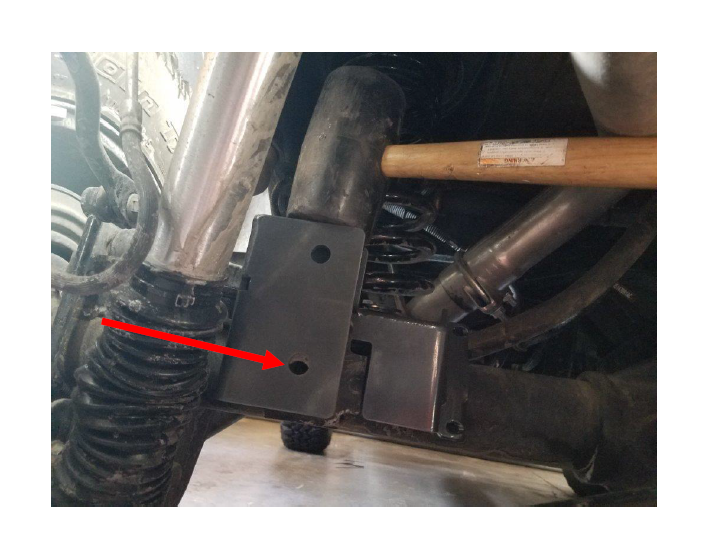
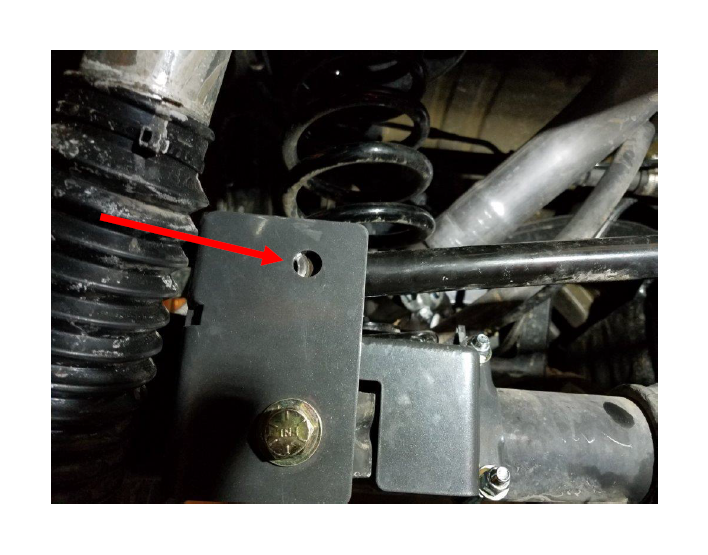
3. Now insert the supplied spacer inside the bracket, then install the supplied bolt with washer as shown. You can use the mallet to tap the bolt all the way through. Then install the supplied washer and nylock nut on the bolt.
4. Install the 2 supplied U-bolts around the axle and through the bracket as shown. Place all 4 washers and nuts and hand tighten. Note: On some axles there is a weld on the front side that may run under the U-bolt. If your axle has this you will need to grind it down so the U-bolt makes contact all the way around the axle.
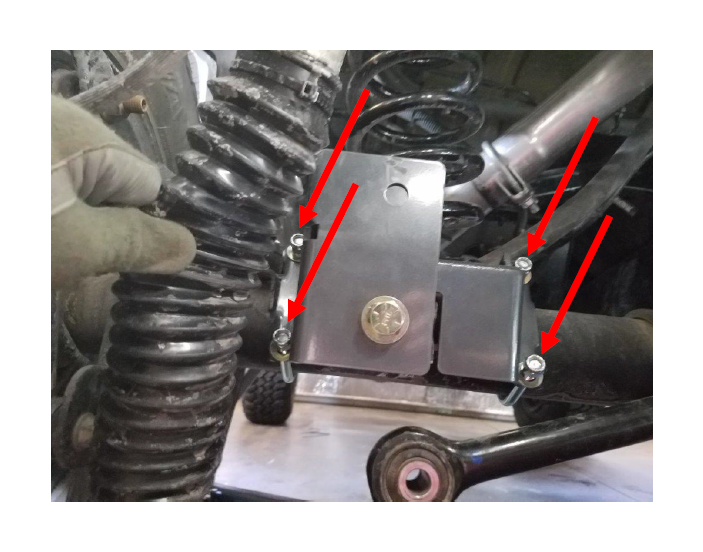
5. Now that all the hardware is installed you can use a 14mm/21mm sockets, and 22mm wrench to get all the nuts snug. Then torque all 5 bolts. The 4 u bolt nuts should be 30ft/lbs, and the large bolt should be 150ft/lbs.
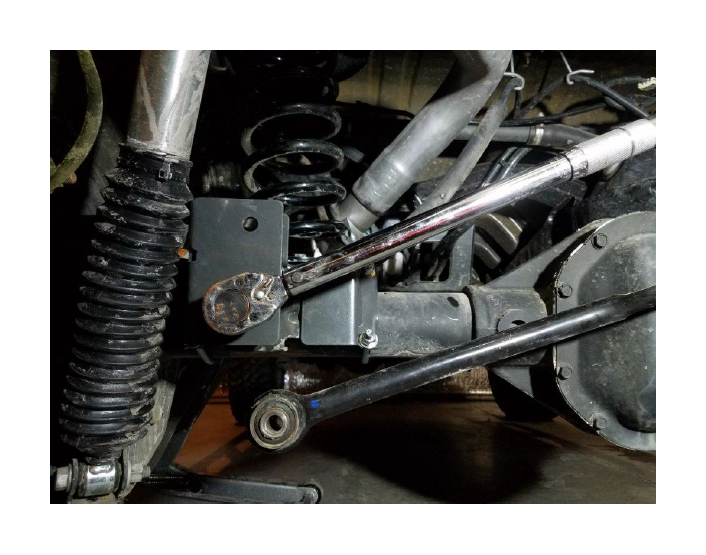
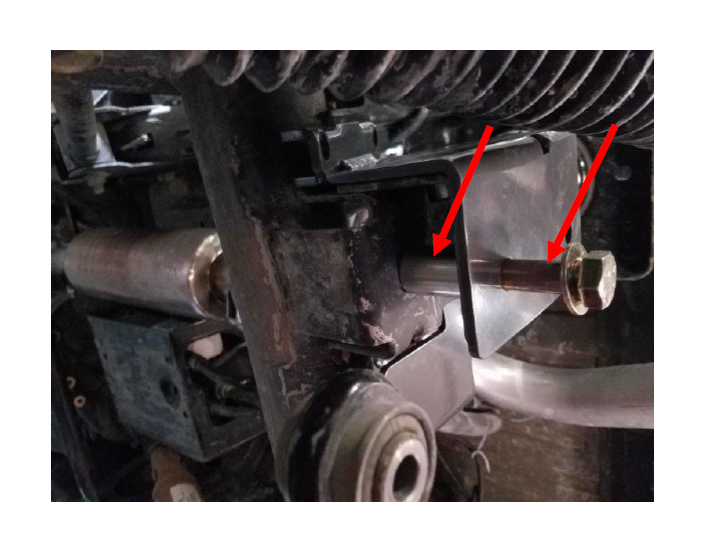
6. Now place the track bar in the new bracket and align the holes. The easy way is to have a friend push on the body of the Jeep until they line up. You can also push on the frame while lying under the Jeep. Then insert the stock bolt.
7. Place the stock flag nut behind the bracket as shown and torque the bolt to 125ft/lbs. Note: The bolt may contact some coil springs when flexing. If it looks like this may happen, you can either trim the bolt or insert it from the other side of the bracket.

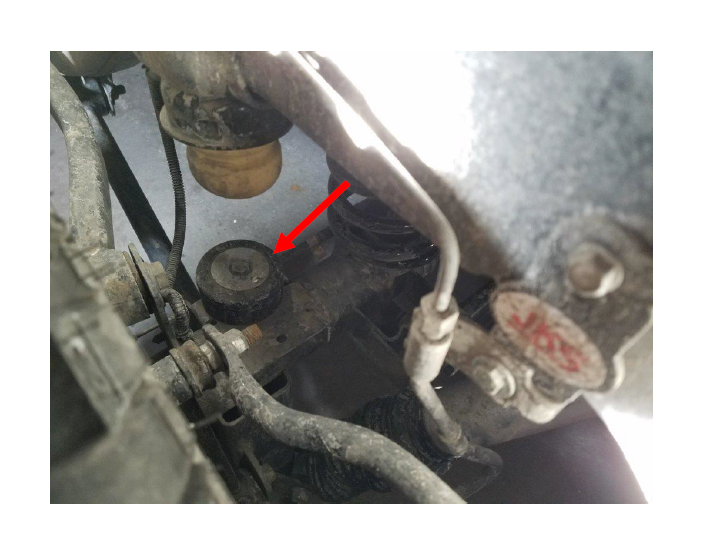
8. Synergy recommends using a 2” bumpstop to keep the bracket from hitting the stock exhaust. You can get ones specifically made for this, or you can use hockey pucks. Take 2 hockey pucks, drill a hole through the center, and then install them with a bolt and washer to the axle as shown below. Do this on both driver and passenger sides.
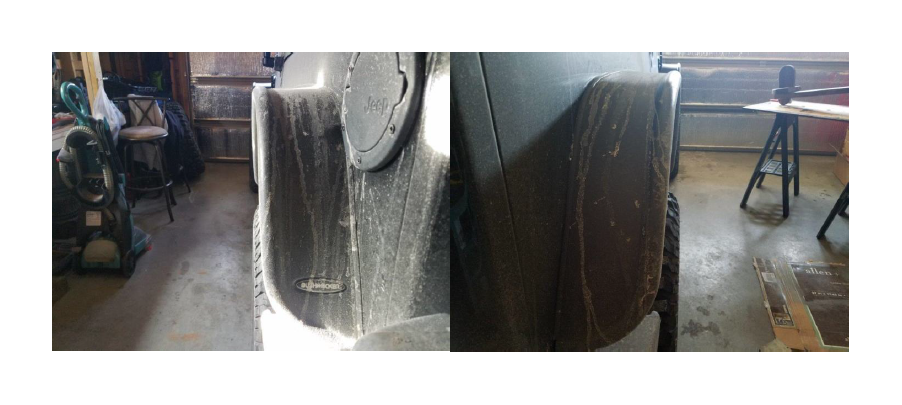
After Pictures:
You can see that the wheels are now evenly spaced.