 FREE 1 to 3-Day Delivery on Orders $149+ Details

How to Install Synergy Fixed Length HD Lower Control Arms (97-06 Wrangler TJ) on your Jeep Wrangler
GENERAL NOTES:
• These instructions are also available on our website; www.synergymfg.com. Check the website before you begin for any updated instructions and additional photos for your reference.
• These control arms are ¼” longer than stock to help correct caster and driveline angles on lifted Jeep vehicles.
Installation:
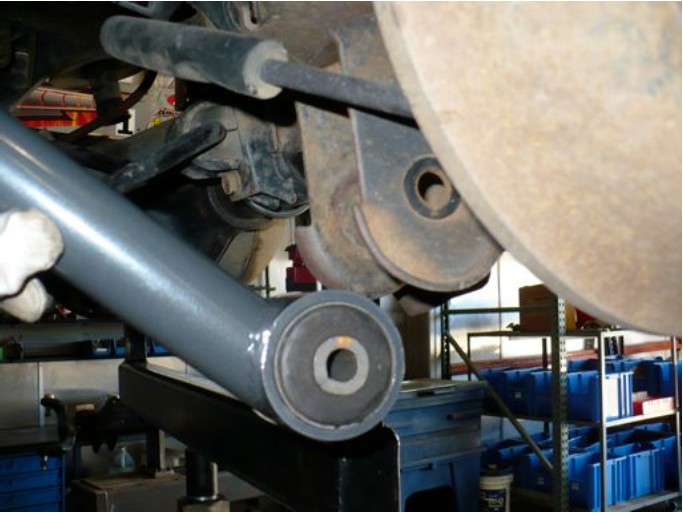
1. Remove the existing lower control arms. If you are just replacing the lower control arms, they can be replaced one at a time with the vehicle sitting on level ground, without removing the tires & wheels or any other suspension part.
2. Reuse the factory mounting bolts. Install the arm so that the side with the offset notch is at the axle end with the flush end of the arm positioned closest to the ground as pictured below. This allows for greater droop travel and a smooth surface to slide over rocks and terrain.
3. Tighten the factory control arm bolts to 125 ft-lbs, wait until the vehicle is at ride height before tightening the bolts as to prevent preloading the control arm bushings.

