 FREE 1 to 3-Day Delivery on Orders $149+ Details

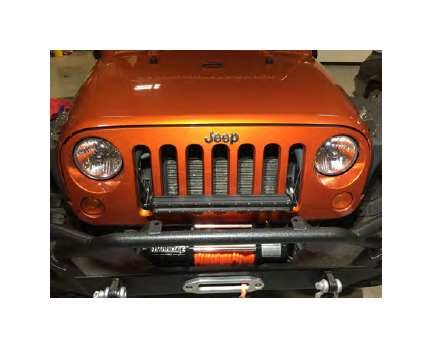
How to Install Raxiom Grille Mounted 20 in. LED Light Bar on your 07-18 Jeep Wrangler JK; 2018 Jeep Wrangler JL

Step 1: Access the connectors on the rear of the turn signals from the wheel wells. The turn signal clips have a red locking tab, slide the locking tab out, then depress the clip to remove the signal plug.
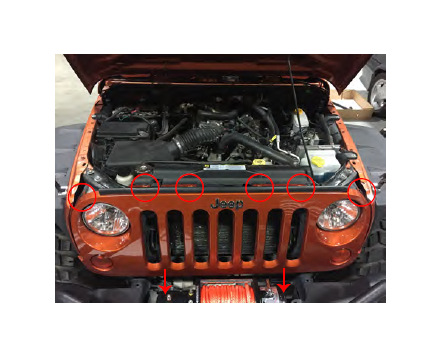
Step 2: Next, raise the hood to gain access to the (6) plastic push clips securing the factory grille to the vehicle. Using a trim removal tool, remove the (6) clips. Then firmly pull on the bottom of the grille to remove the grille from the vehicle.
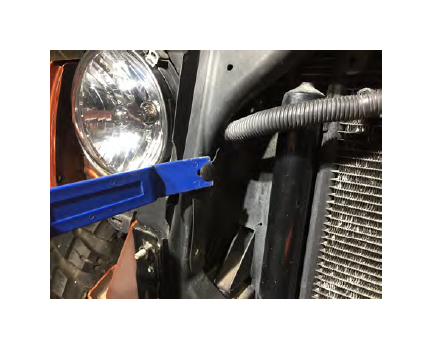
Step 3: Using a panel removal tool, remove the (4) push clips that hold the air dam to the radiator support.
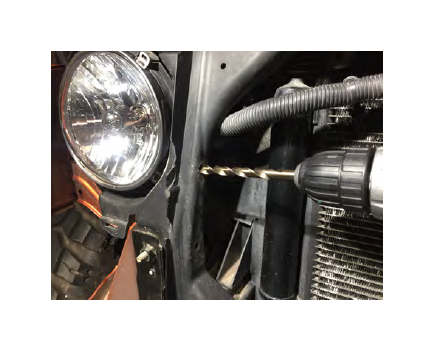
Step 4: Drill the (4) exsisting holes to a 23/64" diameter.
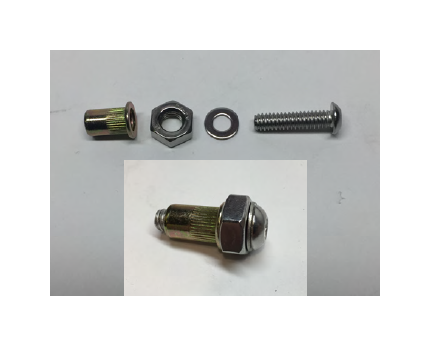
Step 5: Assemble the supplied rivuts. Rivnut, spacer nut, washer, allen bolt. The supplied nut will be used to hold the rivnut in place while tightening the allen bolt.
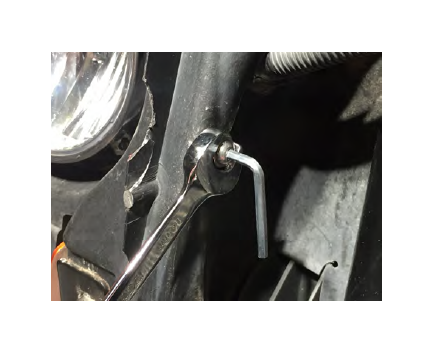
Step 6: Install the rivnut, use a wrench to hold the nut tight against the radiator support while tightening the Allen bolt to compress the rivnut.
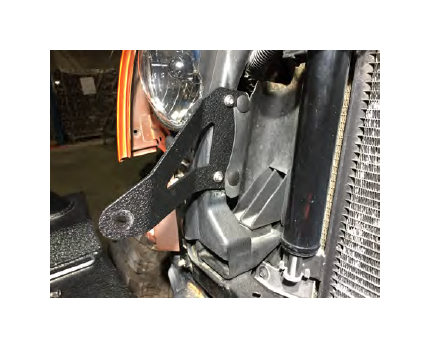
Step 7: Install the supplied bracket using the allen bolts. The (2) extra holes per bracket are used to resecure the air dam using the factory push clips.
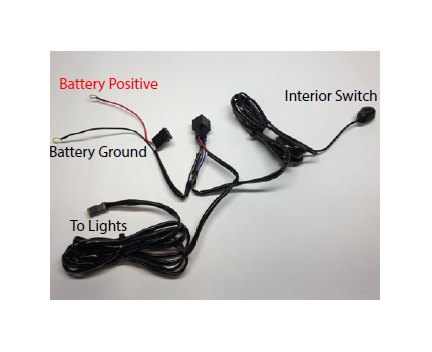
Step 8: Run the LED wiring to the front of the jeep before reinstalling the grille cover. Connect the red eyelet to the positive battery terminal, and the black eyelet to the negative terminal. Run the on/off switch to the passenger compartment using a suitable body grommet or by drilling your own hole. Zip tie the excess wire away from heat and moving parts.
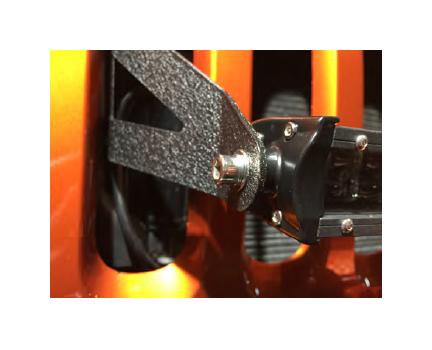
Step 9: Re-install the grille factory. Install the LED light bar using the supplied Allen bolt, lock washer, and flat washer. Plug the light bar into the previously run light harness. Ensure the light is operational.
Step 10: Reinstall all grille clips and turn signal plugs.

