 FREE 1 to 3-Day Delivery on Orders $149+ Details

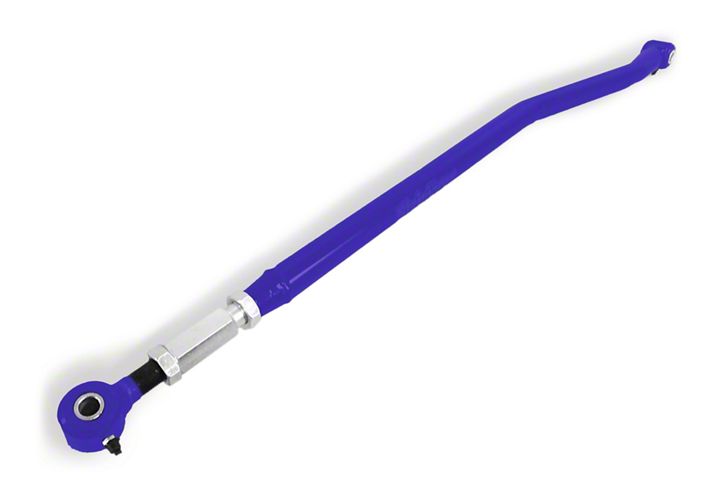
How to Install Steinjager Adjustable Rear Panhard Bar for 3-6 in. Lift - Southwest Blue (97-06 Jeep Wrangler TJ) on your Jeep Wrangler
Installation Time
45 minutes
Tools Required
- 15mm Socket or Ratchet wrench
- 18mm Socket or Ratchet Wrench
- T55 Torx Socket
- Ratchet
- Torque Wrench
- Crescent Wrench
- Floor Jack (depending on lift size)
Shop Parts in this Guide
Installation Notes:
Exhaust modification needed for installation. Floor jack may be needed due to axle side bolt might be blocked by fuel tank. You may want to spray bolts with PB blaster.
During install check all suspension for wear and tear; grease all fittings. All Torque specs are from the Haynes Repair Manual for Wrangler 87-08.
Installation Instructions:
1. Remove frame side bolt using the 15mm and 18 mm; bolt head is one size the nut is the other.
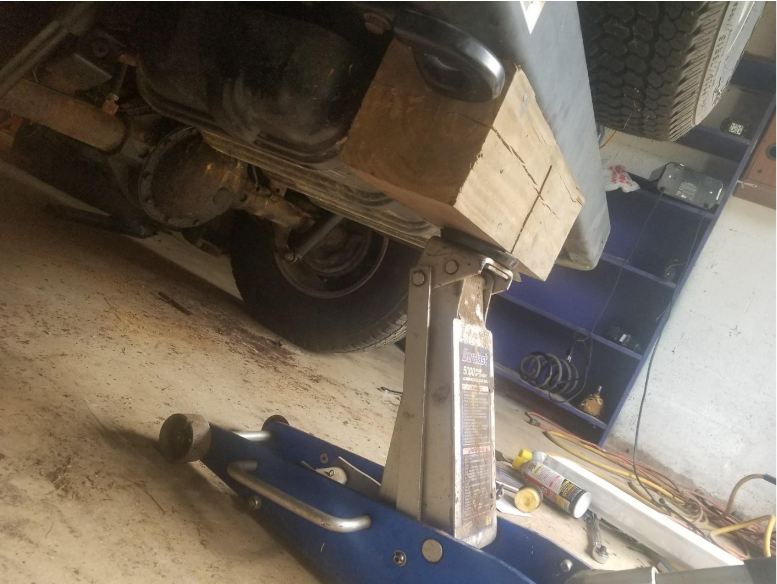
2. Now using the jack to jack up the rear bumper to gain access to the T55 torx bolt on the axle side bracket.
3. Remove the T55 torx bolt and tab nut on back.
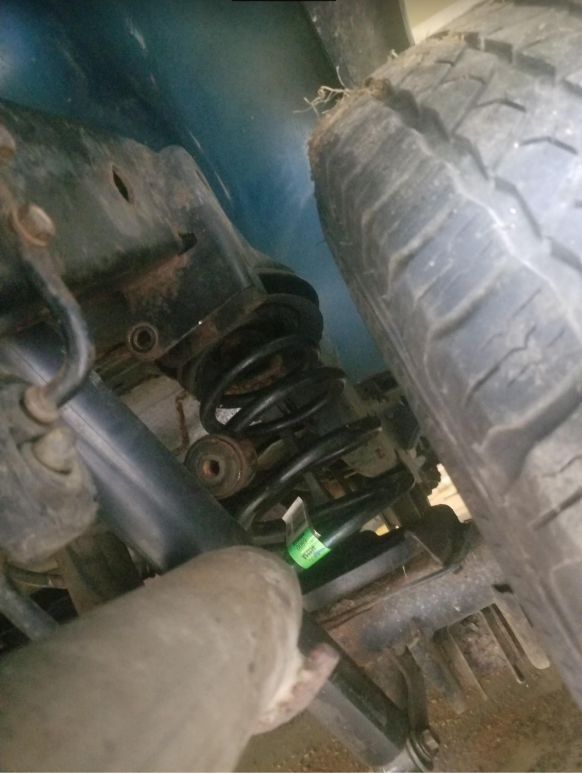
4. Remove old track bar by pushing it out of the lower bracket; then side it out towards the driver side.
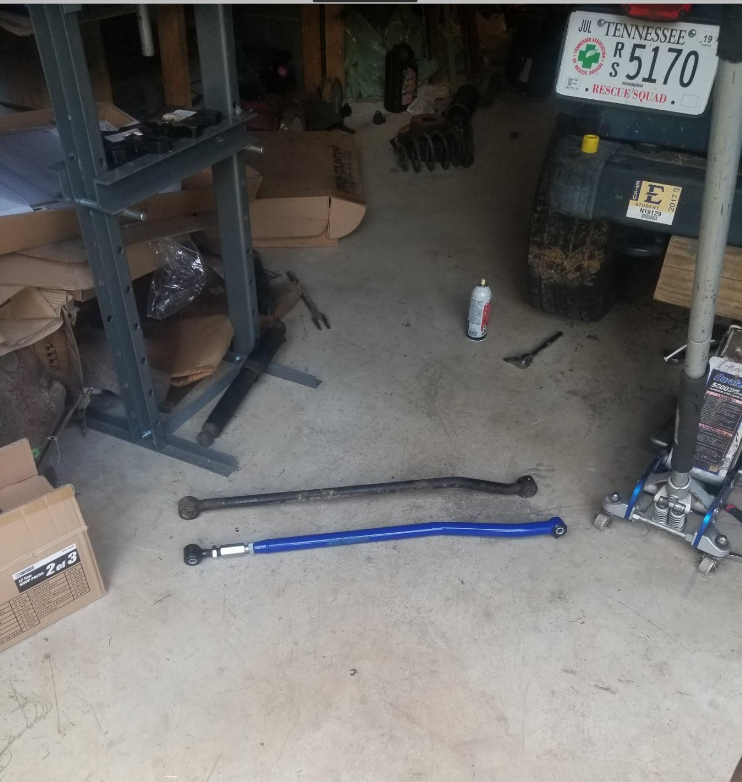
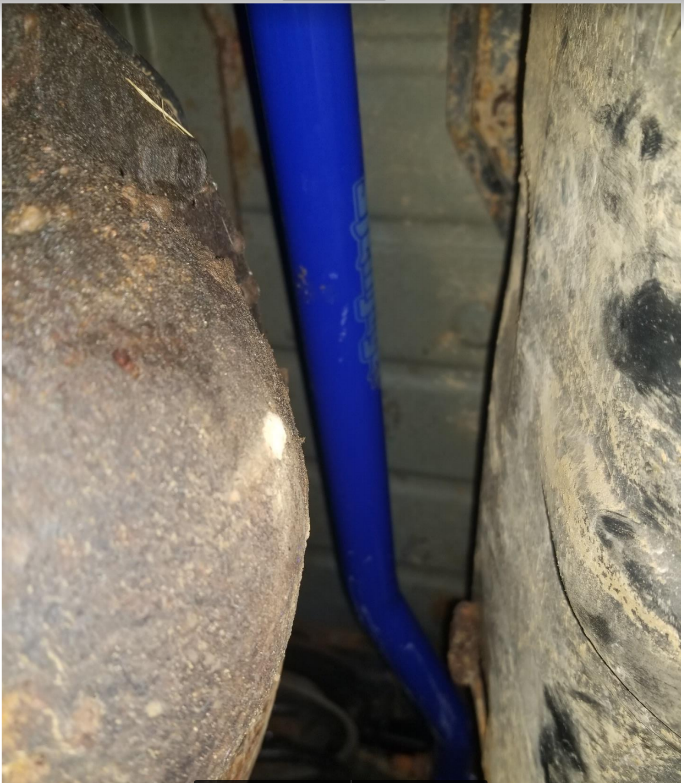
5. Install new track bar with the adjustment end towards the bottom making sure the top part goes over exhaust with the company logo facing out the back.
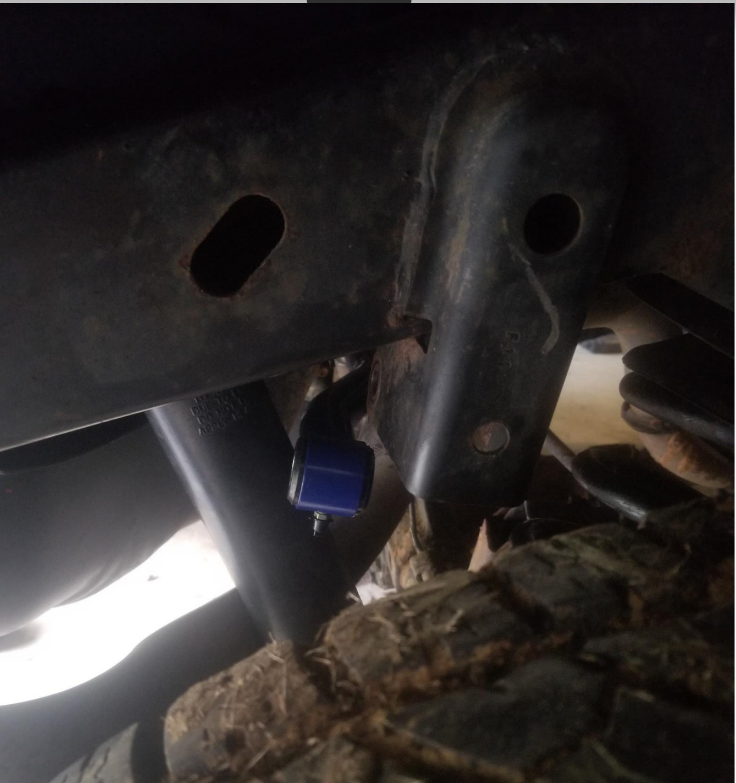
6. Install into bottom bracket grease fitting facing down and use the tab nut and T55 torx bolt and torque to 74 ft-lbs. all year models.
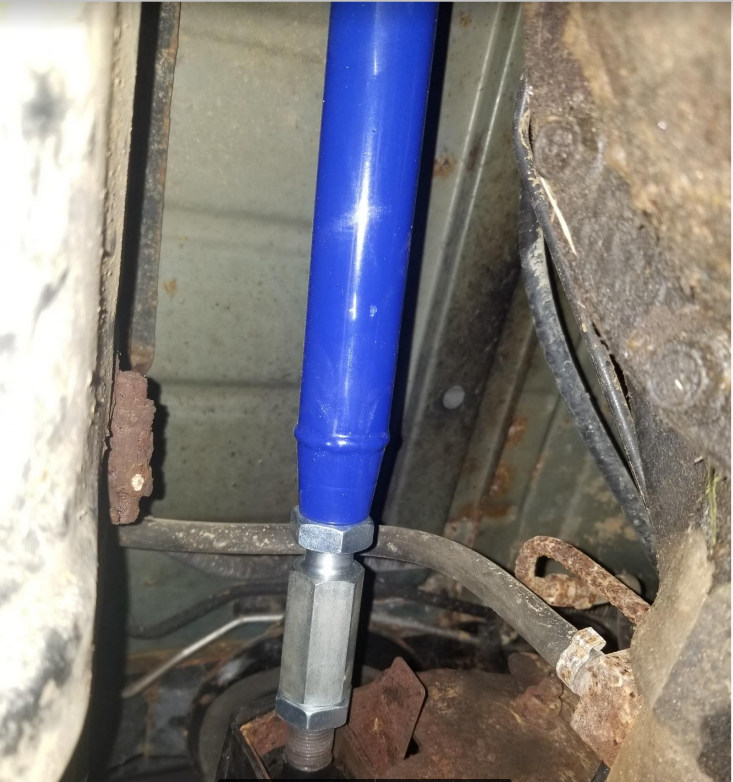
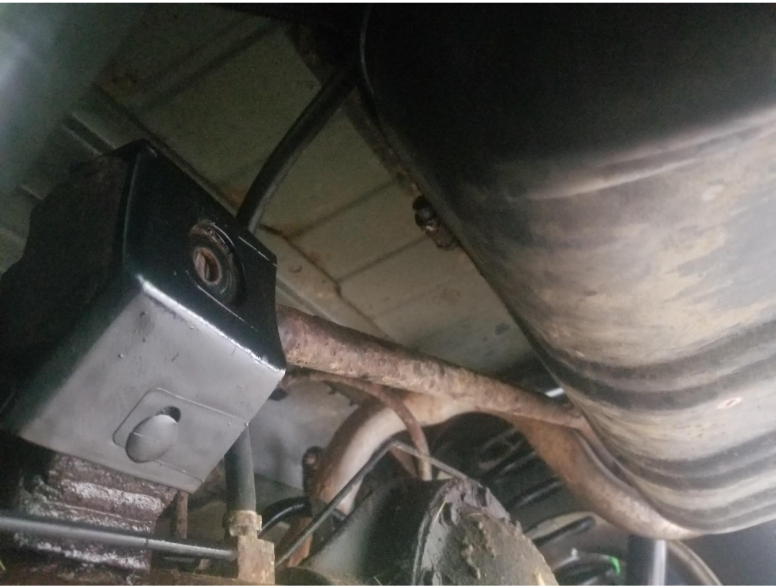
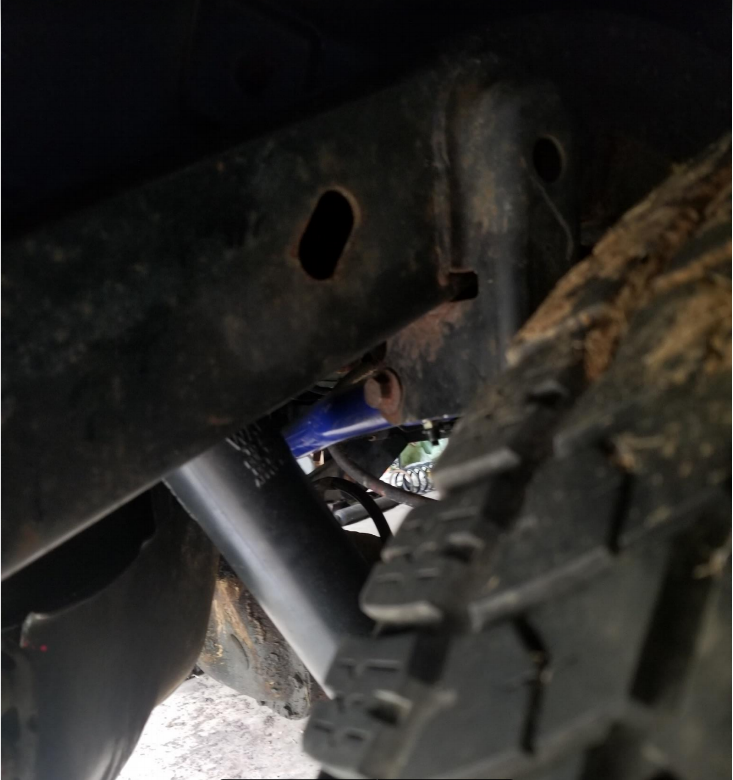
7. The track bar will not go into the frame side bracket because the stock exhaust is in the way. I cut the exhaust behind the muffler temporally until I can go to exhaust shop to run some custom exhaust.
8. Once the exhaust is out of the way, the top of the track bar will go into the bracket and the bolt goes in from back side of the bracket. Torque this bolt to 74 ft-lbs. for all Jeep Wrangler years.
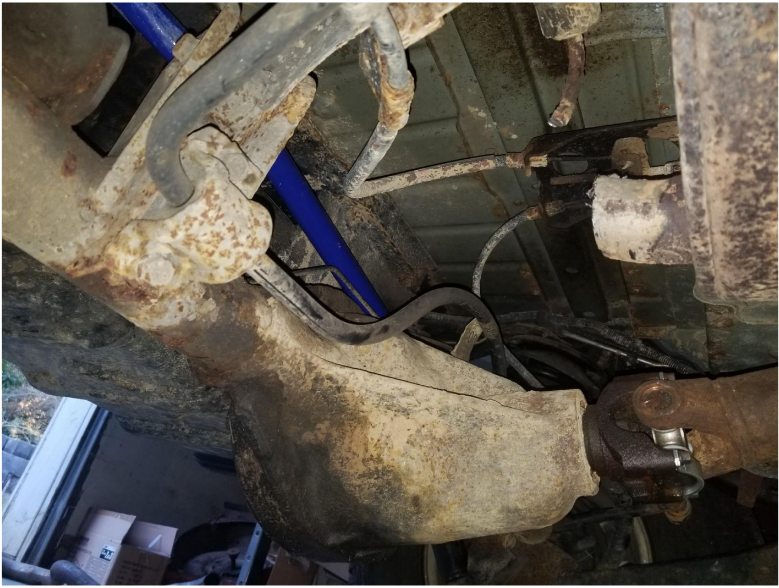
9. Lower jeep down and can now adjust the track bar to center axle under jeep using crescent wrench and tightening the lock nuts down pictured in step 6. All finished now final picture of everything finished up.
Installation Instructions Written by ExtremeTerrain Customer Logan Wilson 10/20/2018

