

How to Install Smittybilt XRC Gen2 Front Bumper (07-18 Wrangler JK) on your Jeep Wrangler
Installation Time
2 hours
Tools Required
- Ratchet
- Various Length Extensions
- 16mm Deep Well Socket
- 19mm Deep Well & Shallow Sockets
- Screwdriver (Flat & Philips)
- Center Punch
- Drill
- 1/2" or 5/8" Drill Bit
- 13/32" Drill Bit
- Paint

Shop Parts in this Guide
PRE-INSTALLATION NOTES
If you will be installing a winch before placing the bumper on the vehicle, it is important to have the control box and wiring prepared, as well as appropriate mounting hardware on hand. In this instance, a Smittybilt Gen2 X2O 10,000 lb. winch with synthetic rope & wireless control was used. Additionally, you will likely require help to move the bumper/winch assembly onto the Jeep.
INSTALLATION INSTRUCTIONS
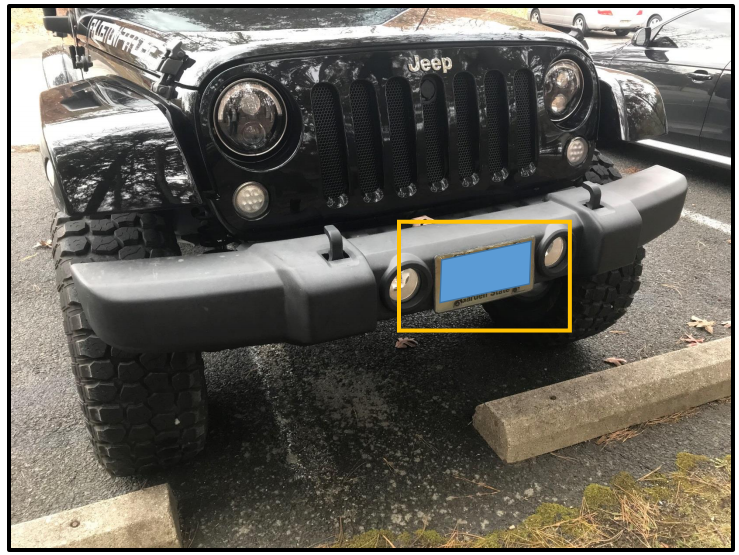
1. Remove the license plate (if equipped) from original bumper.
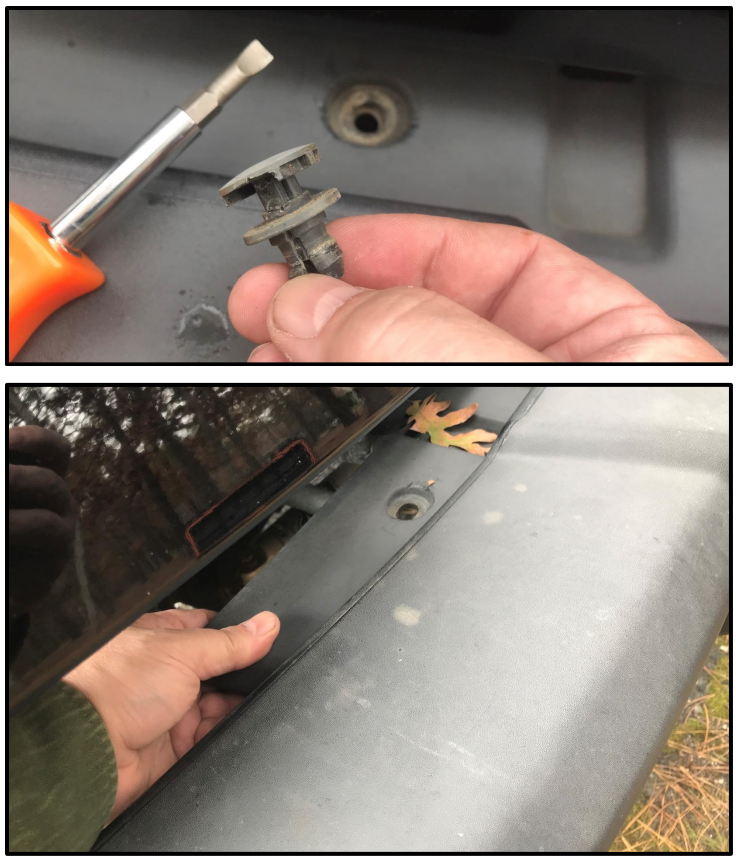
2. Remove the OE plastic frame cover, which sits behind the stock bumper and is held in place with two plastic fasteners. A screwdriver will allow for removal of the fasteners. It is then possible to slide the cover to the left and right to allow access to bumper attachment nuts.
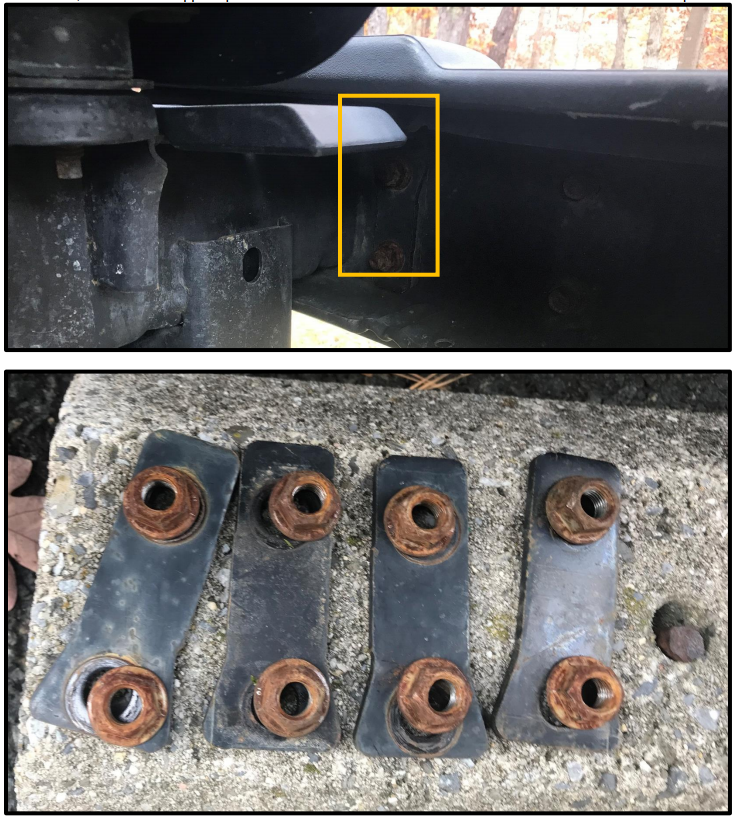
3. To remove the original front bumper, you must remove the 8 nuts holding the bumper to the Jeep frame horns. In addition, four metal support plates will also be removed. These can be seen in the lower photo.
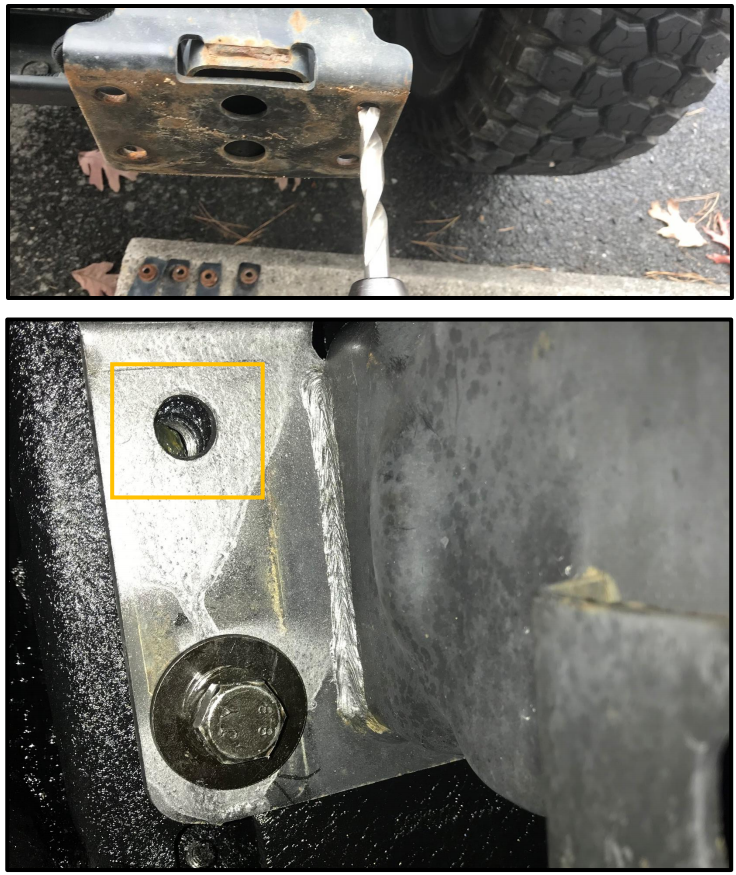
4. The outer frame horn holes will need to be opened up sufficiently to allow insertion of the bolts through the horn into the bumper. Smittybilt installation instructions call for opening the outer holes to 1/2”, but a larger (or lower) hole may be needed to allow for full access. Failure to make the hole large (or low) enough will result in the second photo- (the bumper had to be removed again after install to enlarge and reposition the hole in the frame horn).
5. Paint the freshly exposed metal to inhibit corrosion. Because the top of the frame horns will be visible when the bumper is installed, be sure to use black paint or another suitable color.
6. Open the box containing the bumper. The hardware is located under the bumper in a clearly labeled box.
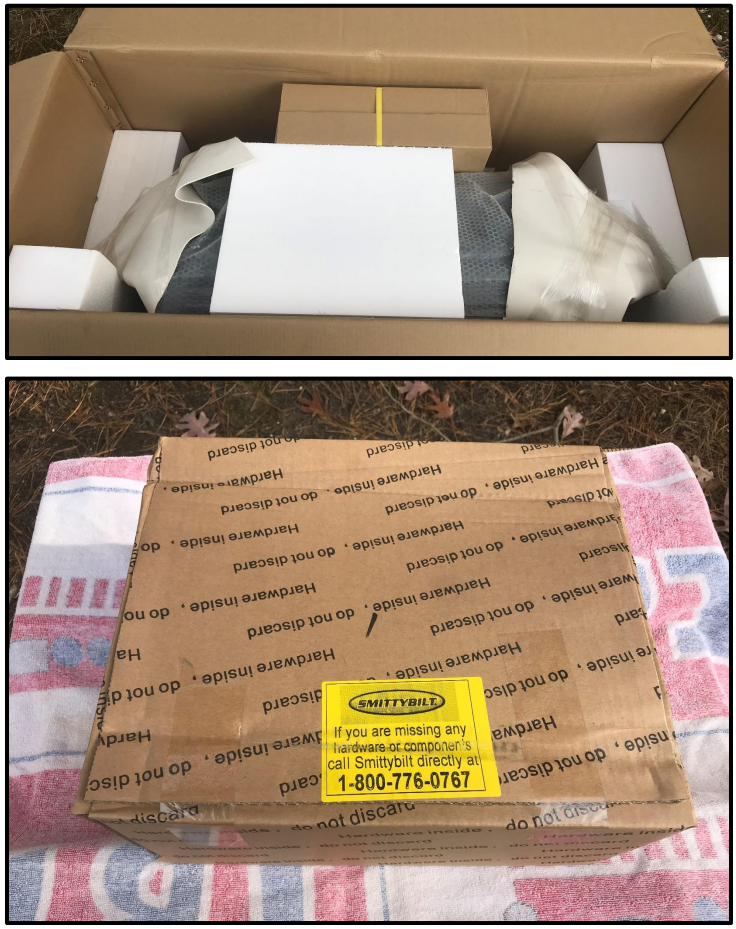
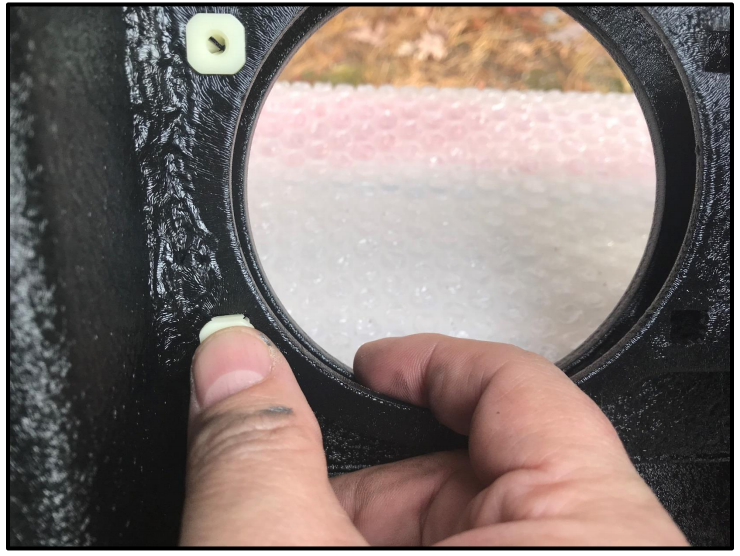
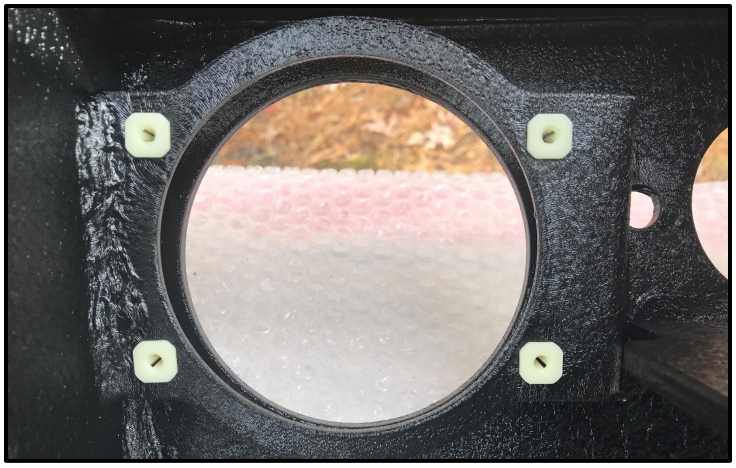
7. Position the bumper face down on a soft surface to work on it. Install the fairlead at this point if a winch will be used. Install the 8 included plastic inserts which hold the fog lights at this time. Smittybilt also includes two mounts for aftermarket lights, in the event direct-replacement fog lights aren’t used- these brackets weren’t used for this installation.
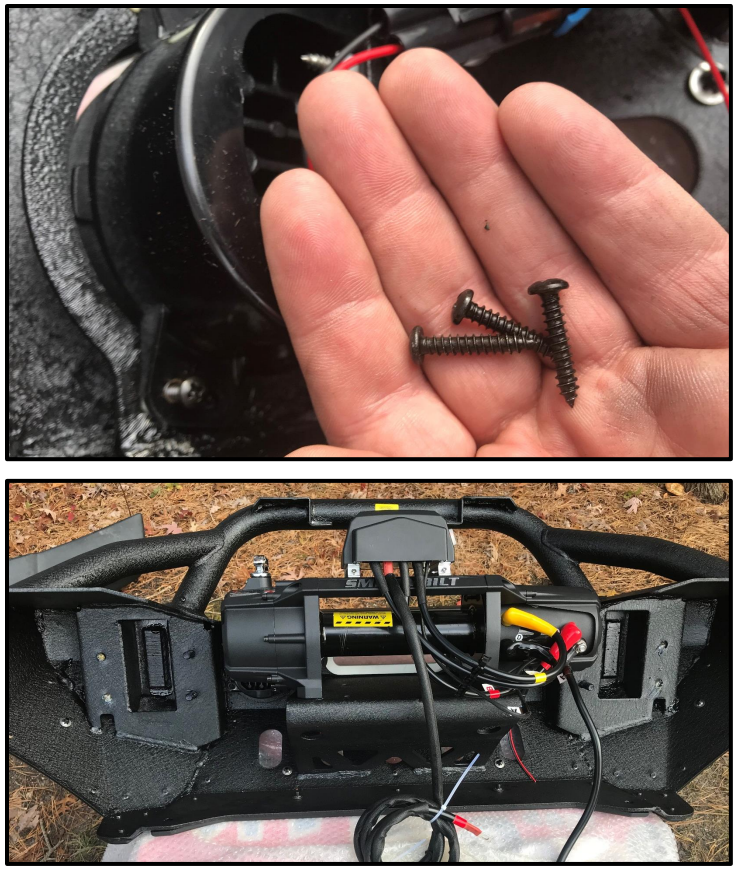
8. Install the fog lights into the plastic inserts using the included screws. Be sure to install the fog lights prior to installing the winch, as the motor and gearing mechanisms will make access impossible. If you will be installing a winch, do so at this time. The second photo shows the fog lights and winch installed.
9. Locate the two bolts on each side of the bumper which will be used to attach the bumper to the frame horns of the Jeep.
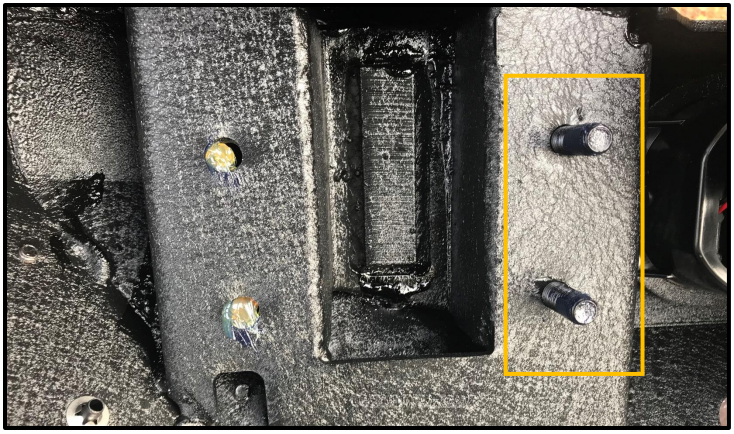
10. NOTE: THIS STEP WILL REQUIRE TWO PEOPLE, ESPECIALLY IF A WINCH IS EMPLOYED. Place the entire bumper assembly on the Jeep, sliding the bumper bolts through the inner holes in the frame holes. Secure the bumper to the frame horns using lock washers, flat washers and nylock nuts.
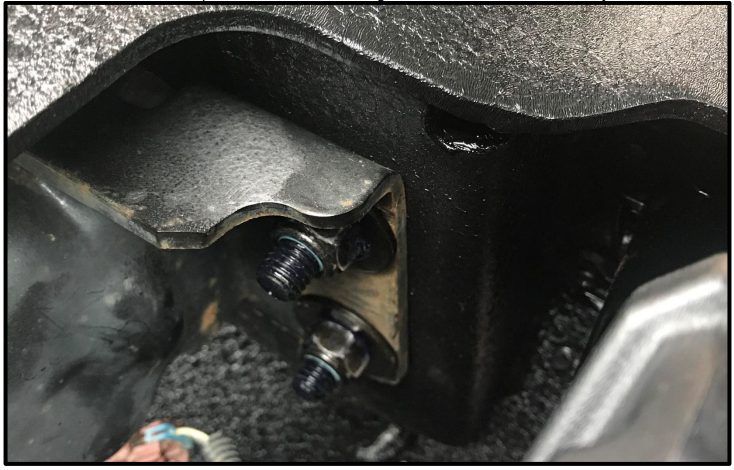
11. To fully secure the bumper to the frame horns, insert the 12 x 40 mm hex bolts along with lock washers and flat washers through the newly-drilled holes (which were enlarged in step 4) and tighten. Torque all bolts and nuts which attach the bumper to the frame horns to 60 ft-lbs.
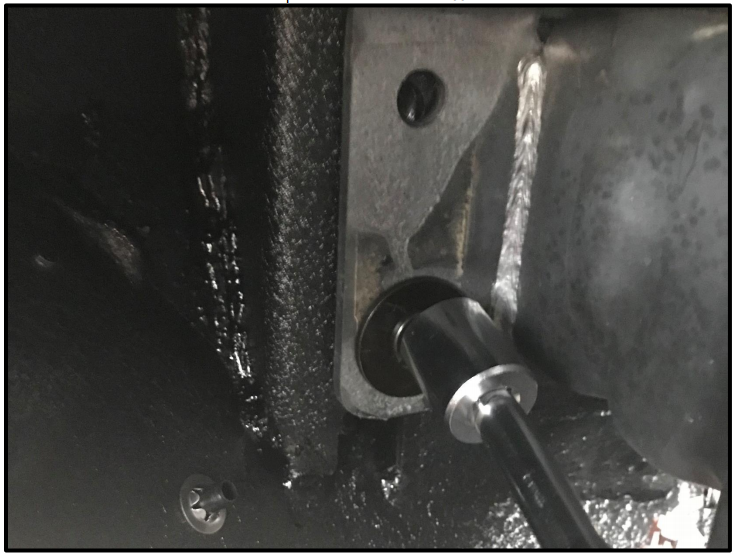
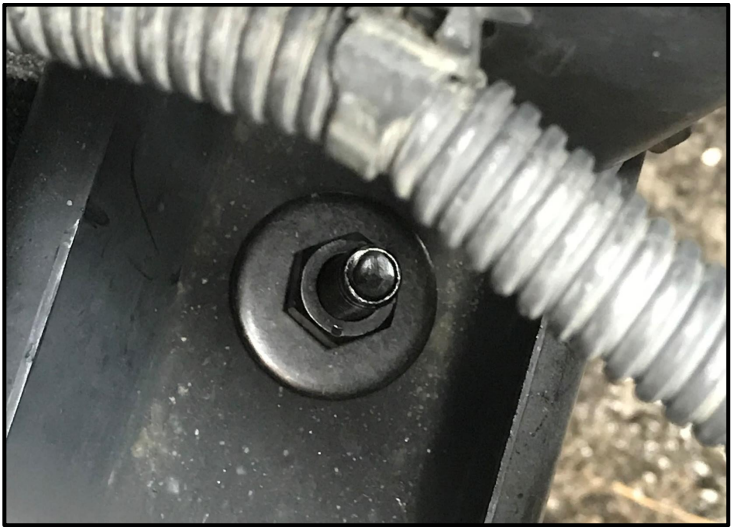
12. The lower rear corners of the bumper attach to the crash bar under the front of the Jeep. If the holes are obstructed, center punch and drill the crash bar using the 13/32” drill bit, taking care not to damage the bumper. Paint the freshly exposed metal to prevent corrosion. Secure each corner of the bumper using the included countersunk M10 bolts, washers, and nuts.
13. Connect the fog light wiring harness to the installed fog lights.
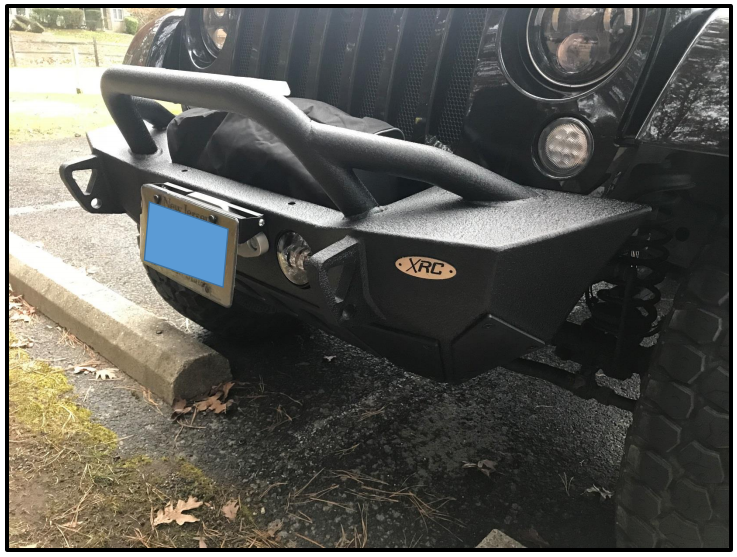
14. Attach the license plate (as required). This bumper has no provision for mounting a license plate. In this case, a license plate mounting bracket was employed.
15. The installation is now complete.
Installation Instructions Written by ExtremeTerrain Customer Brett R. Cabeca 11/18/2017
