 FREE 1 to 3-Day Delivery on Orders $149+ Details

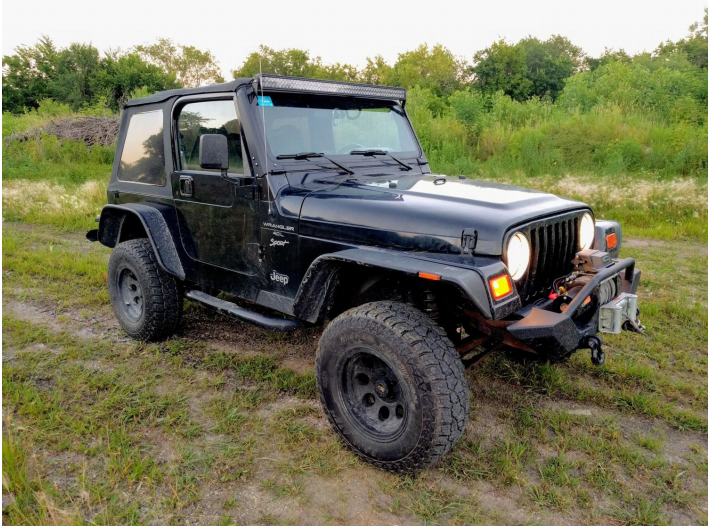
How to Install Steinjager Rear Sway Bar Package for 2 in. Lift (97-06 Wrangler TJ) on your Jeep Wrangler
Installation Time
30 minutes
Tools Required
- Metric Wrenches (2 - 17mm wrenches)
- Metric Sockets (15mm, 17mm, 18mm)
- Ratchet/Breaker Bar and extensions (Impact gun optional but helpful)
- Lug net wrench/socket (size may vary by vehicle)
- Hydraulic Jack and Stands
- Optional: PB Blaster (Or similar rust release formula)

Shop Parts in this Guide
Note: As with any project on a Jeep it’s not a bad idea to give all appropriate fasteners a good shot of PB Blaster prior to install.
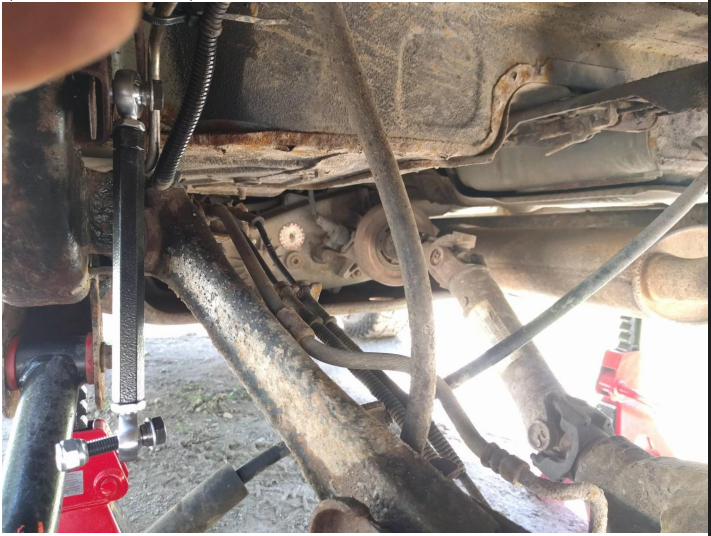
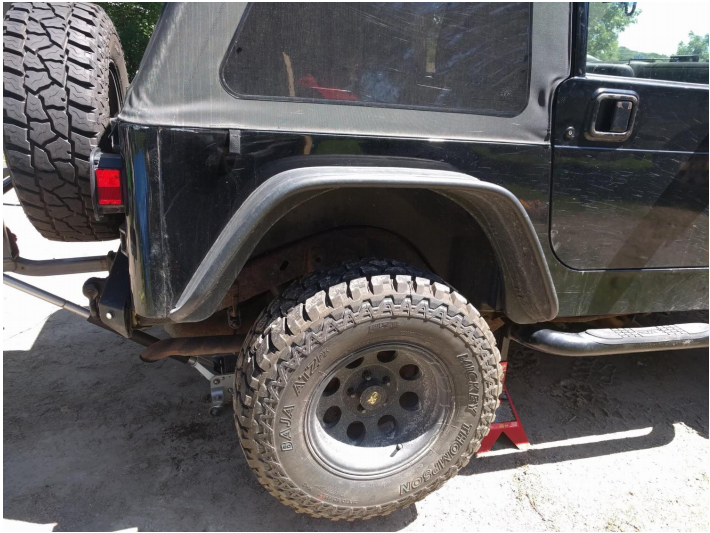
1. Raise Jeep to desired working height and secure with jack stands under frame. Relocate hydraulic jack under rear differential to maintain light additional support. Remove rear wheels.

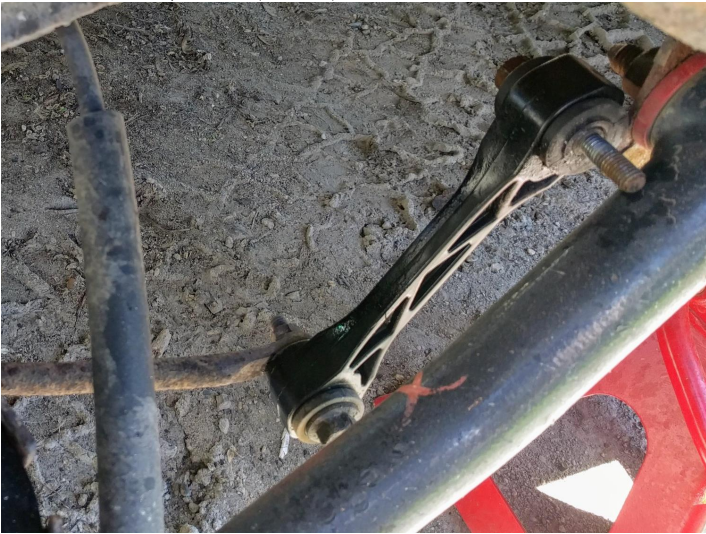
2. Locate and remove both sway bar end links (18mm bolts).
3. Locate and remove all 4 sway bar mounting bolts (15mm Bolts).

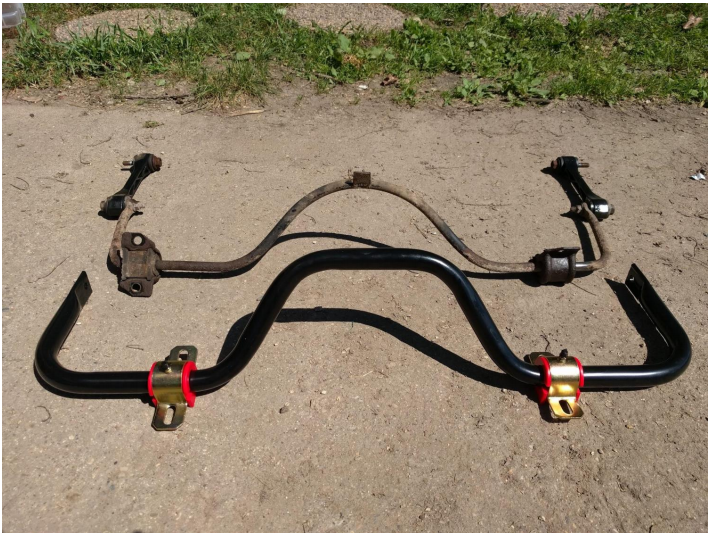
4. Remove sway bar assembly from vehicle.
5. Install one end of new adjustable sway bar end links to frame mounts (17mm Bolt) using provided lock nut or reusing OEM captive nut. Torque Spec for new end links is not provided - I opted to torque to OEM end link spec of 40 ft-lbs. IMPORTANT: If using new lock nut be aware that there is a hole in frame cross member directly behind nut. If you are not EXTREMELY careful, it is VERY EASY to drop nut into frame. For this reason alone, I opted to resuse OEM tabbed/captive nuts.
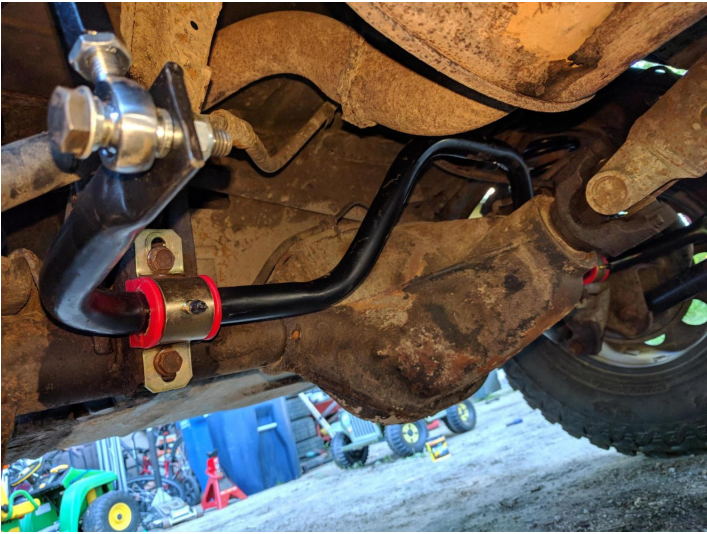
6. Prepack red bushings with your favorite grease and install on new sway bar before inserting new sway bar into place. Bolt to axle reusing OEM bolts and washers or OEM bolts with new washers (15mm bolts)- Torque Spec is 74 ft-lbs. See photo for correct orientation of sway bar. NOTE: Photo shows end link connected for orientation purposes only, do not adjust/attach links until next step.
7. Reinstall tires - Lug Nut Torque Spec is 110 ft-lbs - remove jack stands and lower vehicle to the ground.
8. With vehicle at ride height and on level ground, position the sway bar so that ends are parallel with the ground and rotate adjustment barrel of end links until bolt slides easily into sway bar mounting hole. Using 2 - 17mm wrenches, lock adjustment into position by snugging BOTH top and bottom locking nuts to barrel adjuster.
.
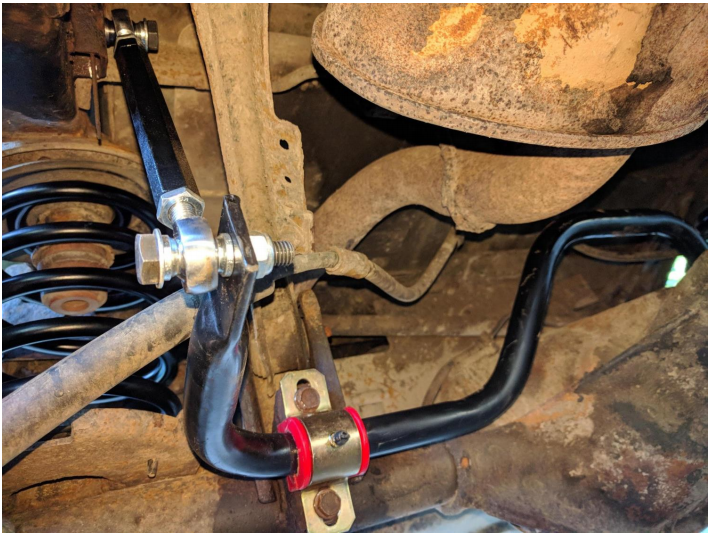
General notes: Recommended maintenance is 3 pumps of grease into each of the two zerk fittings on an annual basis. More may be necessary based on your driving habits. 90 degree Sway bar orientation is only given as a starting point, based on your personal vehicle and goals, you may opt for a different angle
Installation Instructions Written by ExtremeTerrain Customer 07/17/18

