 FREE 1 to 3-Day Delivery on Orders $149+ Details

How to Install Smittybilt G.E.A.R Custom Fit Seat Covers - Front (13-18 Wrangler JK) on your Jeep Wrangler

Shop Parts in this Guide
1. Carefully open the package using a box cutter or knife (Figure A), making sure not to cut the fabric inside the box with the blade. Ensure the seat covers are included and undamaged.
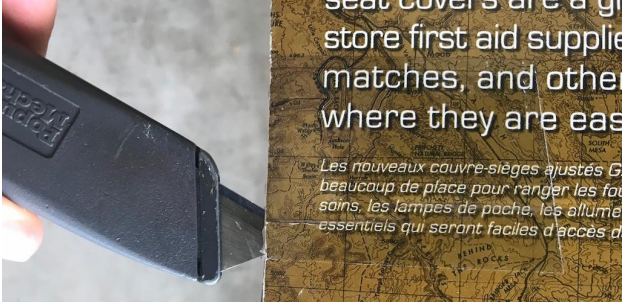
Figure A
2. Remove the headrest from both the driver and passenger seats (Figure B).
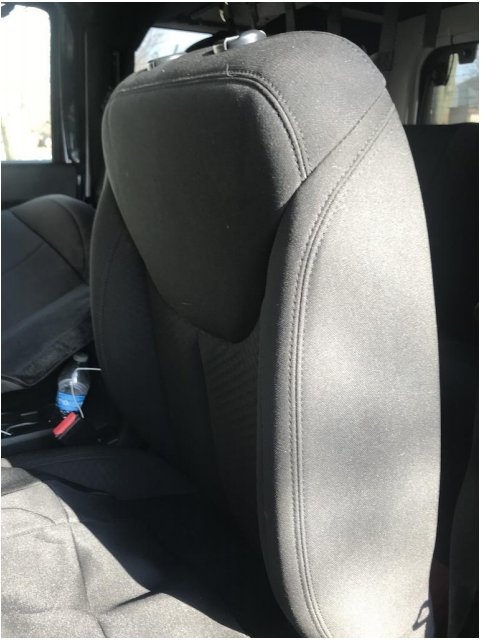
Figure B
3. Slide the G.E.A.R. seat cover over the back part of each seat (Figure C). Note: Wrinkles caused from packaging will stretch out after a few hours.

Figure C
4. Run the bottom of the front part of the cover (with two fabric loops) between where the rear and bottom seat pieces connect for both seats (Figure D).
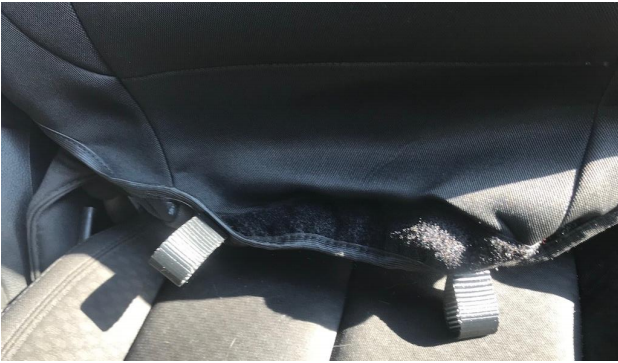
Figure D
5. Use the fabric loops to pull the bottom piece through the back separation of the seat for both seats (Figure E).
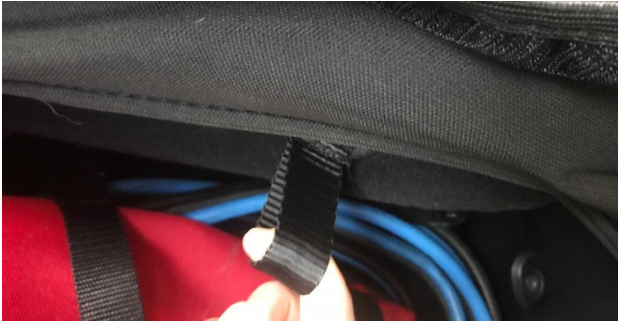
Figure E
6. Ensure the front of the seat cover is tight against the seat (Figure F).
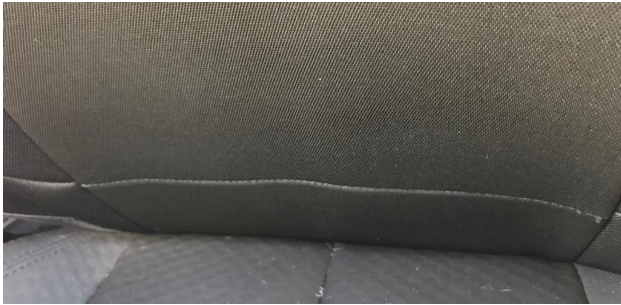
Figure F
7. Unbuckle the bottom two buckles on each of the bottom seat covers (Figure G).
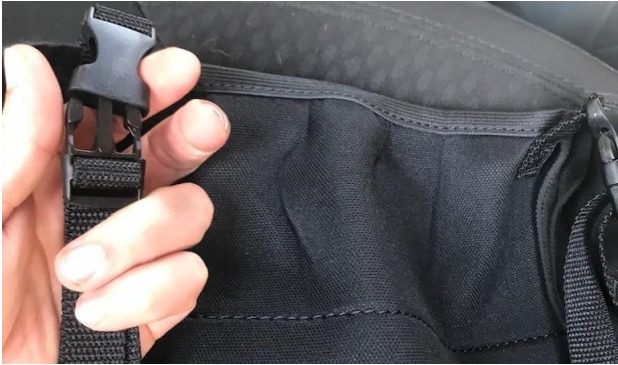
Figure G
8. Run the two clasp receivers between the rear and bottom seat cushions (Figure H).
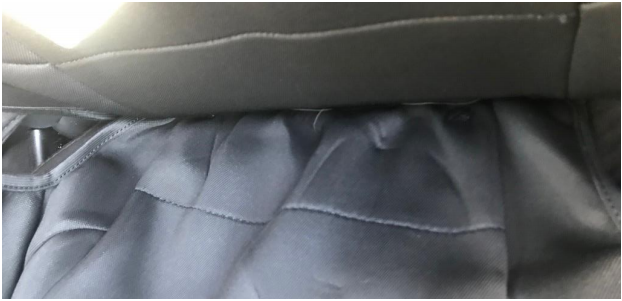
Figure H
9. Slide the bottom seat covers over the front of each seat's bottom cushion (Figure I).
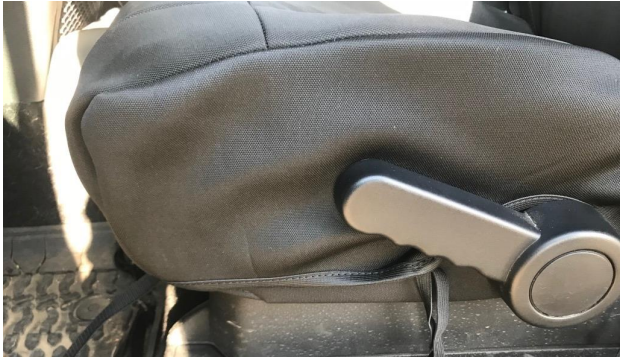
Figure I
10. Reconnect the two clasps on each seat by running the fabric rope under each seat and connecting the clasps on the back side of the seat (Figure J). Attach clips along the underside seat brackets.
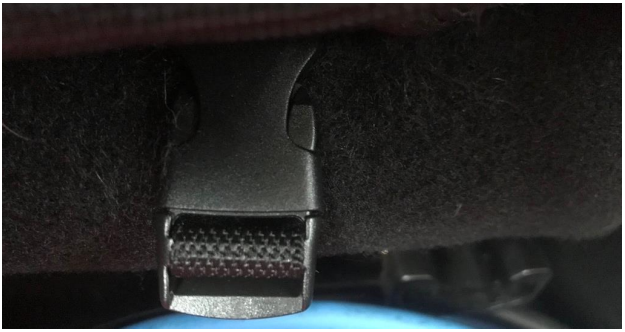
Figure J
11. Place the headrest cover over the removed headrest for each seat (Figure K).
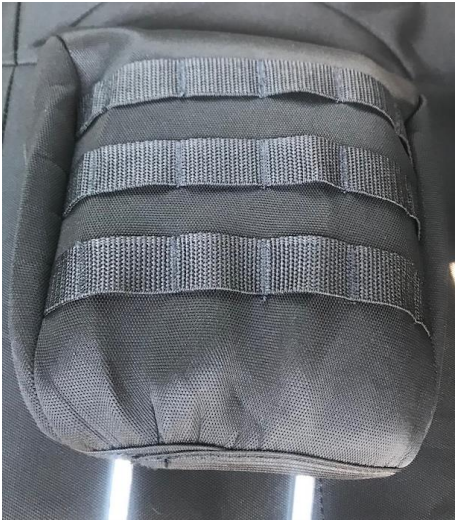
Figure K
12. Place the headrest back onto each seat (Figure L).
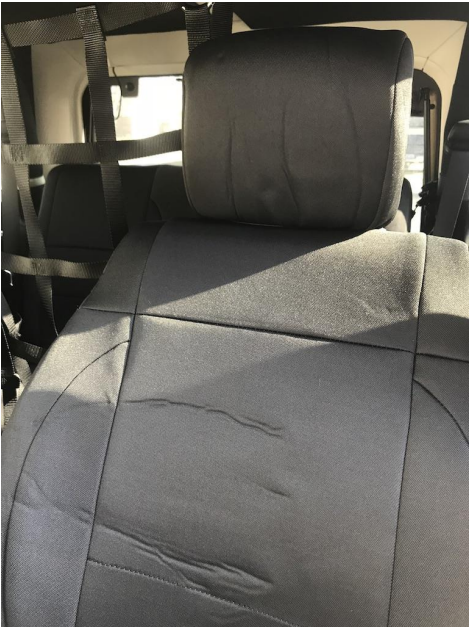
Figure L
13. Optional: Configure molle attachments.

Before
After (Front)

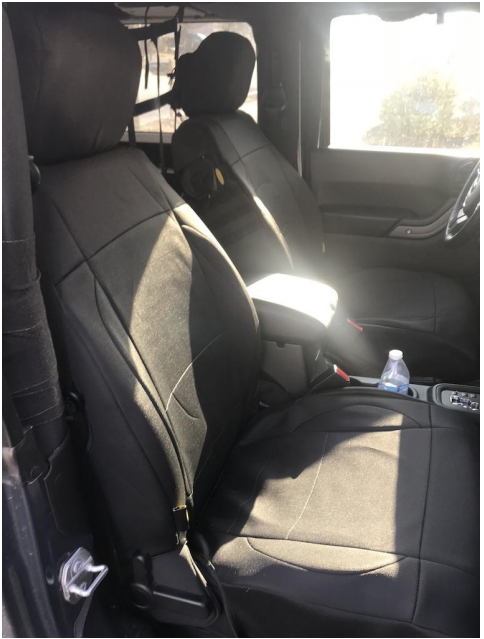
After (Rear)
Installation Instructions Written by ExtremeTerrain Customer J. Sandlin 01/09/2018
