 FREE 1 to 3-Day Delivery on Orders $149+ Details

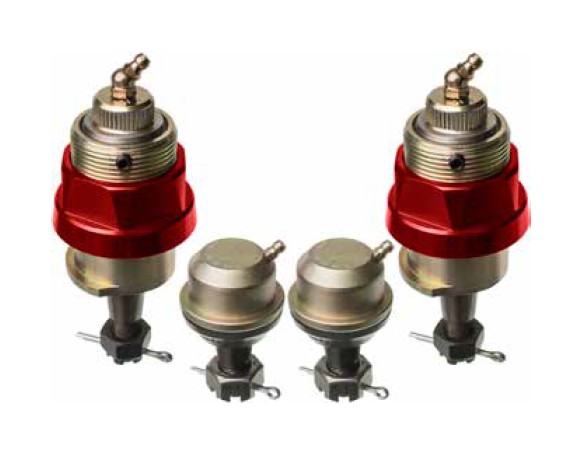
How to Install SkyJacker Dual Load Carrying Ball Joint Kit (87-06 Wrangler TJ & YJ) on your Jeep Wrangler
Tools Required
- Heavy Duty Ball joint Tool
- Torque Wrench
- Long Nose Pliers
- Side Cutters
- 1/2" Ratchet
- 1 2pt-1 3NINI
- 7/8" and 1 1/1 BuSockets
- 2" Socket
- 1/8" T-handle Allen Wrench (Supplied)
- 1 3MM, 3 6MM Sockets
- 21M, 3 5MM Sockets
- 316"" Allen Wrench
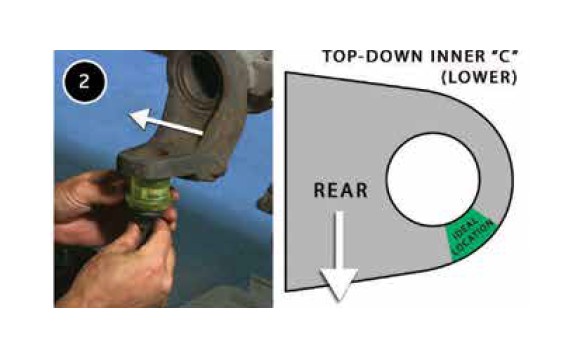
1. Remove the OEM ball joints & clean / inspect the OEM ball joint holes in the inner “C”.
2. Insert the new Skyjacker lower ball joint with the grease fitting hole rotated outwards 45 degrees towards the rear of the vehicle.
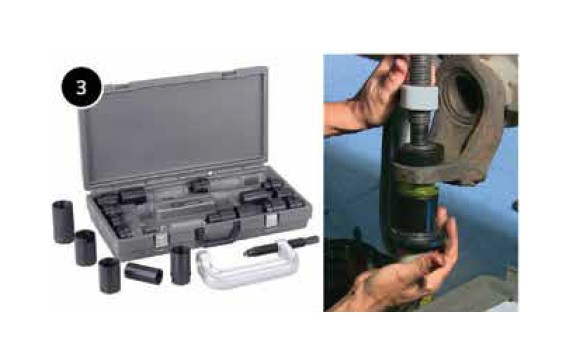
3. Using a HD ball joint tool, press the new Skyjacker lower ball joint into place.
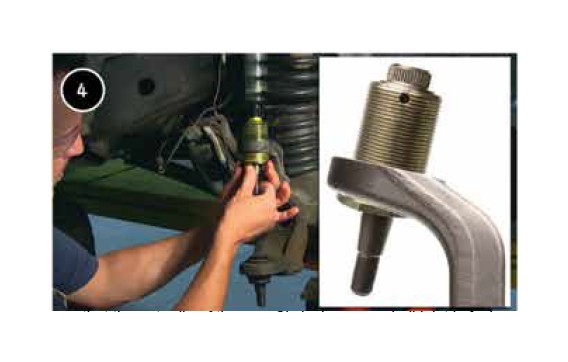
4. Ensure that the outer lip of the new Skyjacker upper ball joint is facing outboard & insert the new upper ball joint. Note: The Skyjacker design upper ball joint installs UP, opposite of the OEM upper ball joint.
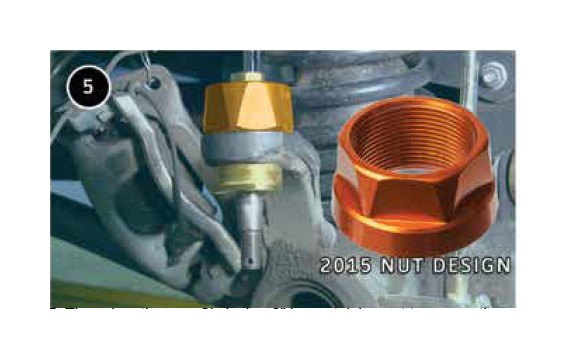
5. Thread on the new Skyjacker 2” hex retaining nut to square the new upper ball joint in the OEM hole using an adjustable wrench or 2” socket. Once the new ball joint is square in the OEM hole, remove the new retaining nut.
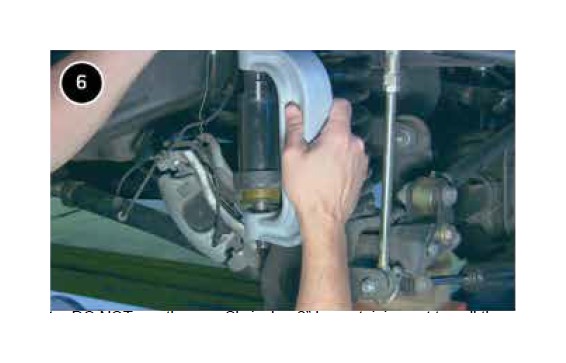
6. Note: DO NOT use the new Skyjacker 2” hex retaining nut to pull the new Skyjacker upper ball joint up into the OEM hole. Press in (up) the new Skyjacker upper ball joint using a HD ball joint tool.
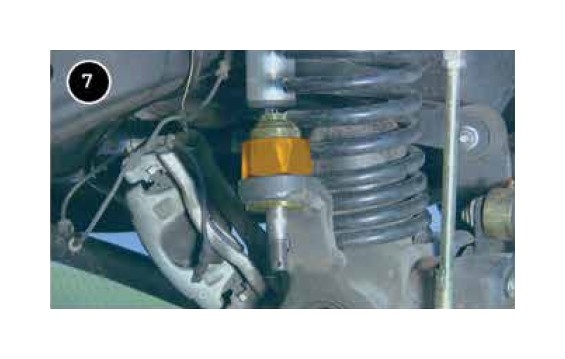
7. Install the new Skyjacker 2” hex retaining nut & tighten using an adjustable wrench or 2” socket. (Torque to approximately 100 ft/lbs) Note: To protect the new 2” hex retaining nut finish, wrap with painter’s tape.
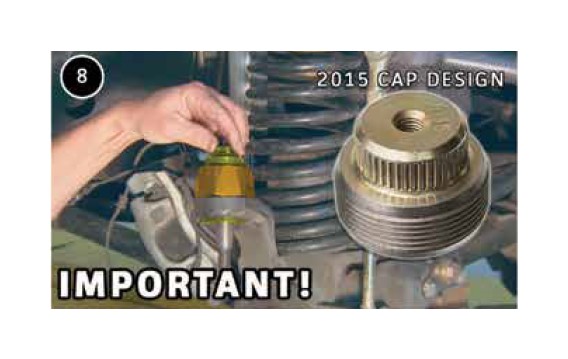
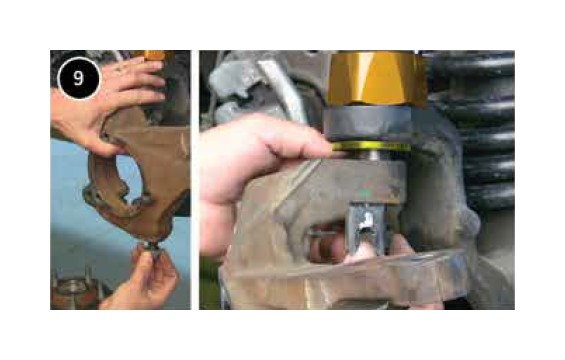
8. Make sure the new Skyjacker load carrying cap is backed off completely & only a few threads hold it in place. Note: This MUST be done prior to attaching the OEM knuckle.
9. Install the OEM knuckle & thread on the new Skyjacker lower ball joint castle nut. Note: JK models reinstall the wheel speed sensor bracket & thread on the upper castle nut.
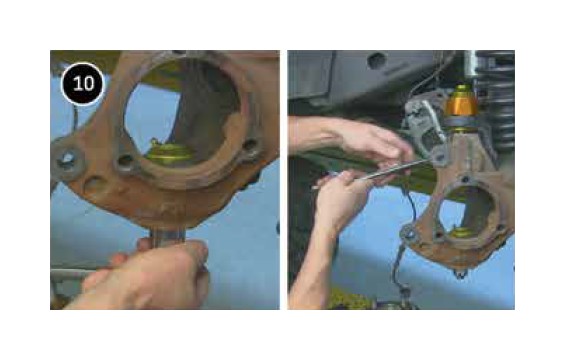
10. Install the straight grease fitting into the new Skyjacker lower ball joint. Using a 1 1/16” socket, torque the new lower castle nut to 75-90 ft/lbs. Using a 7/8” socket, torque the new upper castle nut to 65-75 ft/lbs.
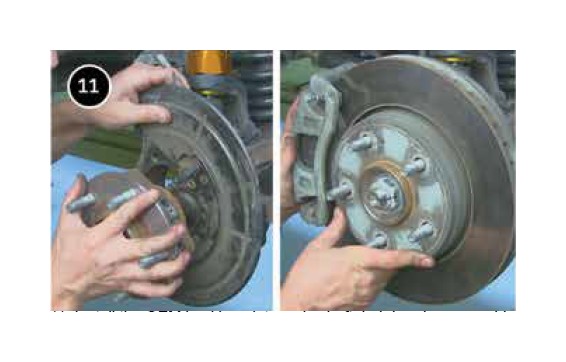
11. Install the OEM backing plate, axle shaft, hub bearing assembly, brake caliper, brake rotor, tie rod assembly, drag link, tire / wheel, & etc.
12. Lower the vehicle to the ground in order to put the full weight on the tires / wheels. Note: This MUST be done BEFORE setting the preload.

13. Tighten the new Skyjacker load carrying cap by HAND until the new load carrying cap bottoms out.
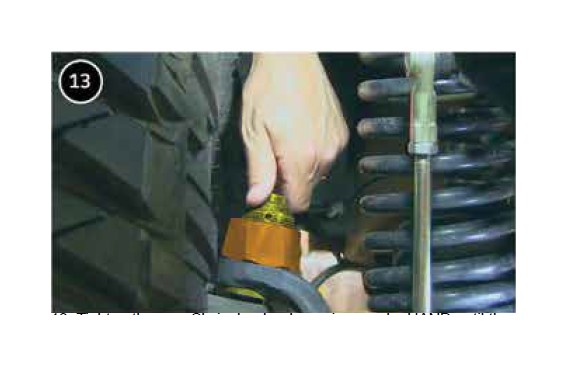
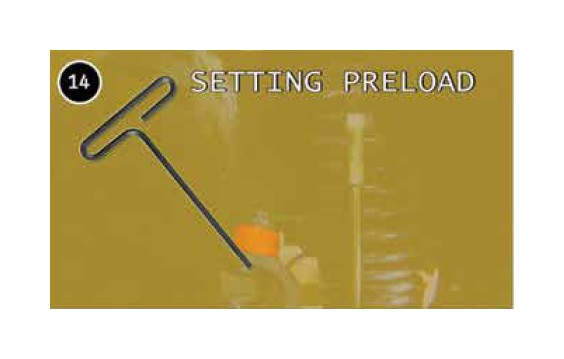
14. USE ONLY THE SUPPLIED 1/8” T-HANDLE WRENCH. Overtightening may cause premature wear & memory steer.
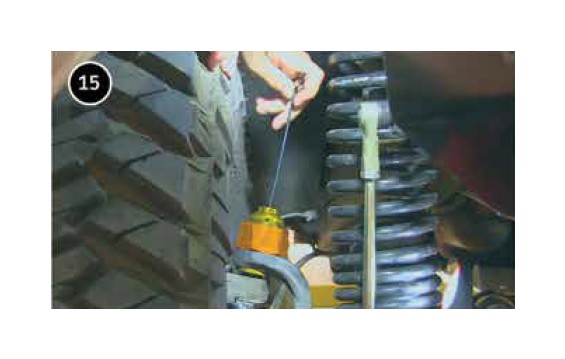
15. Tighten the new Skyjacker load carrying cap using the supplied 1/8” T-handle wrench until the cap stops turning & the wrench flexes (Approximately 50 in/lbs. DO NOT exceed 55 in/lbs. DO NOT use a standard ft/lb torque wrench.)
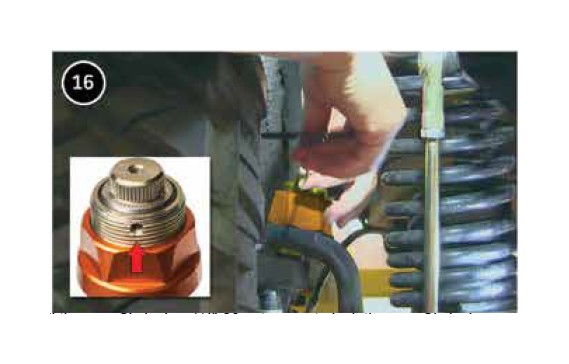
16. Install the new Skyjacker 1/4”-28 set screw to lock the new Skyjacker load carrying cap in place & tighten using the supplied 1/8” T- handle wrench.
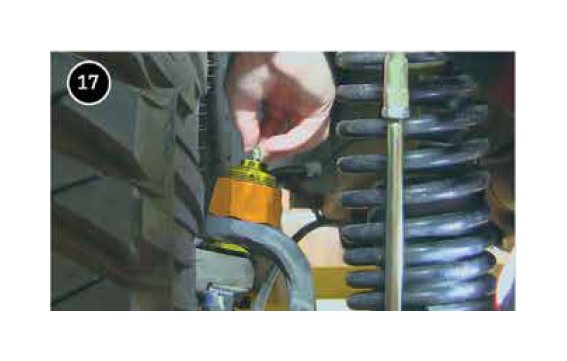
17. Install the angled grease fitting into the new Skyjacker upper ball joint. Grease the new Skyjakcer upper & lower ball joints with high quality grease. Repeat all steps in these instructions for the opposite side of the vehicle.
18. IMPORTANT - LAST STEP:
After test driving the vehicle, re-torque ca,stle nuts on the upper and lower ball joints, and install cotter pins. If castle nuts need to be retorqued, then set preload again by going back to step 14. Note: Never back off the castle nut to line up the cotter pin hole - continue tightening to next slot if needed.
Perform front end alignment.
