FREE 1 to 3-Day Delivery on Orders $149+ Details

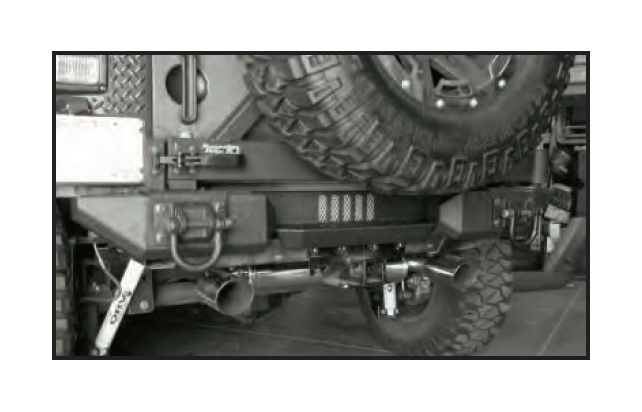
How to Install a Rugged Ridge Alumunium XHD Rear Bumper Step on your 07-18 Jeep Wrangler JK; 2018 Jeep Wrangler JL

Shop Parts in this Guide
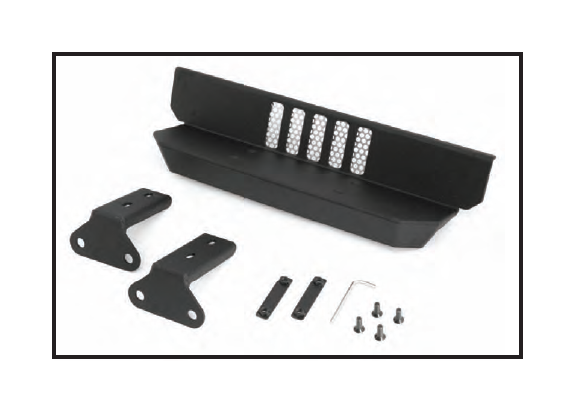
Contents:
1. Center Pod Step (1)
2. Center Mounting Bracket (2)
3. M8 Nut Plate (2)
4. M8 Counter Sunk Bolt (4)
5. Allen Head Tool (1)
6. M12 Long Hex Bolt (4) - not shown
7. M12 Flat Washer (8) - not shown
8. M12 Nylock Nut (4) - not shown
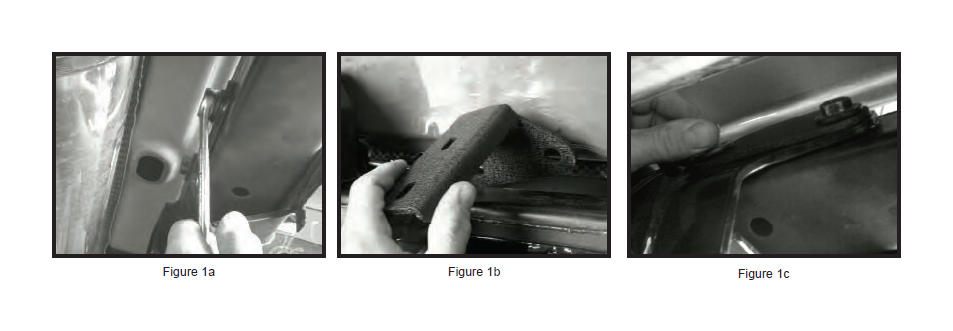
1. Factory rear bumper will need to be removed. See rear bumper pod instructions (11547.01) for correct procedure. If vehicle is equipped with a factory receiver loosen and remove the 4 bolts securing hitch in place (Fig.1a). Slide center mounting brackets onto frame cross member and and over receiver (if equipped). Align mounting holes (Fig.1b) and install supplied 4” M12 bolts, washers and Nylock nuts. Secure brackets to bumper, DO NOT TIGHTEN at this time (Fig.1c).
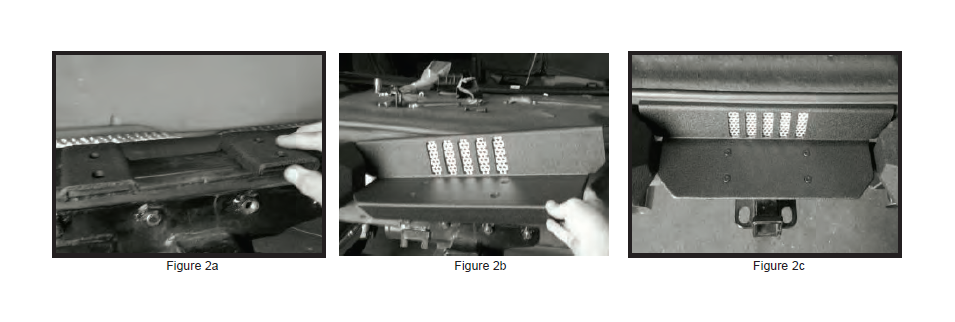
2. Center mounting brackets on cross member (Fig.2a). Open rear tailgate and place center step onto mounting brackets (Fig.2b). Make sure step is centered between bumper pods (Fig.2c).
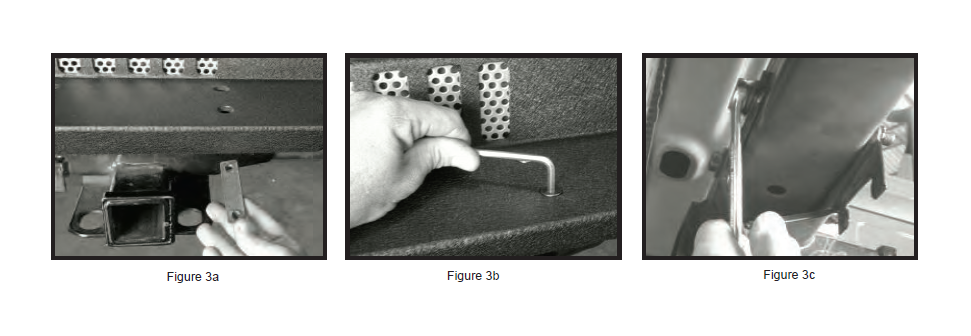
3. With step centered place nut plate under mounting bracket and hand start all four M8 counter sunk bolts (Fig.3a). Check to make sure step is still centered between bumper pods. Tighten counter sunk bolts using supplied Allen head wrench (Fig.3b). Part Number: 11547.10 With step secured to mounted to brackets and centered between bods tighten brackets and receiver (if equipped) to frame cross member (Fig.3c).