FREE 1 to 3-Day Delivery on Orders $149+ Details

How to Install Rugged Ridge Tube Doors - Pair, Textured Black on your 1997-2006 Wrangler

Shop Parts in this Guide
Contents:
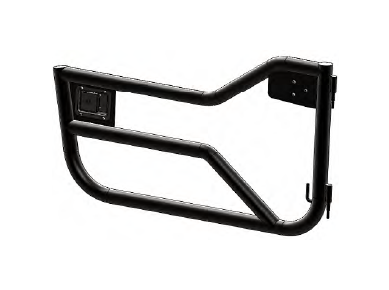
Tube Door (latches installed) (2)
Mirror Mounting Bolt (6)
Adjustable Nylon Strap (2)
Anti-Rattle Bumper (2)
Self Tapping Screw (2)
WARNING: This product is intended to provide added “off-road” convenience and utility to your vehicle. This product is not intended to provide occupant containment or protection in the event of an accident or rollover. Further, “on road” use may involve increased risk of serious injury in the event of side-impact accidents. To reduce risk from these types of injuries: Always wear seat belt and shoulder harness for all vehicle occupants. Keep arms and body inside vehicle. Drive safely, read and understand all manufacturers warnings and product instructions before installation.
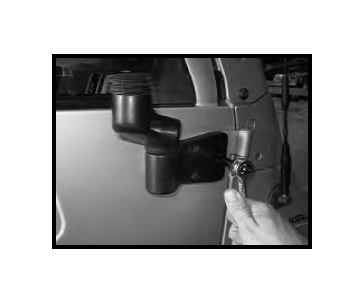
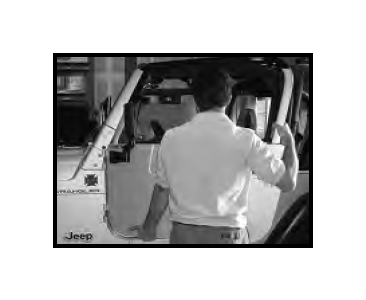
1. Remove the (3) torx head bolts that secure the side mirror to the vehicle. Be sure not to let the mirror drop after removing these bolts. Set mirrors aside to be re-installed on the Tube Doors.
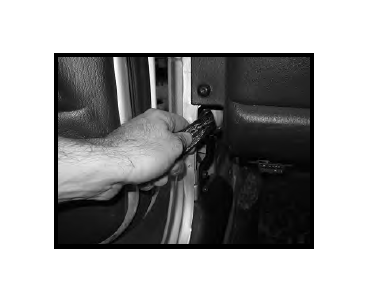
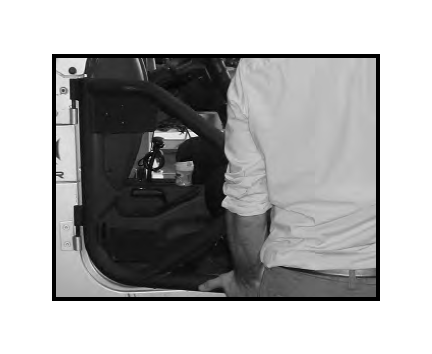
2. Locate the driver side door strap that limits the door opening. Remove the strap from the hook located inside the vehicle. NOTICE ! The door can swing open into the vehicle once the strap is released potentially causing damage to your vehicle.
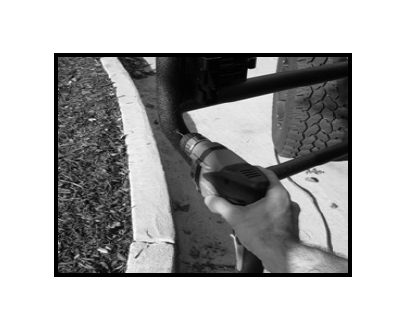
3. Remove the nuts from the bottom of each factory hinge pin. Set these nuts aside to be re-installed on the Tube Doors. To remove the factory doors, carefully lift the door upward until the hinge pins completely clear the hinges. Store OE doors in a safe place.
4. To install Tube Doors, lightly lubricate the tube door hinge pins. Position the hinge pins directly above the hinges. Slowly lower the hinge pins into the door hinges. If the hinge pins do not fully seat, slowly rotate the door back and forth until hinge pins fully engage. Install OE nuts removed in the previous step.
CAUTION ! To avoid risk of injury latch mechanism must be properly adjusted before use. Inspect and adjust as necessary should wear alter alignment of latch and striker. Do not use door/latch if damaged.
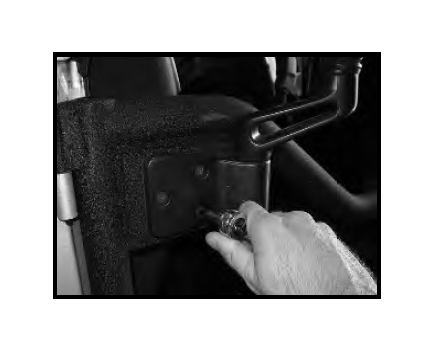
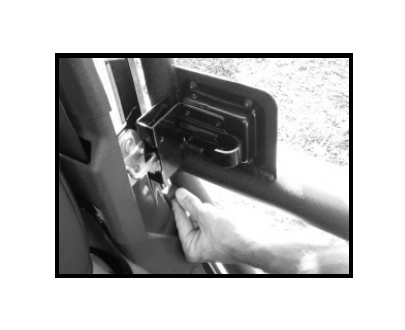
5. To ensure the rotary latch is aligned properly with factory door striker, loosen the (4) bolts securing the rotary latch to the Tube Door to allow for adjustment. With the rotary latch in the open position, line up the notch in the latching mechanism with the factory door striker and close the door. It may be necessary to loosen the factory door striker for proper alignment. If so, be sure to replace door striker to its original position before re-installing factory doors. When proper alignment is achieved, tighten door latch bolts. Open and close the door repeatedly to make sure door is secure and functioning properly. Repeat for passenger door.

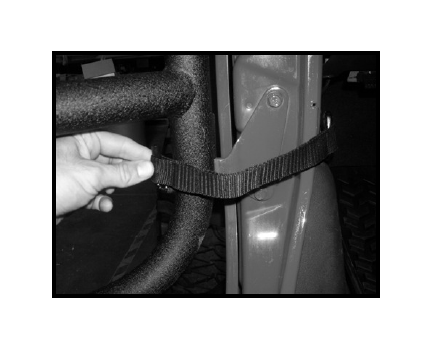
6. Attach the loop of the Adjustable Nylon Strap to the hook on the Tube Door and the hook inside the vehicle. By using di erent loops to attach to the vehicle hook, the amount of door opening can be adjusted.
7. To install factory mirror on the Tube Doors, locate the (3) mirror mounting holes in the Tube Door. Position the mirror such that the holes in the mirror align with the mounting holes in the tube door. Secure the mirrors to the Tube Doors using the supplied mounting hardware. Be sure to adjust mirrors for optimal viewing angles before operating vehicle. CAUTION ! Side view mirrors are required equipment for on-road vehicles.
OPTIONAL RUBBER BUMPER INSTALLATION
After installing Tube Doors, optional Anti-Rattle Bumpers can be installed.
1. With tube doors installed, hold Anti-Rattle Bumper between the door and vehicle door jamb. Close the door and adjust the location of the bumper to achieve a snug t. Mark the location of the Anti-Rattle Bumper on the Tube Door using tape. Open door and mark the center of the bumper with a center punch to prepare for drilling.
2. Drill a 3/32” hole in the Tube Door and attach the bumper with the supplied sheet metal screw. Do not overtighten. The attachment screw can be loosened or tightened as necessary to adjust the length of the Anti-Rattle Bumper.