 FREE 1 to 3-Day Delivery on Orders $149+ Details

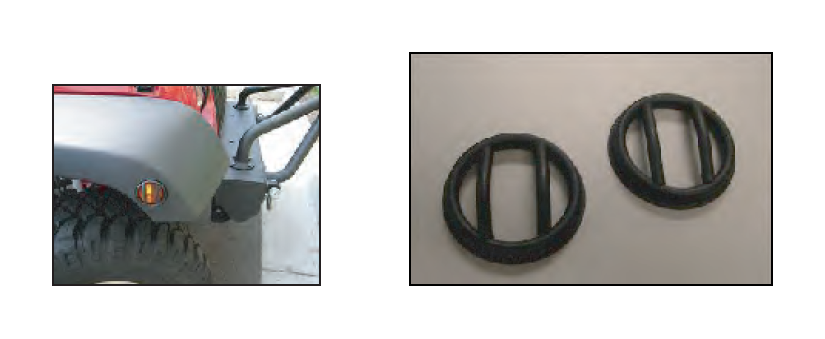
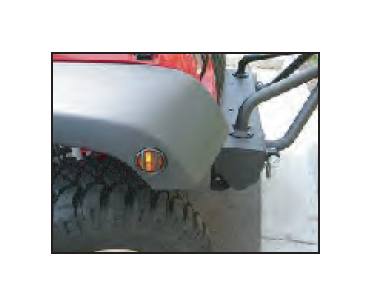
How to Install Rugged Ridge Side Marker Light Guards, Black on your 2007-2013 Wrangler
Contents:
Side Marker Euro Guards (2)
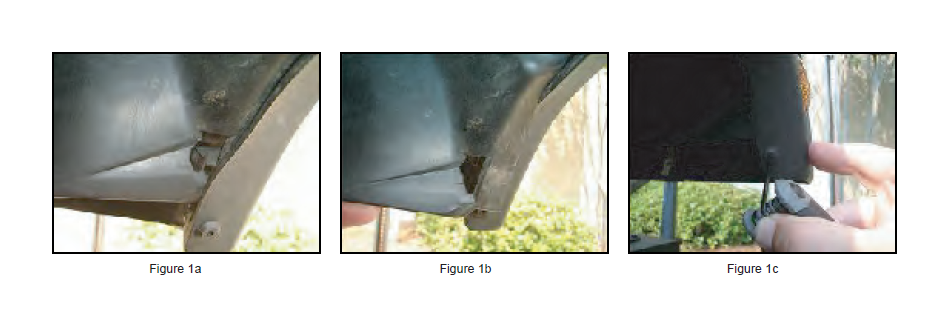
1. Gain access to the side marker light. First, pull back the inner fender liner to expose the back of the side marker light. It needs to be pulled over a tab (Figures 1a and 1b). Next, use a small allen wrench to push in the center of the plastic rivet that holds the fender flare to the light (Figure 1c). It sometimes takes considerable force to release this. Once the center has been pushed through, the rivet can be pulled out toward the wheel.
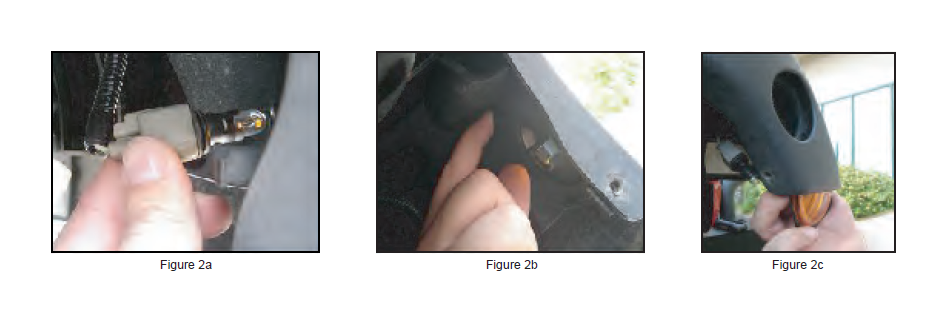
2. Remove bulb from light housing by twisting and pulling (Figure 2a). Push on tab at top of side marker housing to release housing from inner fender (Figure 2b). Pull light housing out of bottom of fender flare (Figure 2c). It may help to have another person pull the inner fender liner and the flare apart while removing the light.
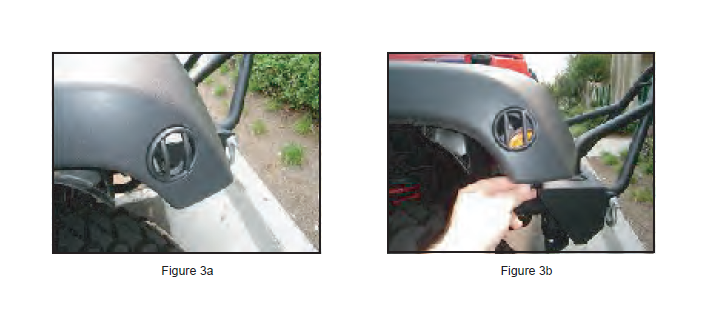
3. Place the Euro Guard into the fender flare from the back side (Figure 3a). Re-install side marker light (Figure 3b). It may help to have another person pull the inner fender liner and the flare apart while installing the light. The Euro Guard is held in place between the side marker light and the fender flare.
4. Reinstall light bulb, inner fender liner, and the light retaining rivet. Installation is the reverse of removal.
Congratulations on the purchase and installation of a quality Rugged Ridge product!

