 FREE 1 to 3-Day Delivery on Orders $149+ Details

How to Install Rugged Ridge 2 in. Receiver Hitch Kit w/ Wiring Harness & Jeep Logo Hitch Plug (07-18 Wrangler JK) on your Jeep Wrangler
Installation Time
1.5 hours
Tools Required
- ¾" Open End Wrench
- 18 mm Socket ¼" drive
- Pliers/Needle nose pliers/Channel locks, etc.
- Torque wrench
- Phillips head screwdriver
Shop Parts in this Guide
Installation Instructions
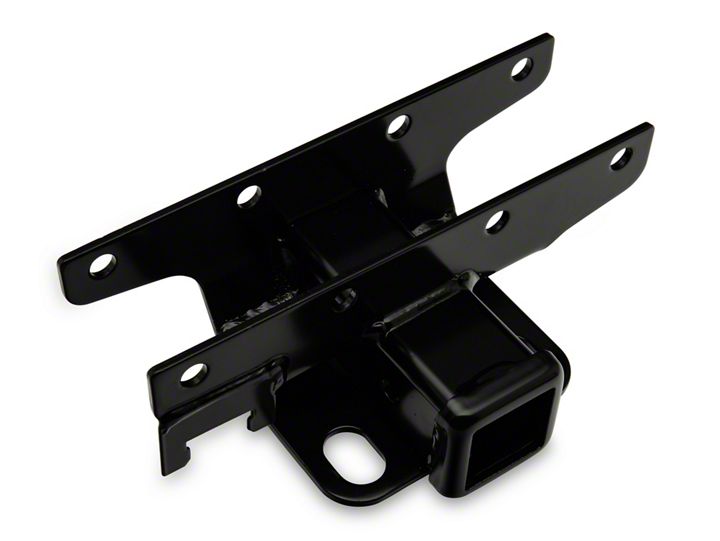
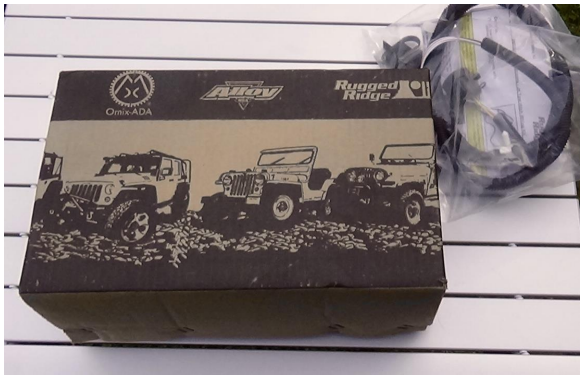
1. First things first, open the box and be sure everything is there. You should find the hitch itself, four long mounting bolts, eight large flat washers, and eight Nylock nuts. With this kit you should also have a wiring harness for the trailer lights and a “Jeep” receiver plug.

2. Start by holding the hitch up in position on the cross member that runs behind the rear bumper, and align it to the four pre-drilled holes in the cross member. With your other hand slip one of the bolts and one of the flat washers into one of the outside holes on the hitch and through the cross member. Repeat at the other outside hole. The hitch is now hanging from the frame member - you don’t need to put the other washer or nuts on yet, but if you feel more comfortable with the nuts installed, leave them loose for now. (The bolts need to be inserted from above the muffler due to the tight spacing.)
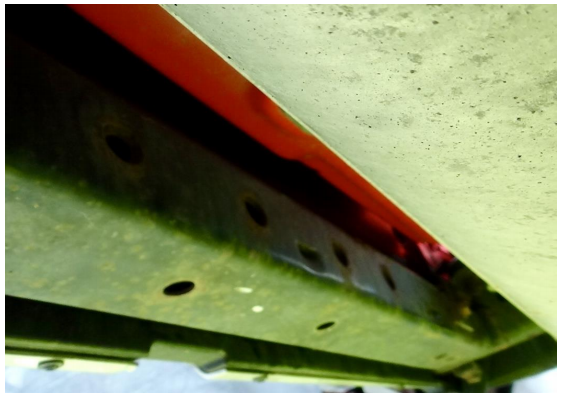
3. Next, insert one of the two center bolts with a washer in the same way as the others.
4. Now for the “hard” part: Use your fingers to get a flat washer onto the threaded end of the bolt where it comes through the frame and the hitch behind the bumper. Next comes the Nylock nut. Use a pair of pliers of some sort to hold the nut in position while threading the bolt into it. After several attempts with various tools I found that my regular old pliers did the best job of getting the nut up into position behind the bumper and holding it there.
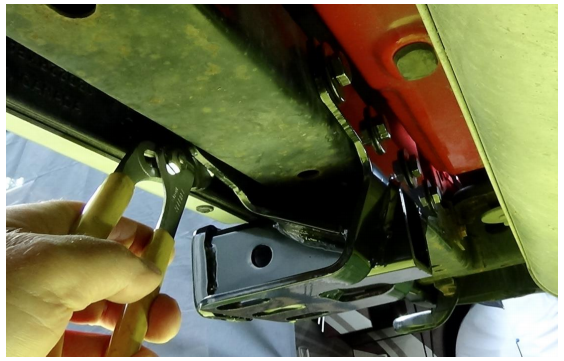
5. Repeat with the remaining washer and nut.
6. Once all the bolts, washers and nuts are in place, use the 3/4-inch open-end wrench and the socket wrench to tighten them all down. Once they are snug, torque them to 80 lb./ft.
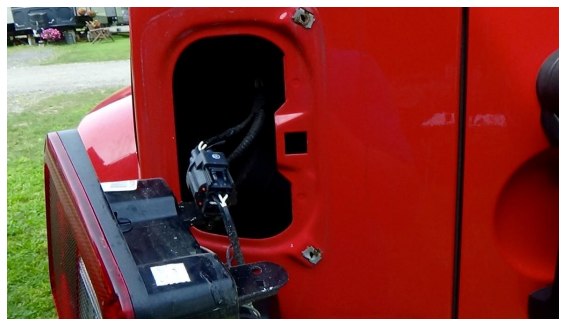
7. Next, remove the two screws on the inboard side of the driver side taillight to get to the wiring connections.
8. Disconnect the taillight connector and plug in the new trailer light harness between. The new connectors can only fit in one way, so it’s pretty darn fool-proof.
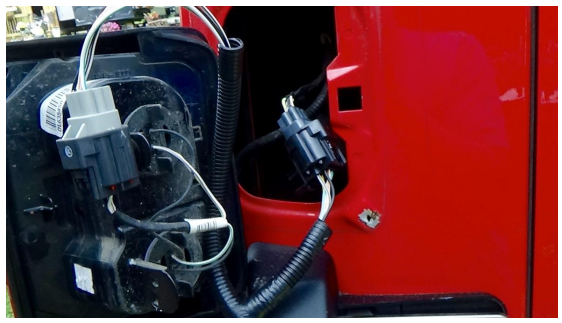
9. Feed the rest of the new harness down through the front of the cavity. Pull the foam insulation back just a bit if needed to get the wiring through.
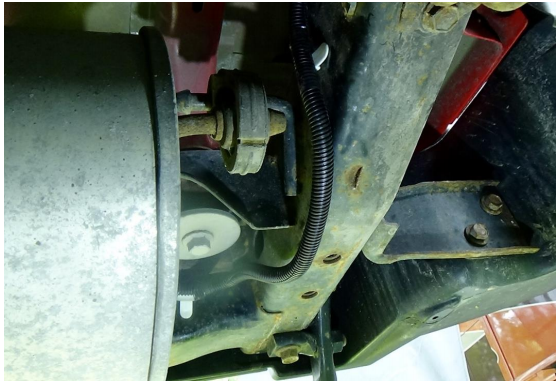
10. Now, from underneath, take the hanging wiring from the wheel well and feed it over the top of the frame and down the inside of the frame rail. Be sure it goes in front of and above the hanger for the muffler.
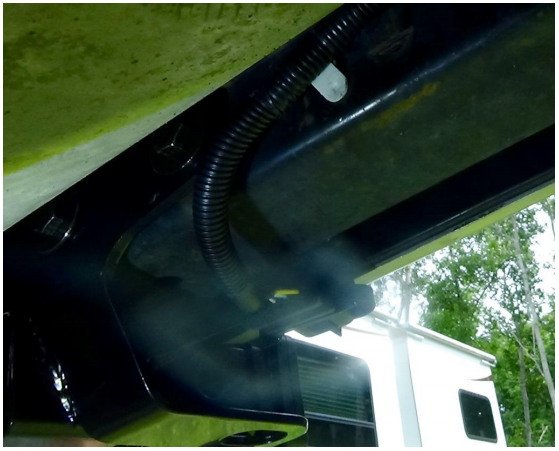
11. The three white plastic anchors on the wiring harness should mate up perfectly to the three pre-drilled holes in the frame rail and rear cross member. Feed the harness over to the hitch securing it with the three anchors as you go, then push the rubber trailer light connector into the bracket that extends down from the hitch.
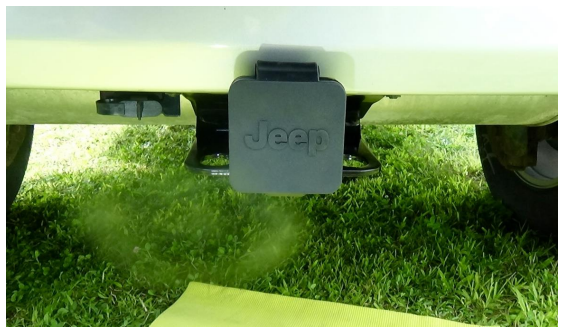
12. Now, all that’s left is to install the hitch cover by stretching the rubber retainer over the receiver tube and pushing the cap into place.
13. Reattach the taillight and test for function. You’re done!
Installation Instructions Written by ExtremeTerrain Customer Perry Vayo 08/29/2017

