 FREE 1 to 3-Day Delivery on Orders $149+ Details

How to Install Rugged Ridge Hood Catch Kit (97-06 Wrangler TJ) on your Jeep Wrangler
Installation Instructions:
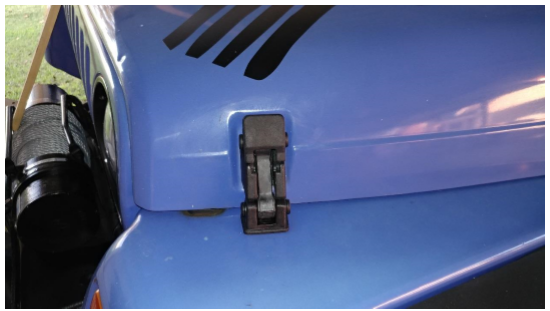
1. Before, the rubber has started to show its age and stress marks can be seen. The color has also faded.
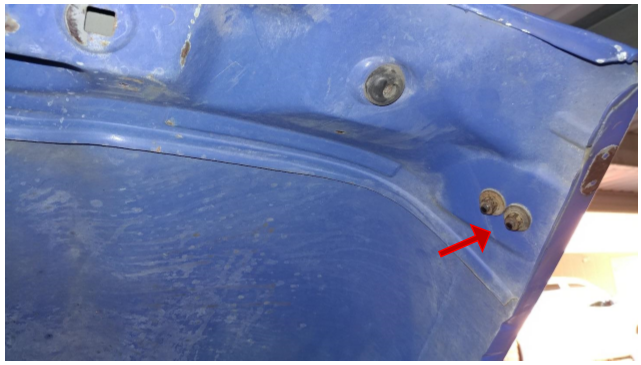
2. Starting with the lower portion of the latch located on the front fender remove the factory 15mm nut.
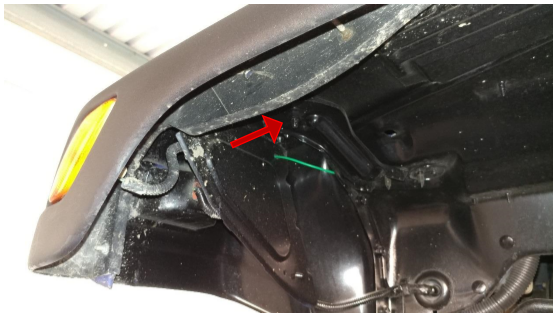
3. After removing the factory nut the lower latch should be free, align the new lower latch with the hole locations on the top of the fender.
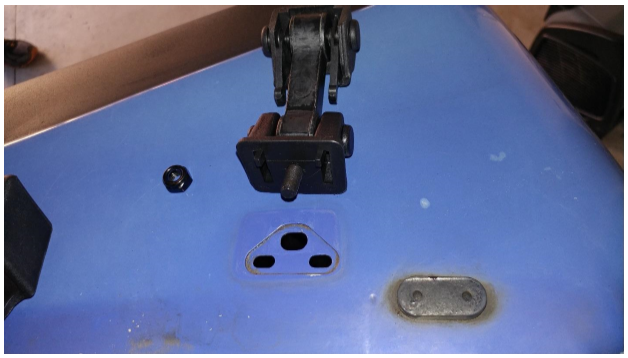
4. Install the 13 mm provided nut from underneath the fender.
5. Prop the hood securely to access the inside where the upper latch 10mm nuts can be removed.
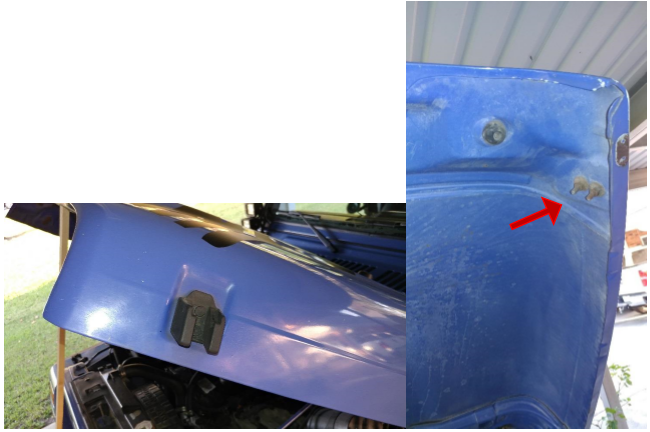
6. Line up the new upper latch with the factory holes.
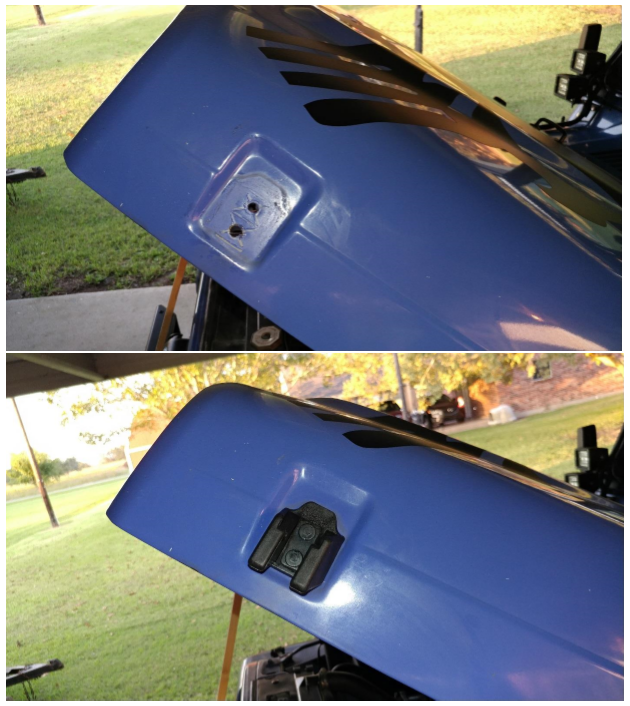
7. The factory nuts are a washer/nut combination, I chose to reuse the factory hardware.

8. Reinstall the factory 10mm nuts.
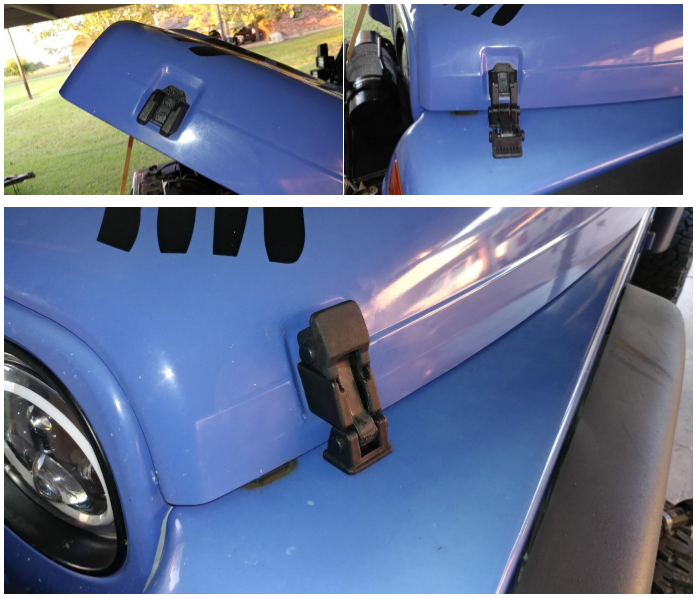
9. Installation complete. Check latch for proper movement and check that the latch closes snuggly.
Installation Instructions Written by ExtremeTerrain Customer T. Boyer 10/12/2017
