 FREE 1 to 3-Day Delivery on Orders $149+ Details

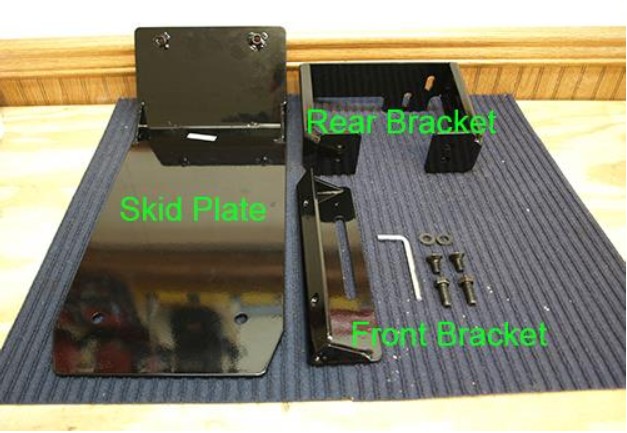
How to Install Rugged Ridge Evaporator Skid Plate (07-11 Jeep Wrangler JK) on your Jeep Wrangler
Installation Time
30 minutes
Tools Required
- Socket Wrench with 16mm socke
- Wrench/Ratcheting Wrench -16mm
- 6mm Allen Wrench (Supplied with Skid Plate)
- 6” socket extension (Optional)
- Safety Glasses
- Wheel chocks
- PB Blasteror other rust penetrating spray (Optional)
Installation Notes: Its recommended to spay the bolts holding the Evaporator to the Jeep®with a penetrating spray such as PB Blaster if the bolts are rusted. Wear safety glasses to prevent rust or other debris from falling in your eyes during installation.Place wheel chocks behind the front or rear tires before laying under your Jeep®.
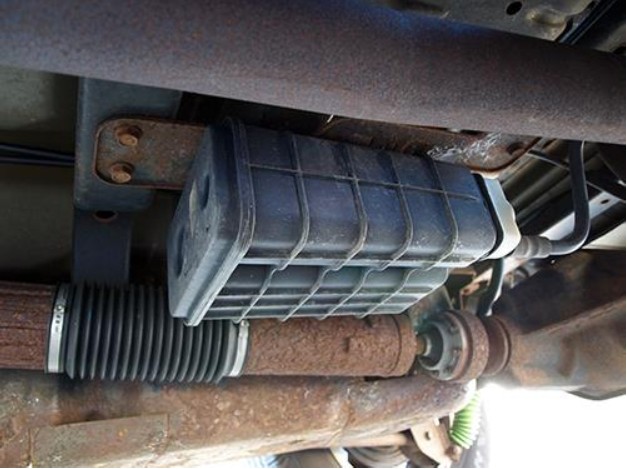
Before Install
Installation Instructions:
1. Break free the front two 16mm factory bolts with a Socket Wrench and a 16mm socket. Do not remove bolts.
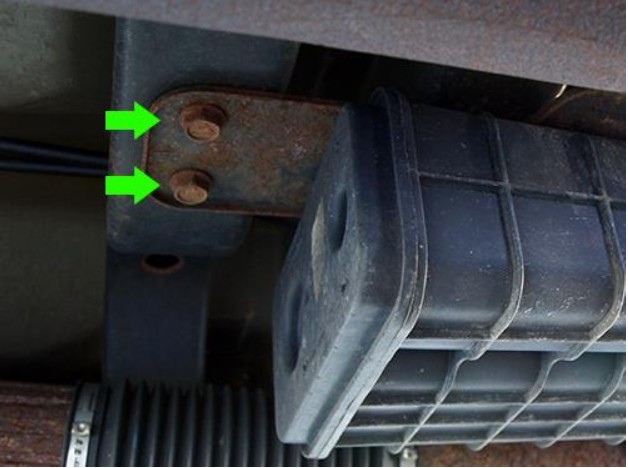
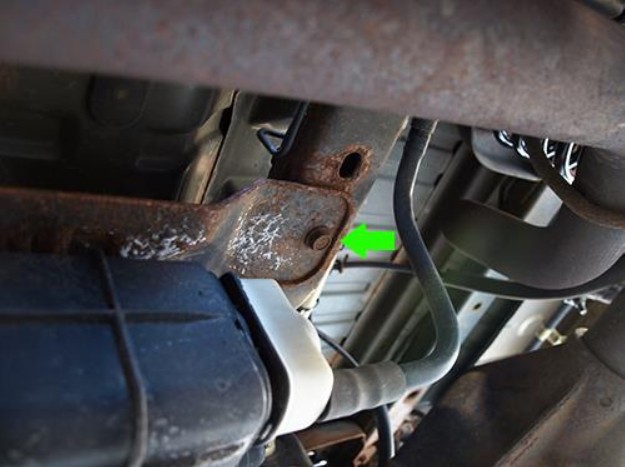
2. Break free the rear 16mm factory bolt with a Socket Wrench and a 16mm socket. Do not remove bolt.
3. Disconnect the three plugs connected to the Evaporatoror cut the zip ties that are holding the small wire loomed cable if the plugs do not appear to be coming lose.
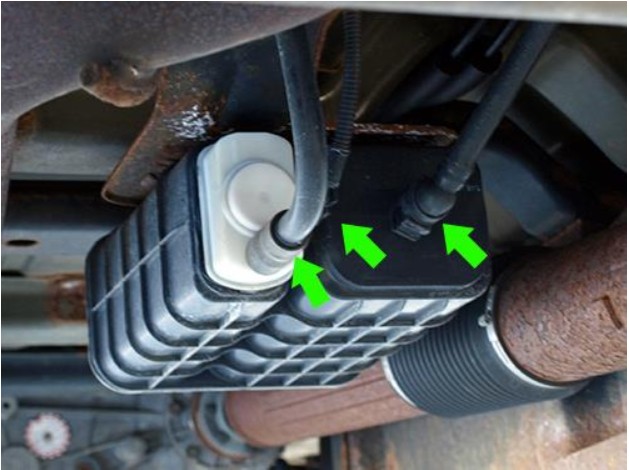
Cut the two zip ties that are holding the small wire loomed cable.This will allow you to slide the rear bracket from the front of the Evaporator to the rear without having to remove the three plugs shown in the picture above.
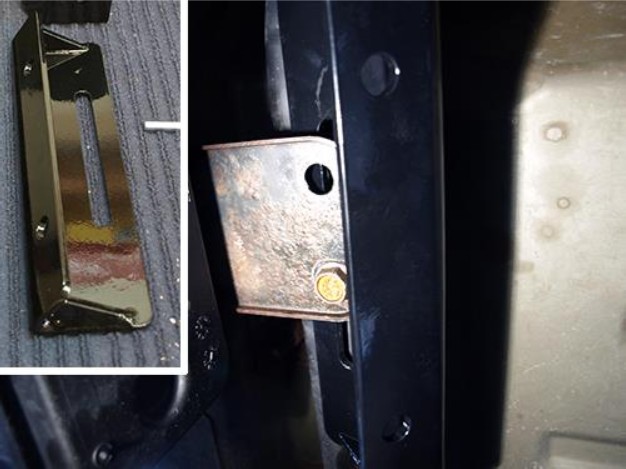
4. Remove both front blots holding the Evaporator and slide the rear bracket from the front to the back. Make sure that the bolt hole of the rear bracket is facing the driverside. Screw one of the bolts back in to holdthe front of the Evaporator in place.
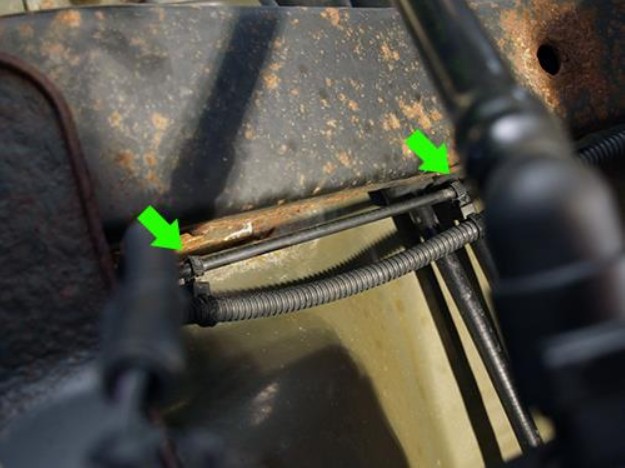
5. Slide the rear bracket all the way to the back of the Evaporator and remove the rearbolt. Align the long hole in the rear bracket with the bolt hole in the Evaporator bracket. Screw the bolt back in to hold both brackets in place. Do not tighten the bolt.
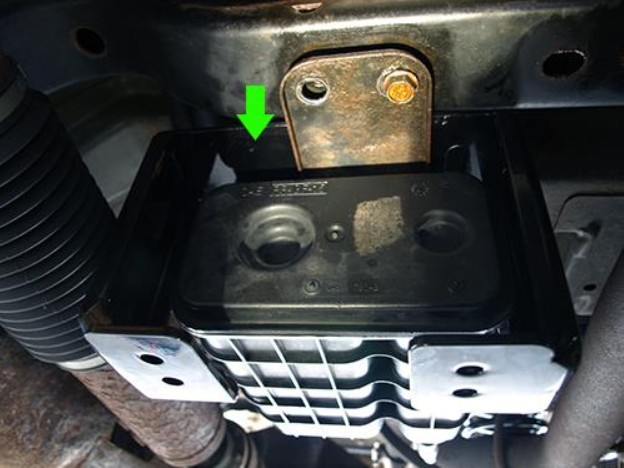
6. Remove the front Evaporator bolt and slide the front bracket in place. Screw both bolts in but do not tighten.
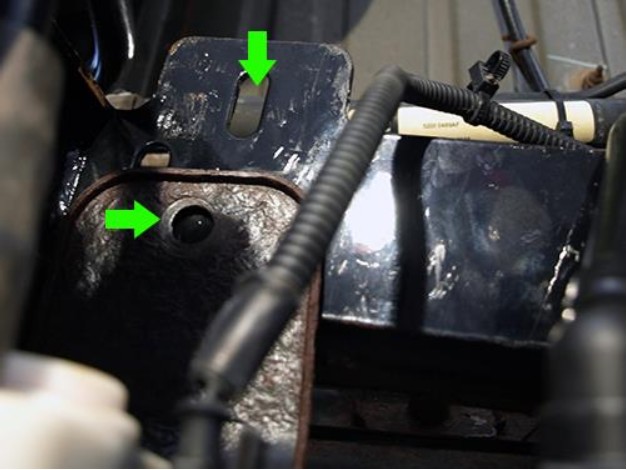
7. Slide the skid plate in place with the angled end facing up towards the front bracket and align the bolt holes. Place a washer on each 16mm bolt that was suppled with the skid plate. Then screw the bolts into each of thefront bracket into the skid plate. Do not tighten.
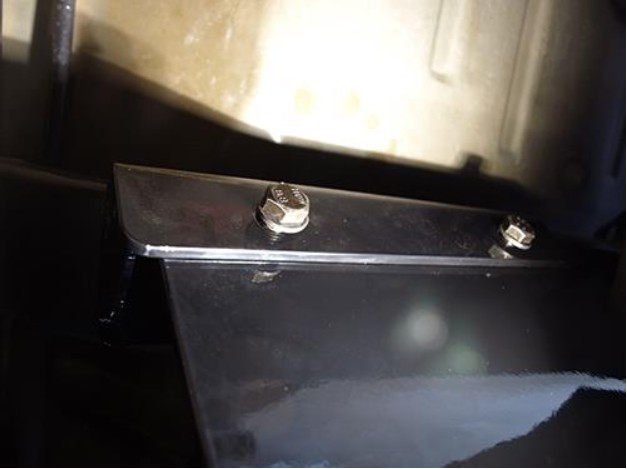
8. Screw the 6mm flathead Allen bolts through the rear of the skid plate into the rear bracket. Tighten the three 16mm factory Evaporator bolts and then tighten all the skid plate bolts.Note that the front Evaporator bolts maybe a challenge to tighten with the socket wrench as the front skid plate bracket now covers them. Use a 16mm wrench or ratcheting wrench to tighten.
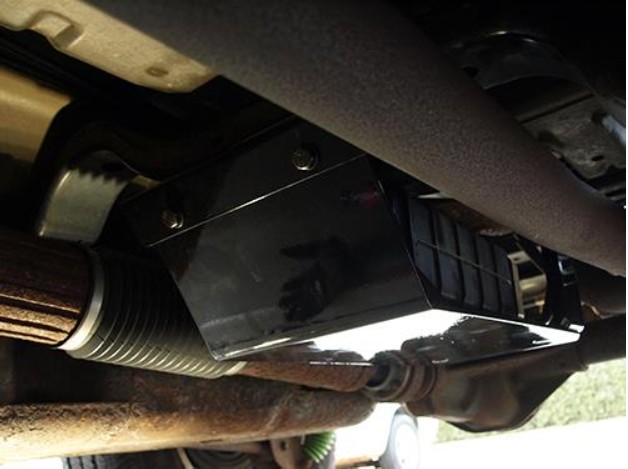
After Install
Installation Instructions Written by ExtremeTerrain Customer Brian Voelzke 04/03/2019

