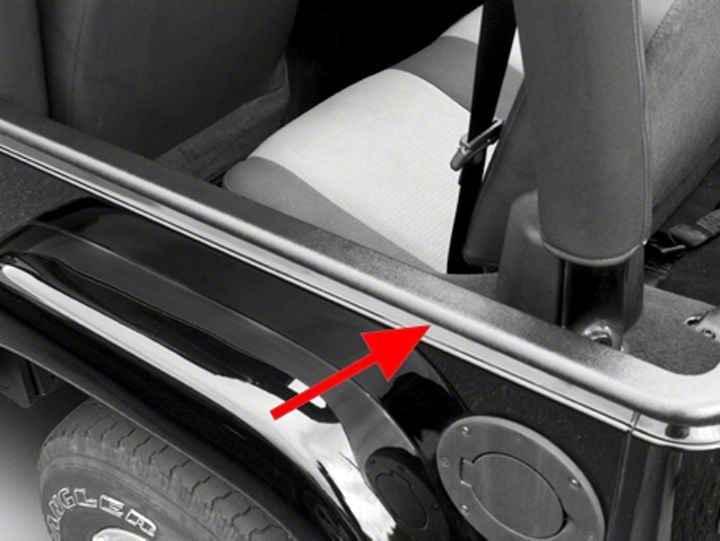

How to Install Rugged Ridge Body Tub Rail Armor - Pair, Black for Bestop Supertop on your Wrangler

Shop Parts in this Guide
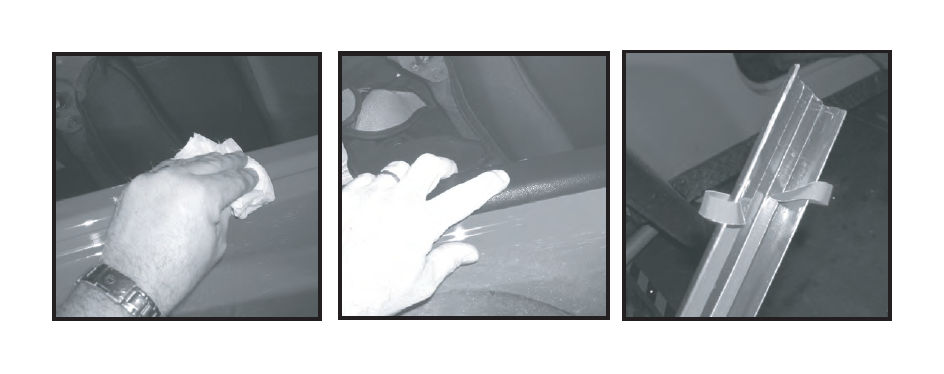
1. Installation should be done when temperature is between 65° - 110° F (18°-43° C). Clean mounting surface with rubbing alcohol. Avoid areas to which the product will not be adhered. THIS MUST BE DONE FOR ADHESIVE TAPE TO PROPERLY STICK. FAILURE TO CLEAN COULD RESULT IN POOR ATTACHMENT AND FAILURE OF PRODUCT TO STAY ATTACHED. Allow areas to dry completely before attaching Body Tub Rail Covers.
2. Test fit the Body Tub Rail Covers to the vehicle before removing the plastic backing film from the double sided tape. This will aid in aligning the piece properly before securing. Peel back about an inch of backing from each end of the double sided tape. The red protective plastic film can be removed easier with the aid of a knife or cutting blade.

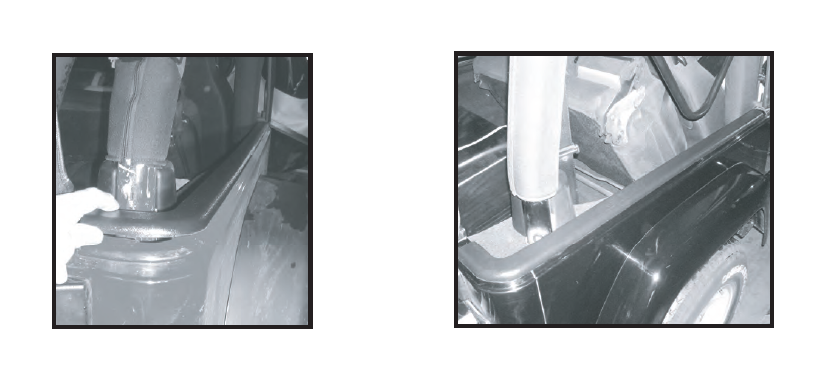
3. Carefully position Body Tub Rail Cover onto tub. Peel tape backing from one end working slowly to the opposite end. Make sure that both strips of the red protective film are being removed at the same time. Press firmly along the entire top surface after cover has been installed.

4. Repeat steps 1-3 for other side
Note - Do not wash vehicle for 24 hours following installation.
Instructions for (11650.41) 1997-2006 Standard TJ with Bestop Supertop
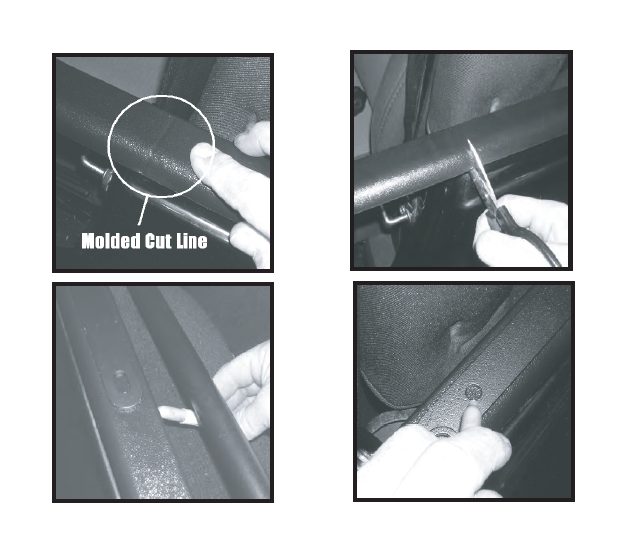
1. For TJ application where a Bestop Supertop has been installed modifications to the 11650.41 Body Tub Rail Covers will be needed. The 11650.41 covers have been molded with a cut line near the front section of the cover. Using shears or box knife cut along molded line. Check fit to body tub. With rail in position make rear most mounting hole for Bestop Supertop doorframe bracket. Using the marked hole as a guide drill a hole into cover that matches the hole size of the Bestop Supertop bracket. Cover can be marked from underside of the tub rail. With rear mounting hole drilled out, position rail cover onto the body tub and place soft-top mounting bracket onto Cover. Align rear mounting holes for the bracket, cover, and body tub. Mark the front mounting hole and drill 2nd hole. Check the fit of soft-top hardware and follow steps (1-4) listed for part number (11650.41).


