FREE 1 to 3-Day Delivery on Orders $149+ Details

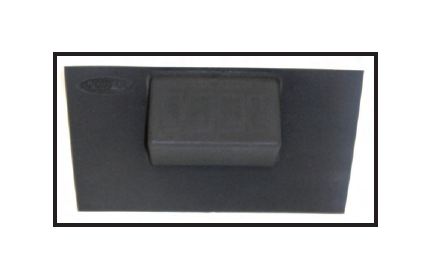
How to Install Rugged Ridge Black Lower Console Switch Panel on your 2007-2013 Wrangler

Shop Parts in this Guide
HARDWARE NOTE: Switch Pod has been designed to reuse factory metal retainer clips located on the back of factory trim.
DO NOT DISCARD.
(Switches sold separately)
Item List:
(1) Center Console Switch Pod
Important! Please read instructions completely before installing Switch Pod.
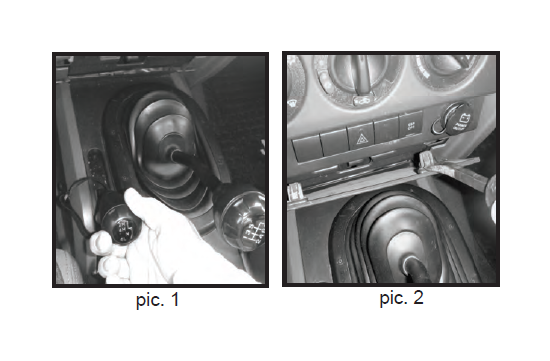
Step 1. Move shifter back from center console (Pic.1).
Step 2. Using a flat head screwdriver pop factory trim panel from center console. Retainer clips are located on the upper left and right corners (Pic.2).
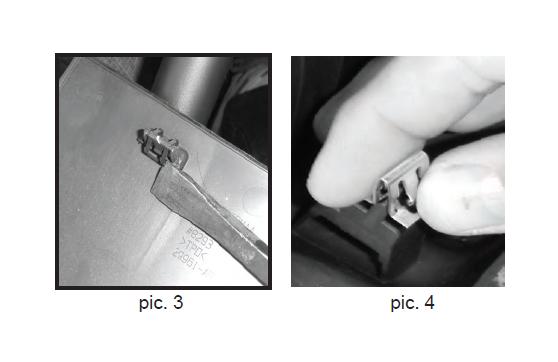
Step 3. Using a small flat head screw driver remove metal retainer clips (Pic.3) from factory trim. Reinstall onto new Center Console Switch Pod (Pic.4).
Step 4. To install switches use a box knife to cut along switch locator channels. With Switches installed position new Switch Pod into guide holes located in center console.
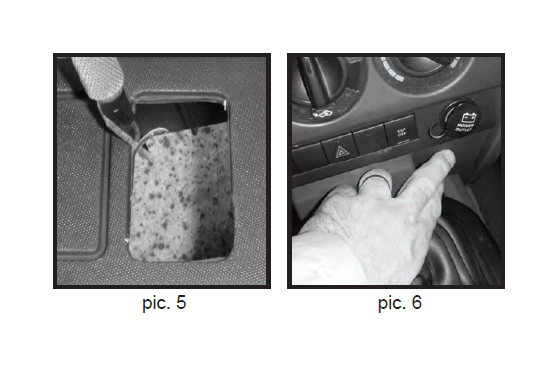
Step 5. Reinstall new switch pod panel into center console (Pic 6).
Note: (6 Speed) transmissions may require the rubber boot to be pushed clear of switch location panel. A zip-tie can be used to hold rubber boot in new position.