 FREE 1 to 3-Day Delivery on Orders $149+ Details

How to Install Rugged Ridge Black 8 Piece Euro Guard Light Kit w/o fog guards on your Wrangler
Installation Instructions:
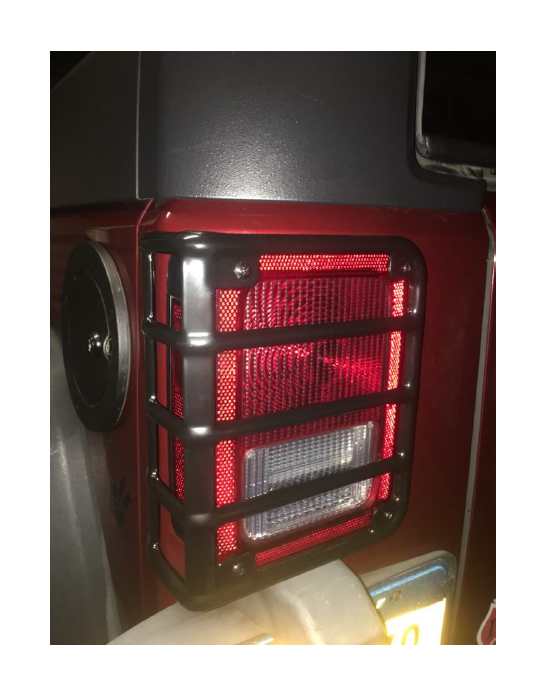
Part 1: Installation of the rear brake light guards
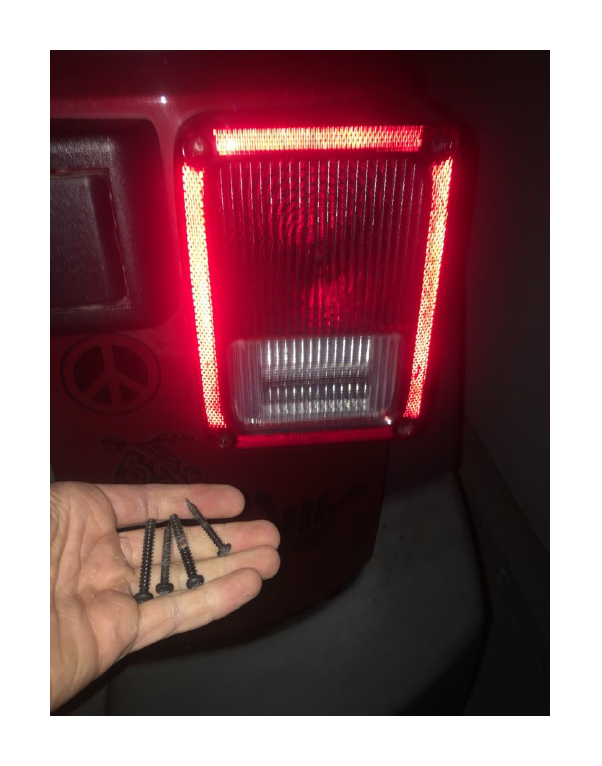
1. Begin by removing the four screws on the left brake light.
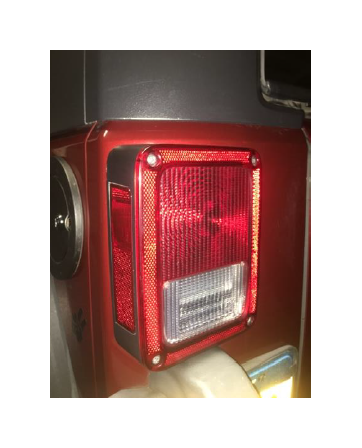
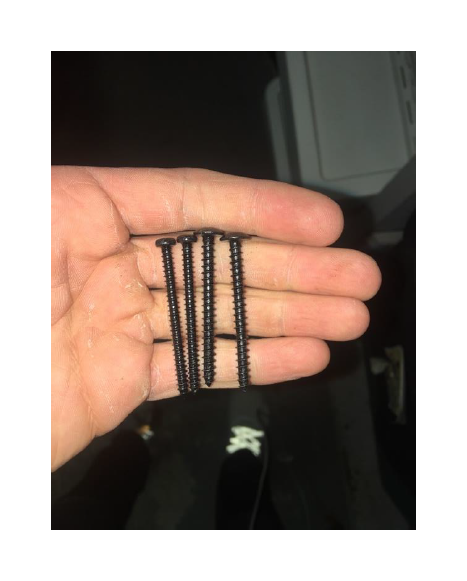
2. You are given 4 screws per brake guard. The larger screws will be placed on the outside of the brake light. (Larger screws are the two on the right side)
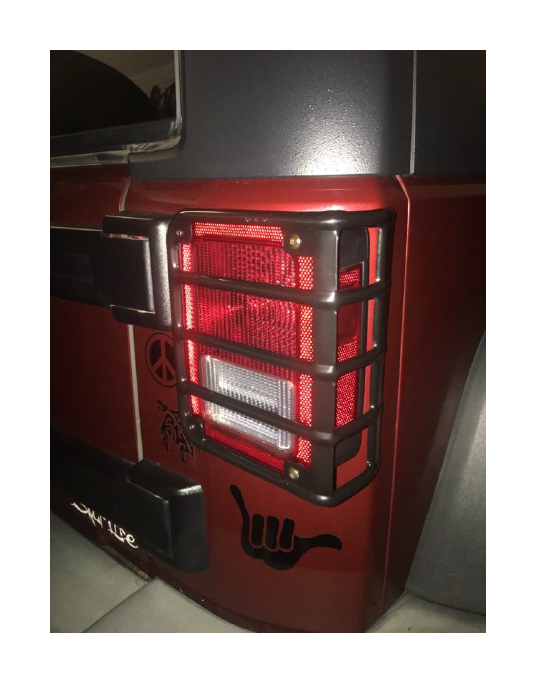
3. Place the large screw through the upper left corner of the brake guard, then put the small bumper piece on the screw.
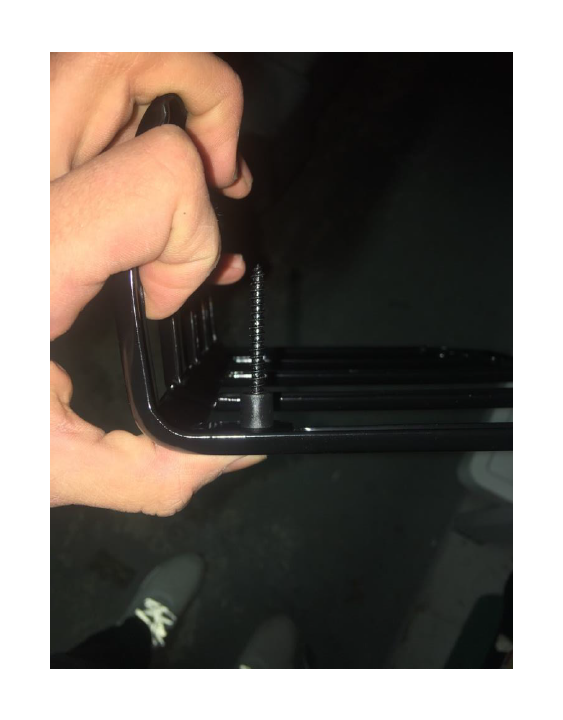
4. Place the guard onto the brake light and slightly tighten the screw. Repeat step 3 until all screws are slightly screwed in.
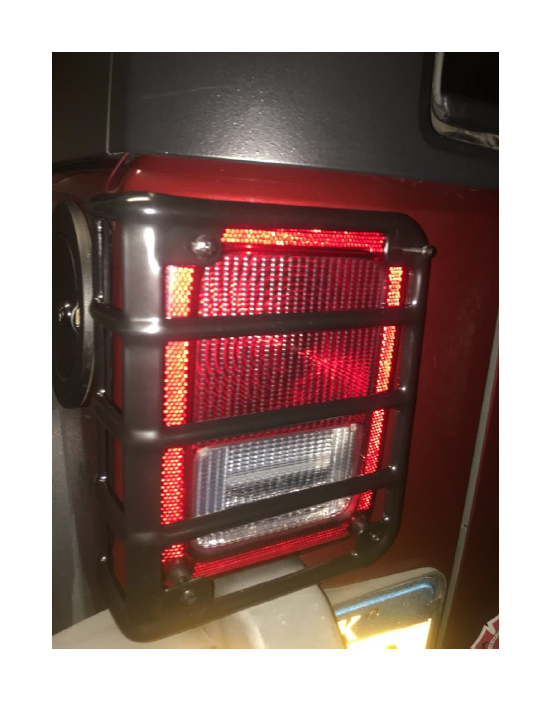
5. Tighten all the screws using the Philips screwdriver.
6. For the right rear tail light, remove the four screws holding the tail light.
7. Repeat steps 2-5 for the right tail light, making sure that the larger two screws are placed on the outside (right) of the tail light.
Part 2: Installation of the side turn marker guards.
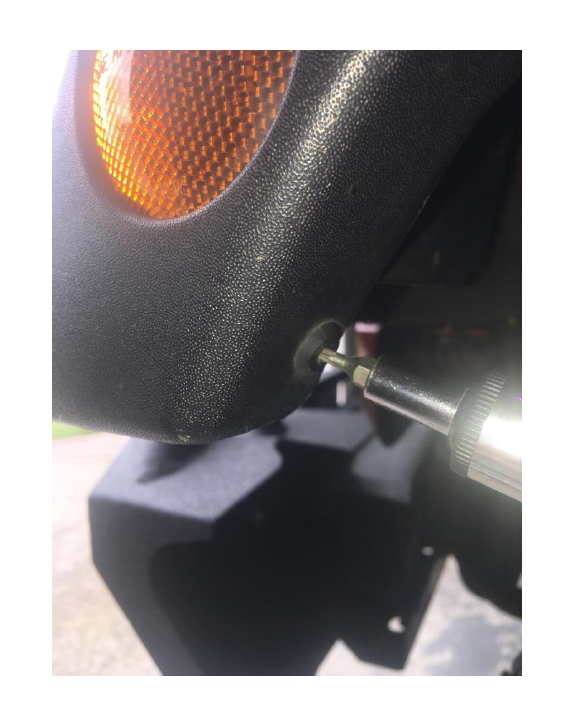
1. Begin on the left fender.
2. Using something long and thin, punch out this thing holding the fender and the inner fender liner together. (I used a T10 Torx bit on my screwdriver.
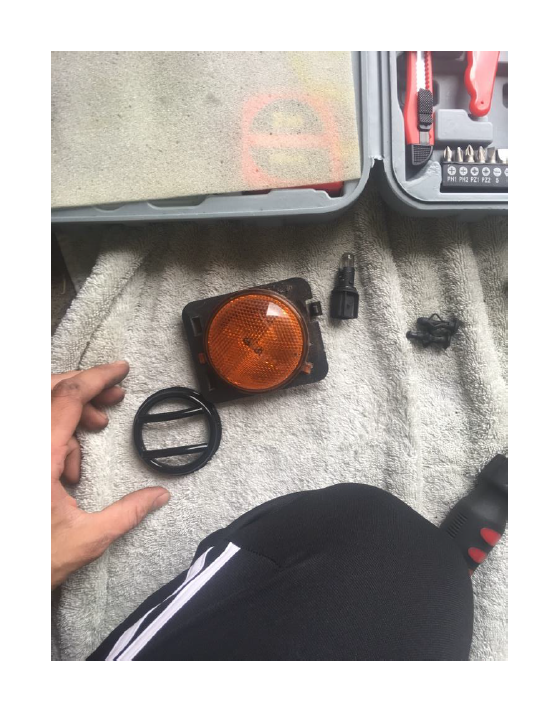
3. Remove the light from the marker by either unplugging the light and then taking the light out, or taking the whole assembly out together. This is the marker with the light taken out.
4. Take the side marker out of the fender by sliding it downward toward the ground.
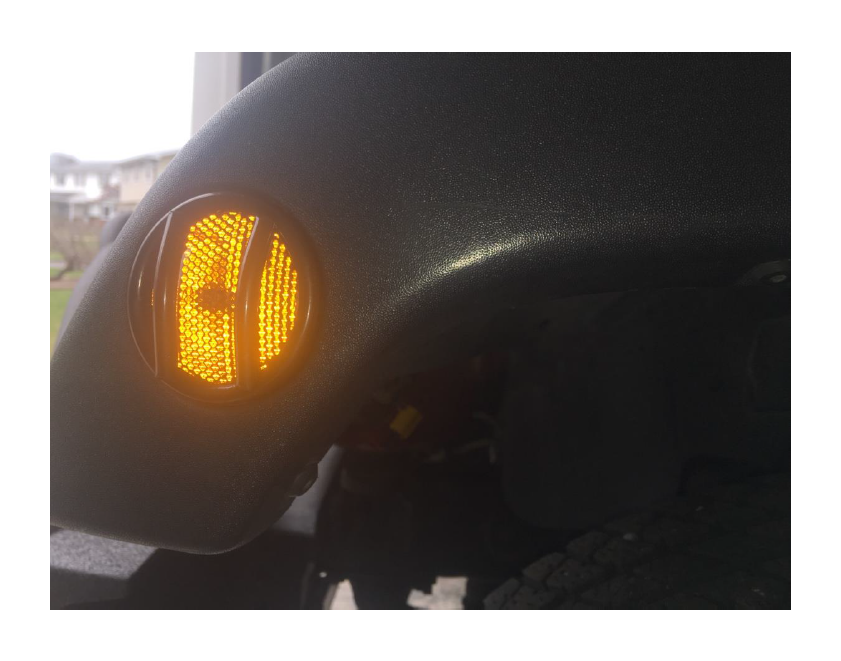
5. Place the guard into the fender, from the inside, and then replace the side marker.
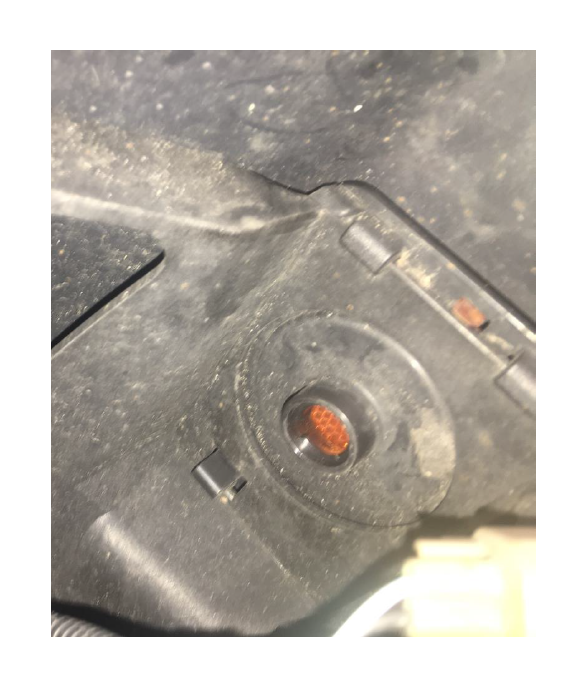
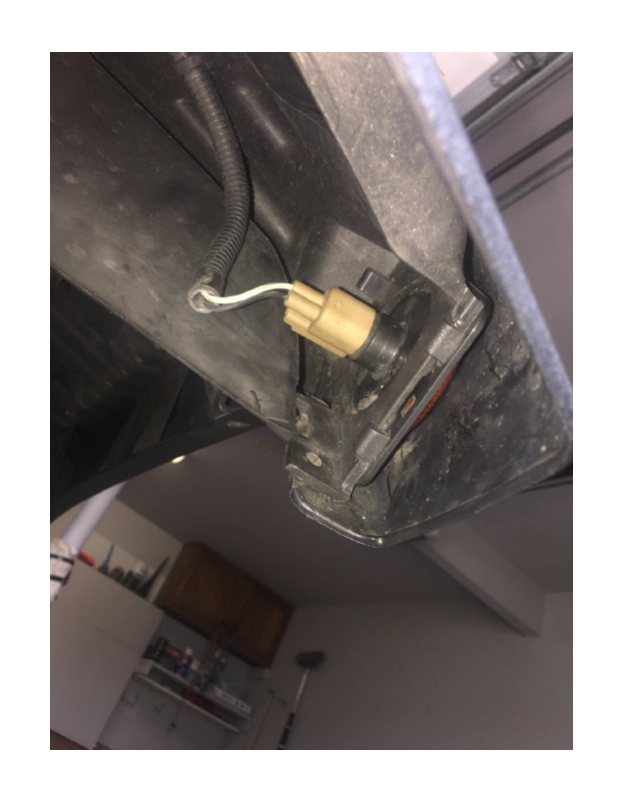
6. Replace the light assembly to the side marker. (View from underneath the fender)
7. Replace the piece that held the fender and inner fender liner together.
8. Repeat steps 1-7 for the right-side marker light guard.
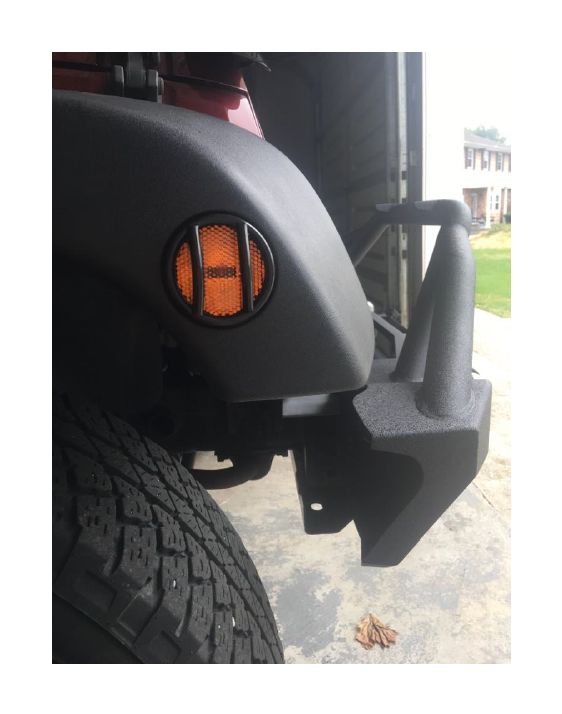
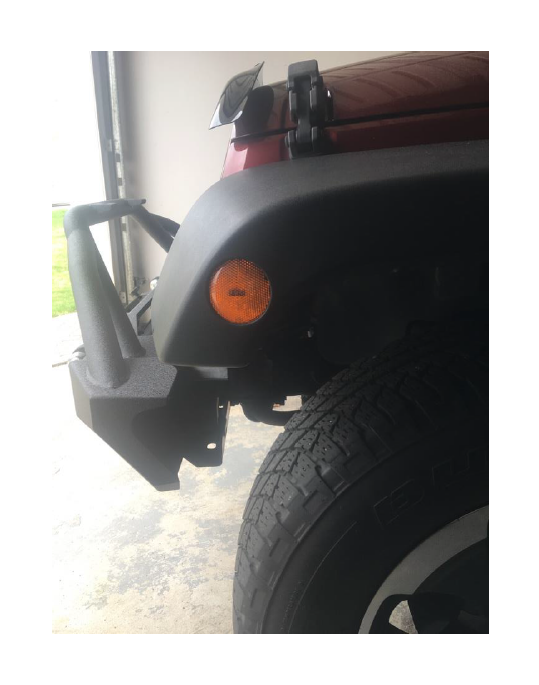
Part 3: Front turn signal guards
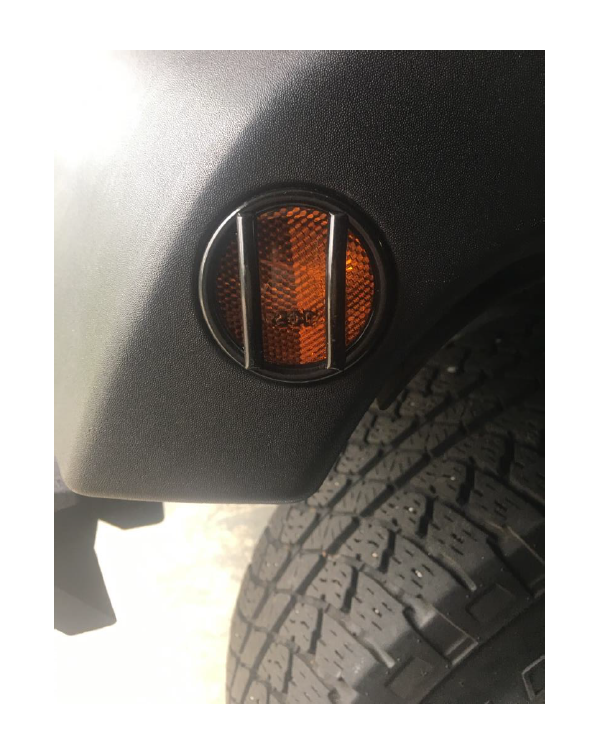
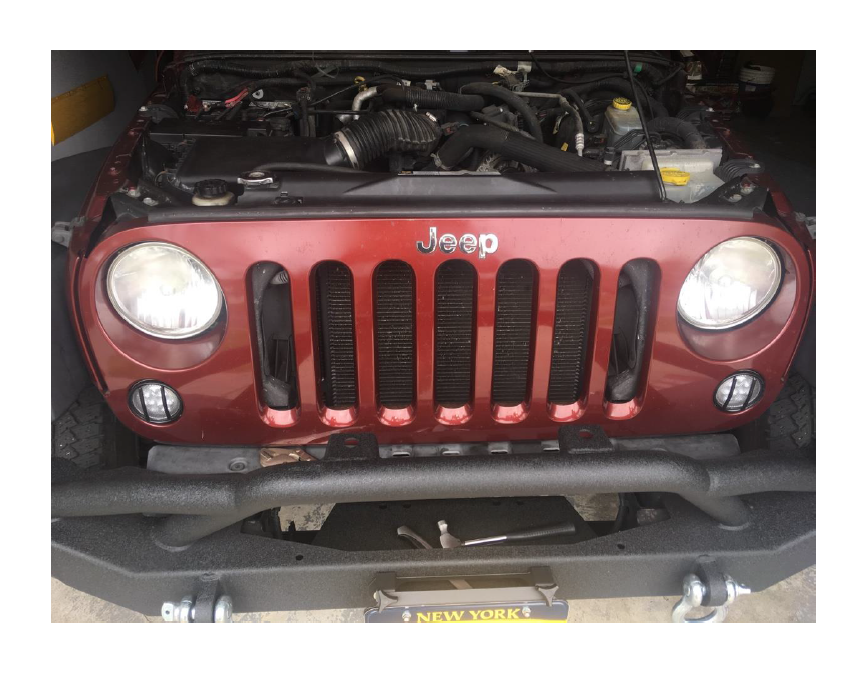
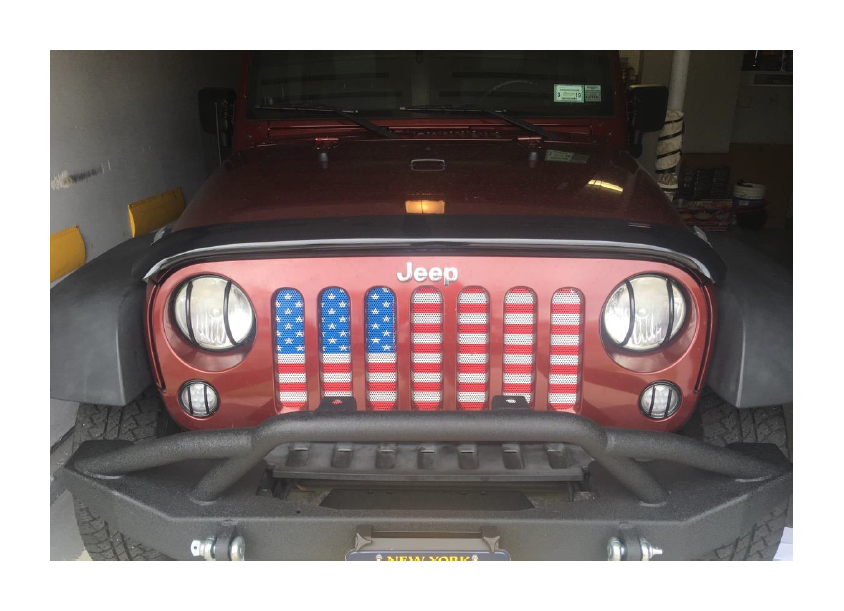
1. Here is picture of the Jeep without the turn signal guards installed.
2. Begin by removing the turn signal by squeezing the two clips on the back of the turn signal. NOTE: If your turn signals are stock, make sure to remove the bulb and socket assembly from the marker light
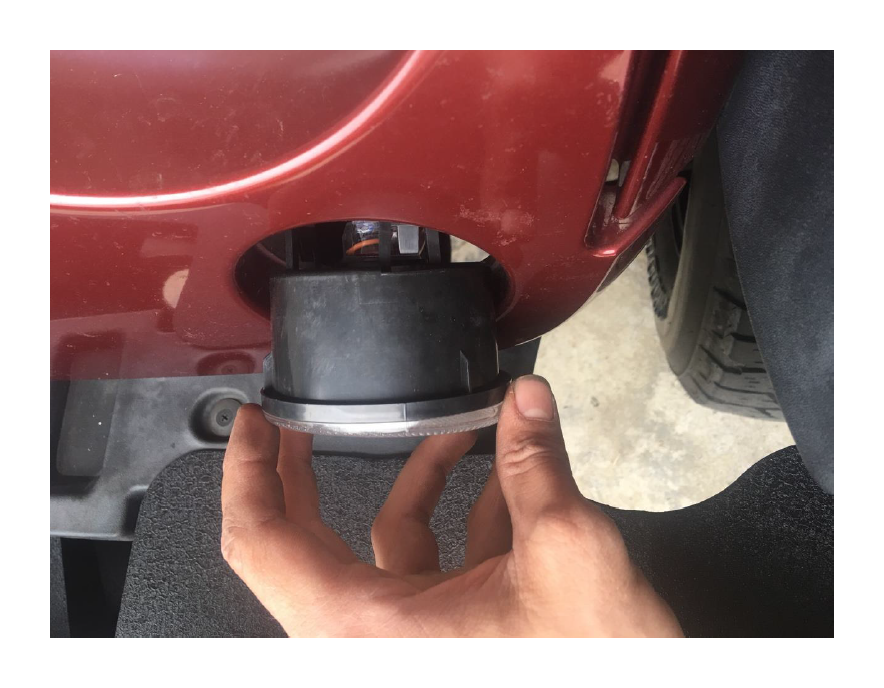
3. Place the guard onto the turn signal by aligning the 3 metal tabs on the guard to the 3 tabs on the turn signal housing. NOTE: This is a very tight fit. You may have to adjust some of the metal tabs manually for it to fit perfectly.
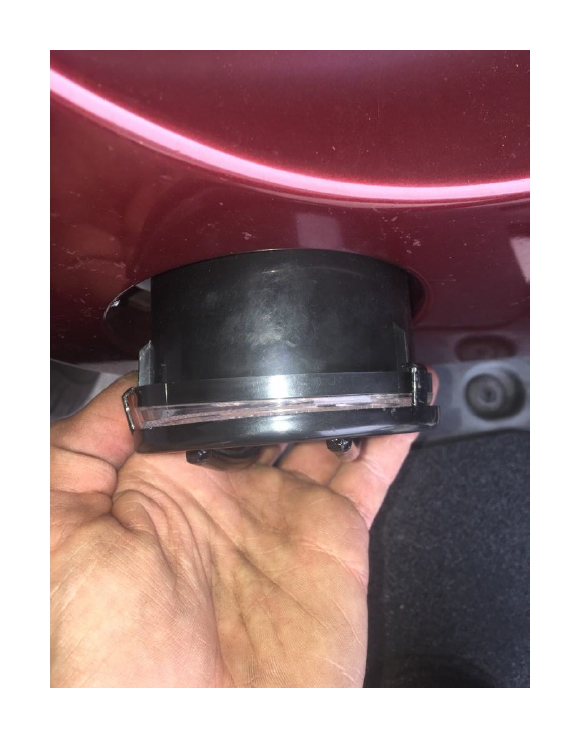
4. Push the turn signal housing back into the hole and re-insert the tabs that hold it in place.
5. Repeat steps 2 and 3 for the opposite side turn signal guard.
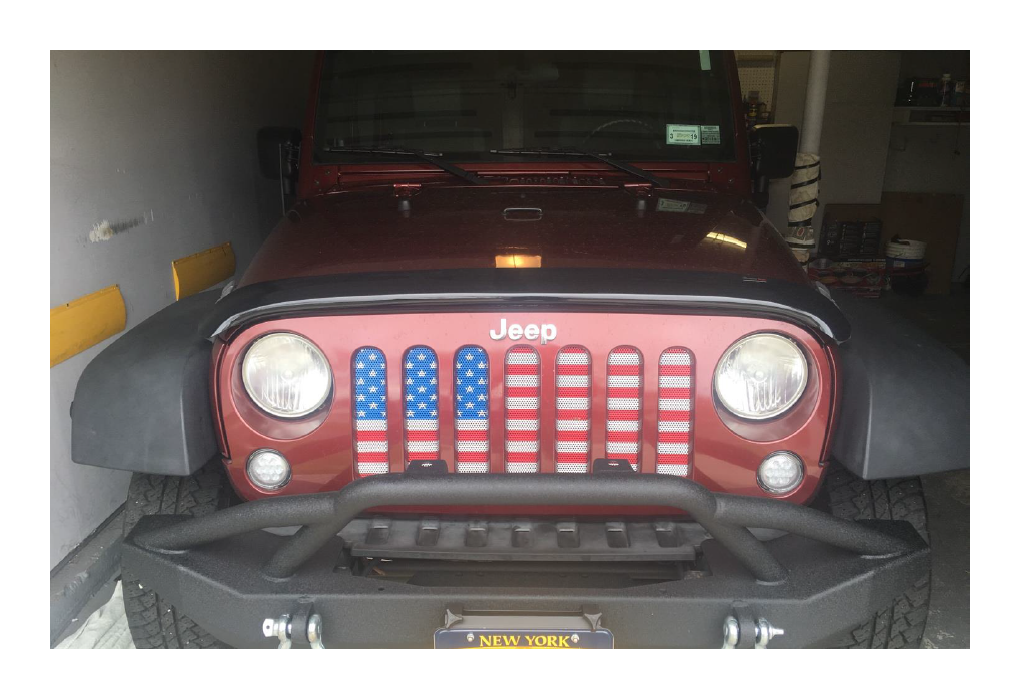
Part 4: Installation of the headlight turn signal guards.
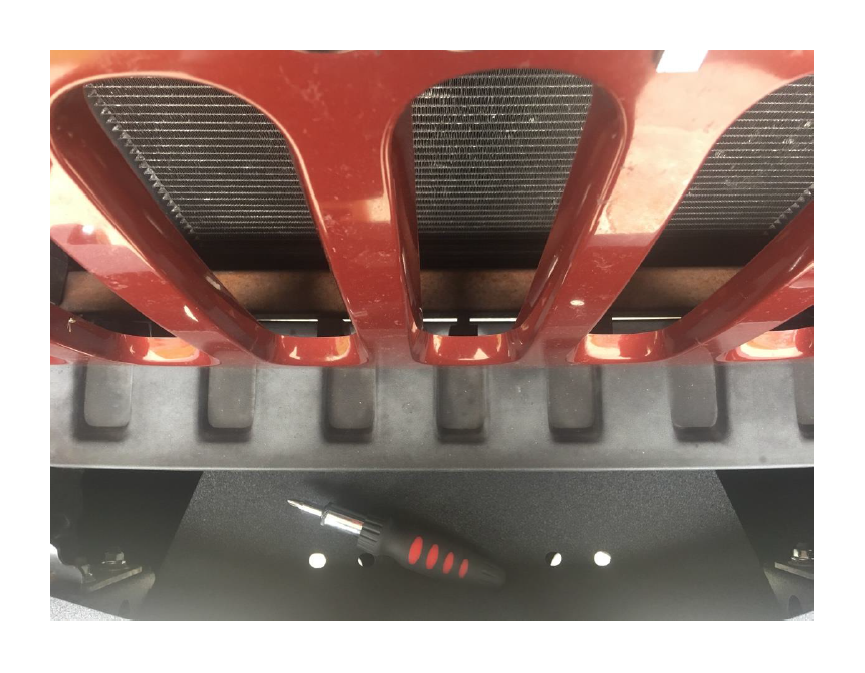
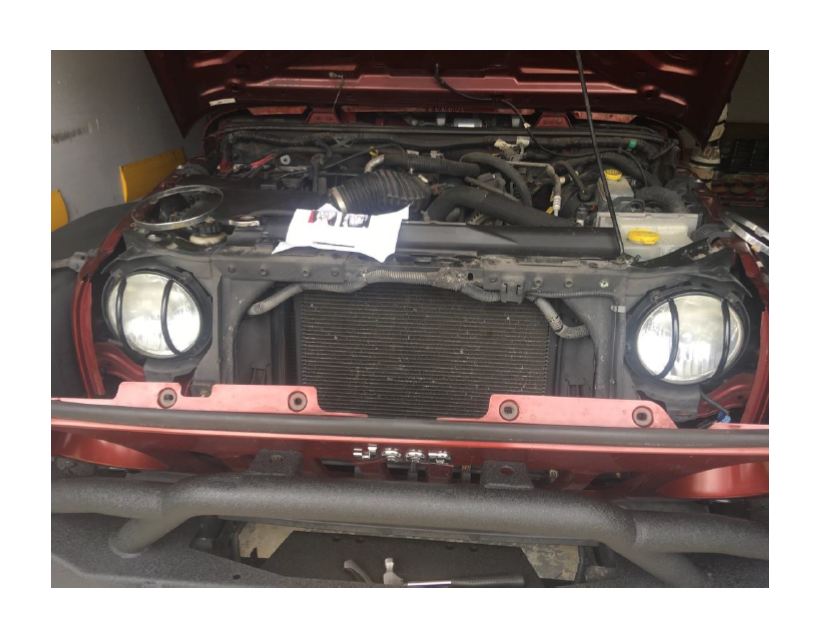
1. Begin by opening the hood and removing the six screws that hold the grille onto the Jeep.
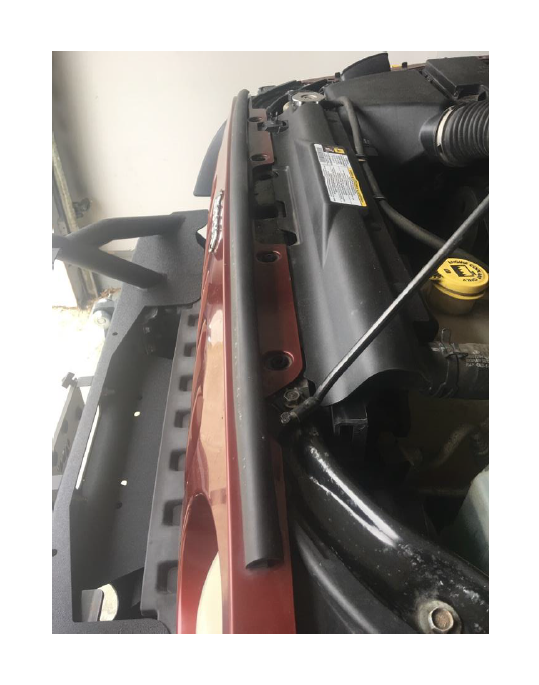
2. Remove the grille by removing the turn signal bulbs and pulling it from the lower retaining clips. (Lower retaining clips are shown behind the grille)
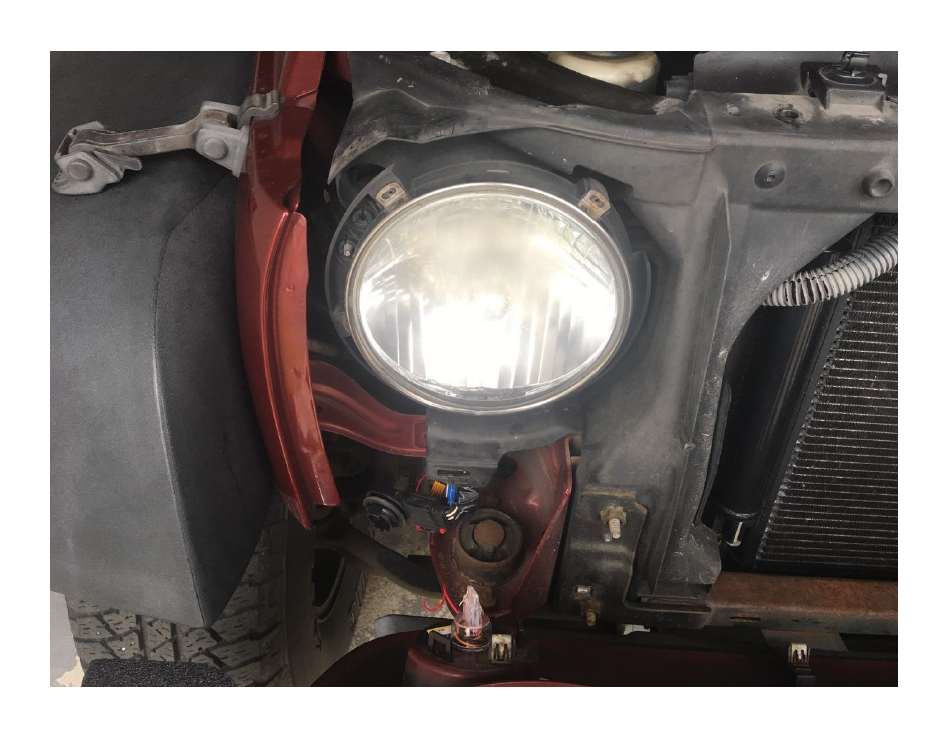
3. Remove the T10 torx screws that hold the silver outer guard to the light. NOTE: These 4 screws will be used later.
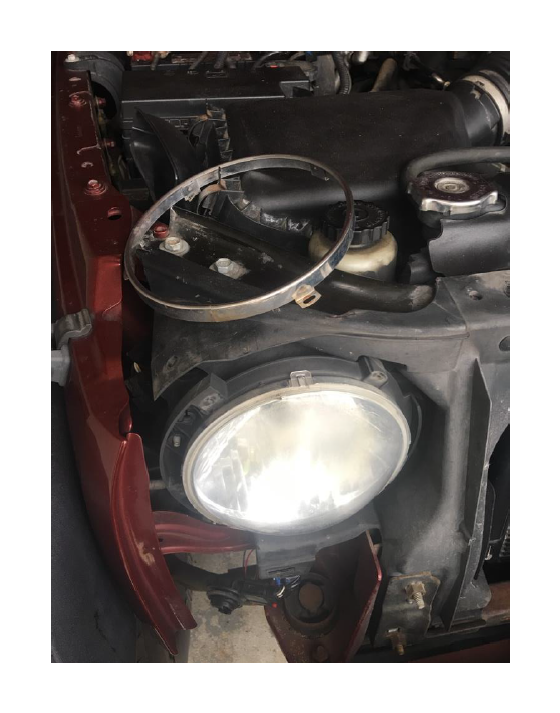
4. With all 4 torx screws removed, take the silver ring off the headlight.
5. Place the light guard onto the headlight, making sure to align the holes of the light guard with the holes on the Jeep. Re-install the screws taken off in step 3.
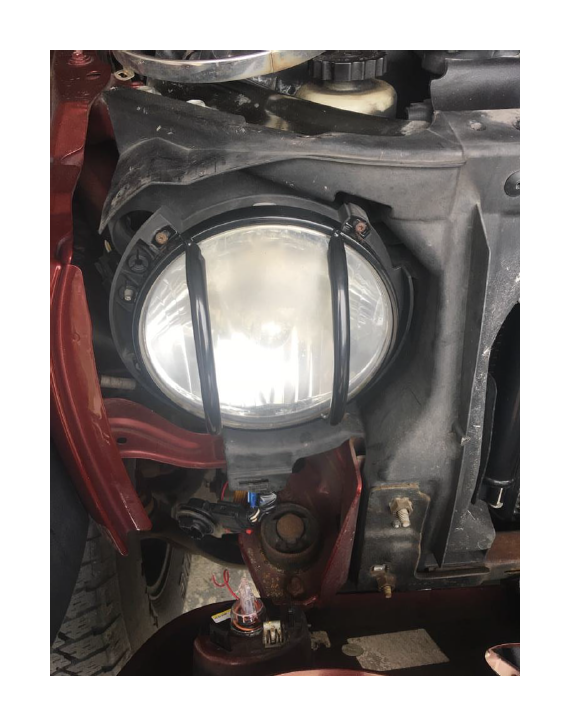
6. Repeat steps 3-5 for the opposite headlight guard.
7. Re install the grille, turn signal bulbs and screws that hold the grill in place. Close the hood.
Installation Instructions Written by ExtremeTerrain Customer Thomas Sandoval 04/17/2017

