FREE 1 to 3-Day Delivery on Orders $149+ Details

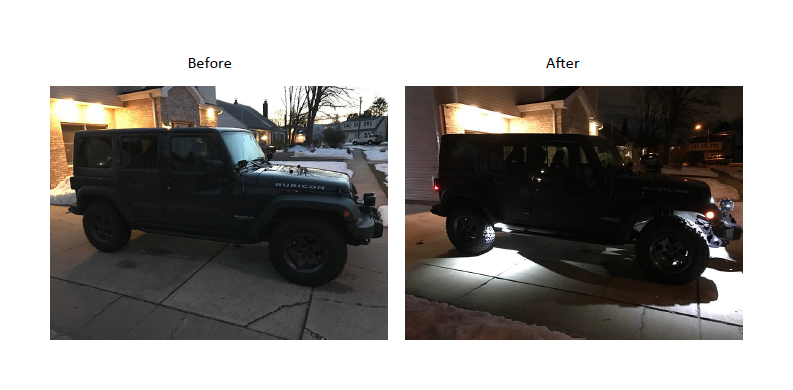
Rugged Ridge 4-Piece LED Rock Light Kit w/ Harness - White
Installation Time
1 hours
Tools Required
- 3/8” Ratchet
- 10mm wrench
- 6mm allen head socket
- ¼” Drill bit and drill

Shop Parts in this Guide
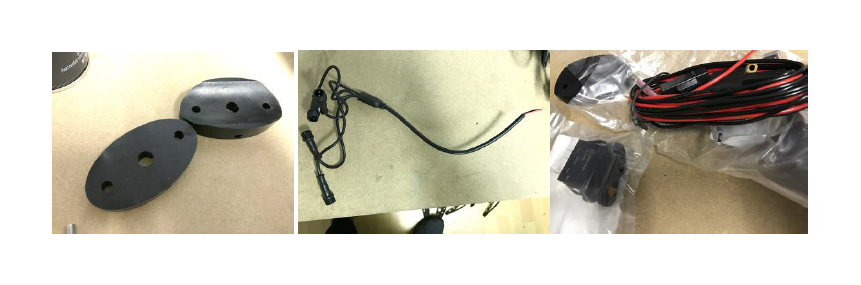
Pre-installation notes: The rock lights can be mounted in a variety of locations. The kit comes with mounting provisions for a flat or rounded surface, seen below and bolts that are long enough to accommodate various angles. Rugged Ridge recommends mounting the lights onto the factory fender flare. In addition, the kit comes with a wire splitter, wiring harness and switch that are seen below. The lights wire routed to a power control unit in this install guide.
Installation Instructions:
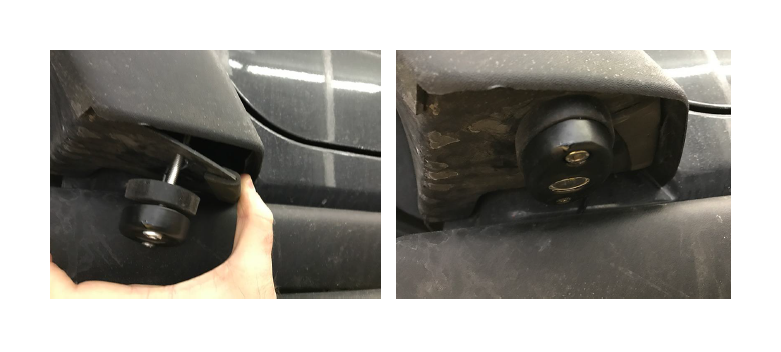
1. Starting with the rear mounting location, position the rock light under the bottom corner of the fender flare. Mark the mounting holes and drill a ¼” hole.
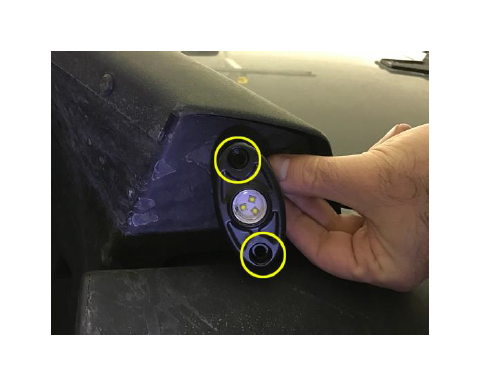
2. Route wire through the flat base. The rubber base has a channel for the wire, in order to make routing easier.
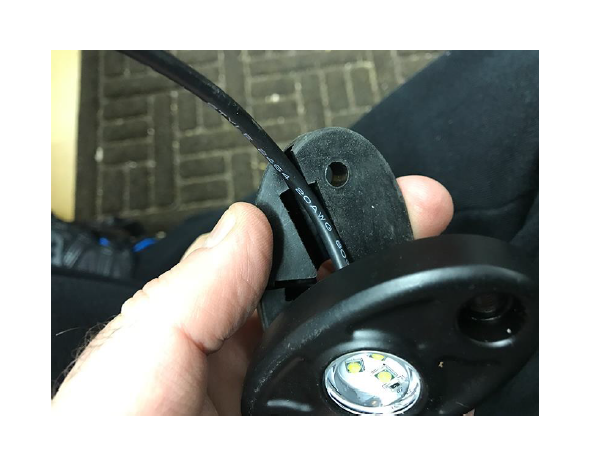
3. Thread bolts through the lights and plastic of the fender flare. The bottom corner of the flare can be pulled down in order to thread the nuts from the back. Tighten into position, routing the wire towards the pinch seam.
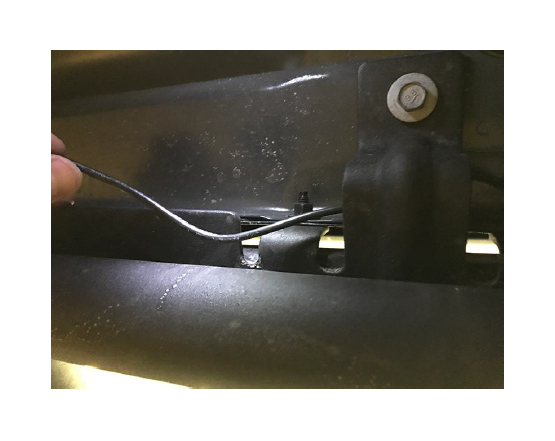
4. Route the wire along the pinch seam, securing into position with zip-ties.
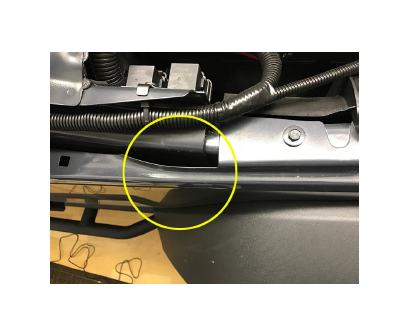
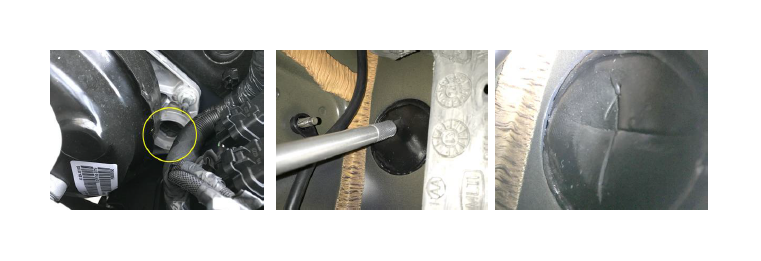
5. Once the wire reaches the front of fender of the Jeep, it can be routed into the engine bay from within the fender gap highlighted in the photo. Repeat the same steps on the other side.
6. Next, position the front rock lights towards the front corner of the fender flare. Mark and drill a ¼” hole. Once the wire had been routed through the rubber base, the light can be mounted to the fender flare. You can access the space behind the plastic to thread the nuts by pulling the fender flare down slightly. Repeat the steps on the other side.

7. Once all the wiring has been routed to the engine bay, the terminals can be connected to the splitter. The splitter utilizes a spline fitting, align the arrows and push the ends together, followed by threading on the cap for a watertight seal.
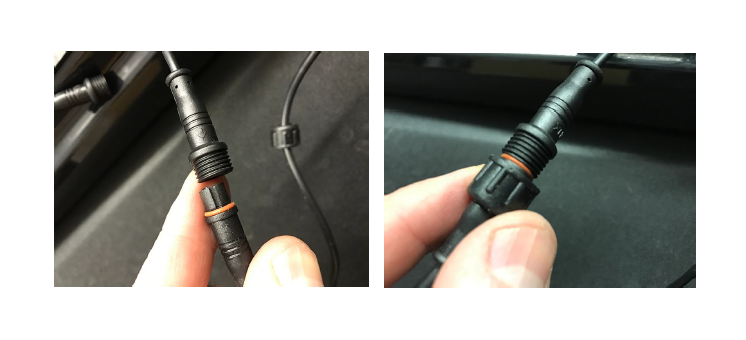
8. The splitter can be connected to the wiring harness or power control unit for current.
9. In order to run the wiring into the Jeep a hole must be cut along the firewall. From inside the jeep, by the pedals on the driver’s side, look to find the back end of the firewall location, you’ll need to make an X-incision with a blade to feed the wiring through.
10. Feed the wiring through the new opening and safely route and secure the wiring along the inner dash, ensuring that the wires do not come in contact with the pedals. Route the switch to the desire mounting location to finalize the install.