FREE 1 to 3-Day Delivery on Orders $149+ Details

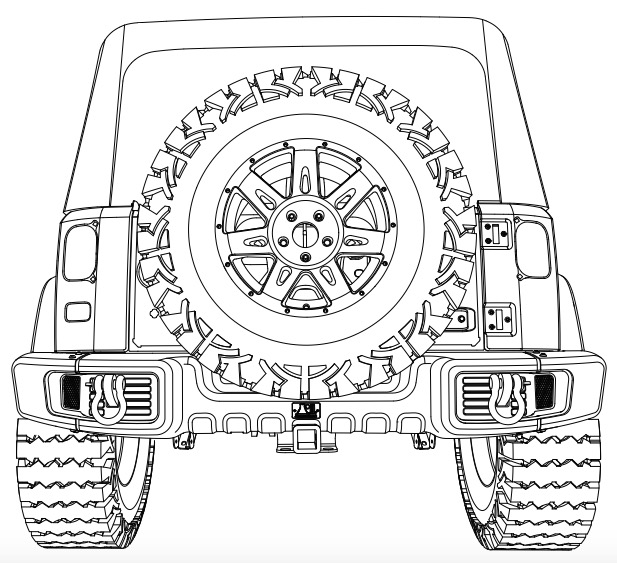
How to Install Rugged Ridge Spartacus Rear Bumper - Satin Black on your Jeep Wrangler JK

Shop Parts in this Guide
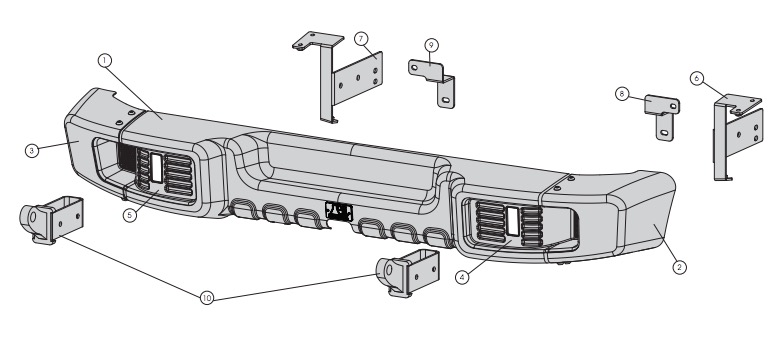
Components
1. Bumper Shell (1)
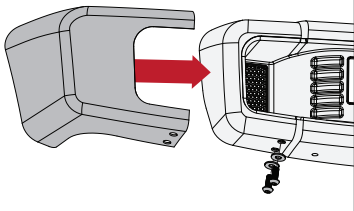
2. Bumper End, RH (1)
3. Bumper End, LH (1)
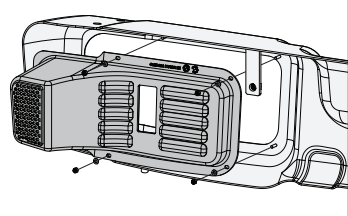
4. Plastic Cover, RH (1)
5. Plastic Cover, LH (1)
6. Side Bracket, RH (1)
7. Side Bracket, LH (1)
8. Center Bracket, RH (1)
9. Center Bracket, LH (1)
10. D-ring Bracket (2)
1. Remove spare tire and Factory bumper from frame. Retain bumper hardware for later use.
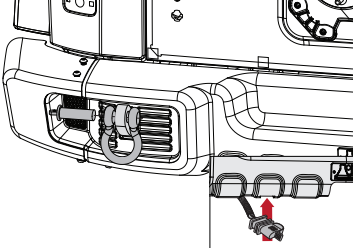
2. If using hitch, remove hitch wire plug.
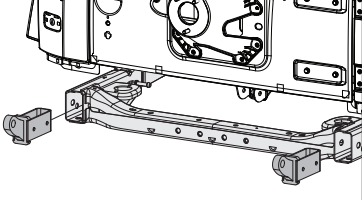
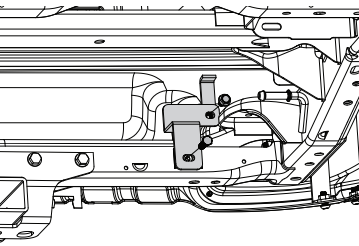
3. Insert D-ring Brackets into frame horns.
NOTICE: Interior of frame horns may need extra clearancing on some vehicles for D-ring brackets to be inserted.
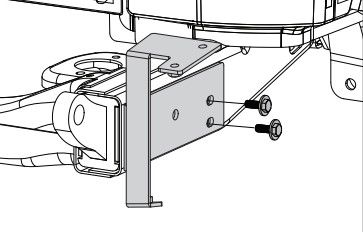
4. Install Side Brackets using Factory M10 bolts in 2 slotted hole locations. Do not fully tighten bolts. Repeat for both sides.
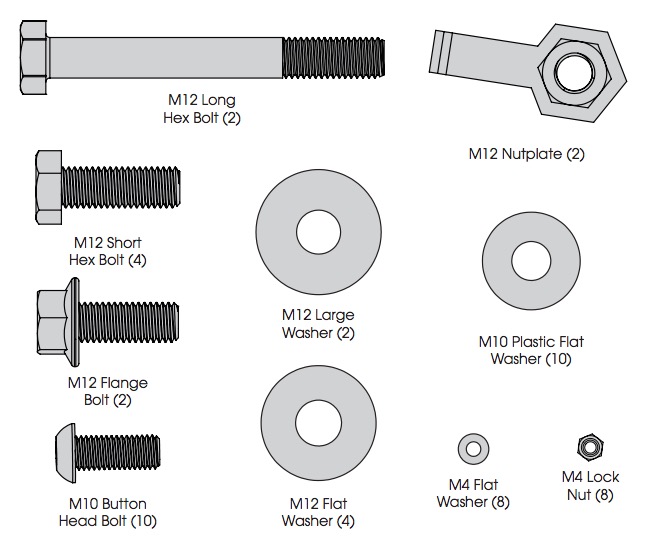
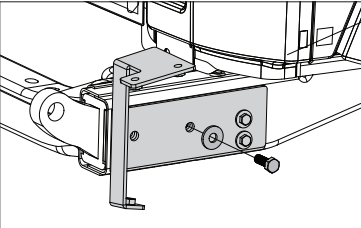
5. Insert M12 Short Hex Bolt and M12 Small Washer to center hole of Side Bracket. Do not fully tighten bolts. Repeat for both sides.
6. Insert M12 Hex Bolt and M12 Large Washer to rear inside hole of D-ring Bracket. Do not fully tighten bolt. Repeat for both sides.
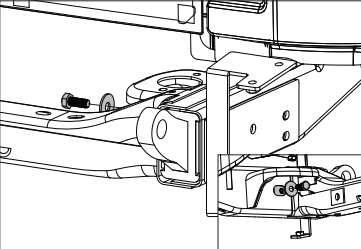
7. Secure M12 Long Hex Bolt in remaining holes of Side Bracket with M12 Nutplate and M12 Small Washer. Repeat for both sides.
NOTICE: Opening in crossmember may need clearancing/enlarging on some vehicles

8. Install Plastic Covers using M4 Locknuts and Washers. Repeat for both sides.
9. If using Bumper Ends, attach using lower M10 Button Head Bolts and M10 Plastic Flat Washer.
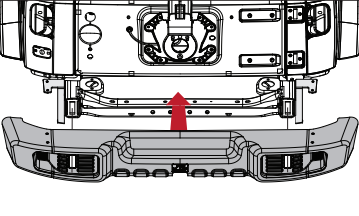
10. Place Spartacus Bumper Shell on rear frame of vehicle, aligning holes of Side Brackets with top Bumper End mounting points.
11. Secure top two mounting points on top of bumper/ends and lower hole in bumper to Side Brackets with remaining M10 Button Head Bolts and M10 Plastic Flat Washers. Do not fully tighten.
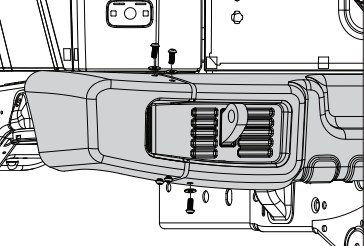
12. Install Center Bracket to flange inside of bumper shell with provided M12 Flange Bolts in top hole and Factory M10 bolts in bottom.
NOTICE: For easier install, loosely thread top bolt first
13. Adjust and tighten all bolts
14. Install shackles (not included) and spare tire.
15. If using hitch, reinstall hitch wire plug. Smaller groove in plug will connect to open space in bumper.
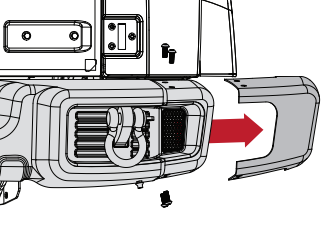
16. If desired, ends may be removed from bumper by removing M10 Button Head Bolts, removing ends, and reinstalling M10 Button Head Bolts.