FREE 1 to 3-Day Delivery on Orders $149+ Details

How To Install Rough Country X-Flex Adjustable Control Arms on your 2007-2016 Jeep Wrangler JK
Installation Time
4 hours
Tools Required
- 10mm wrench
- 21mm wrench
- 18mm wrench
- 18mm socket
- 19mm wrench
- 19mm deep well socket
- 14mm wrench
- Jack
- Jack stand
- 1 1/8" Wrench
- Hand Saw

Shop Parts in this Guide
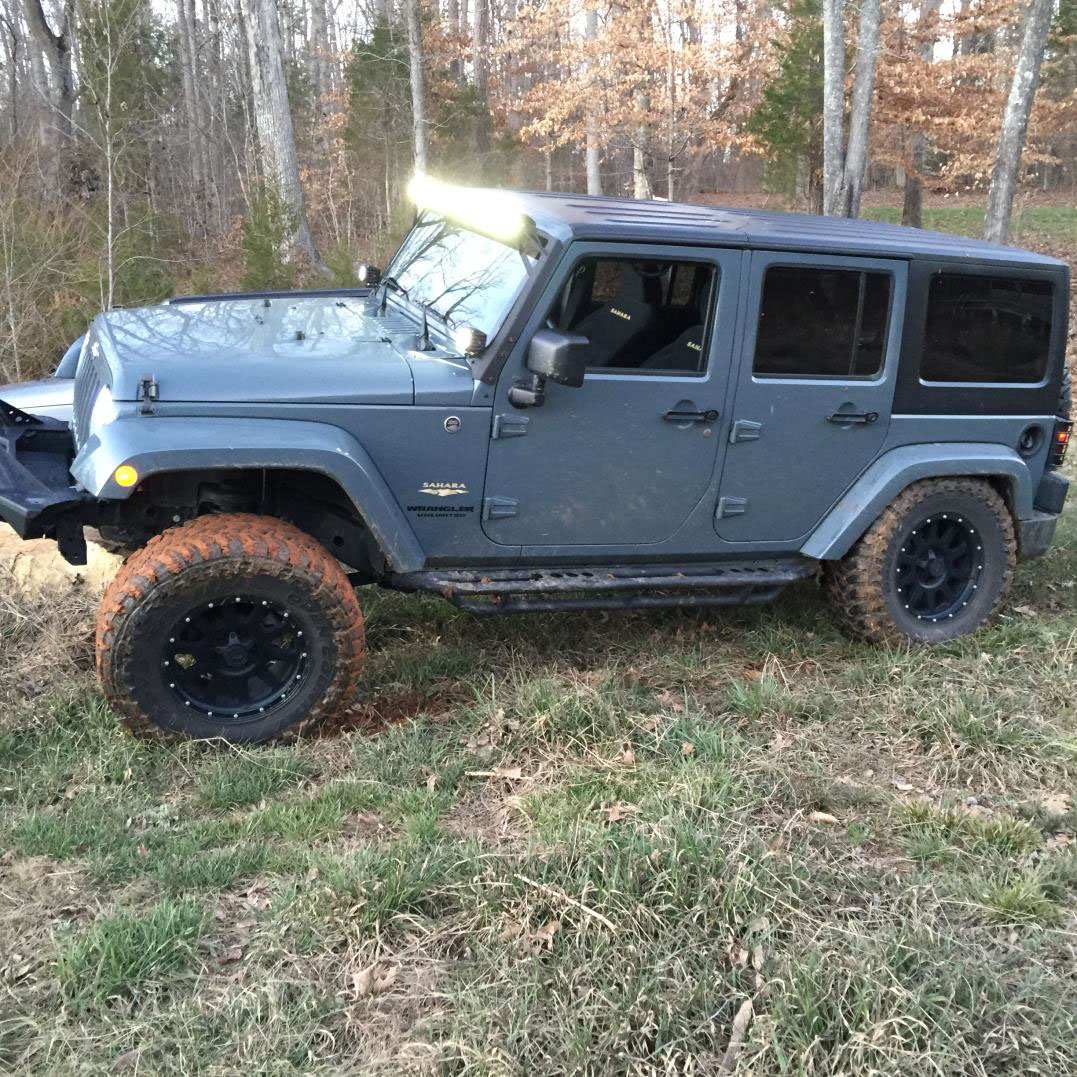
Before:

Front Lowers:
1. With vehicle in park and parking brake up raise the front end of the vehicle with a jack and secure jack stand beneath each frame rail behind the front control arms.
2. Remove the front tires using a 19mm deep well socket
3. Using a 21 mm socket, remove bolt securing the front track bar to the frame. Set these aside because they will be used again later.
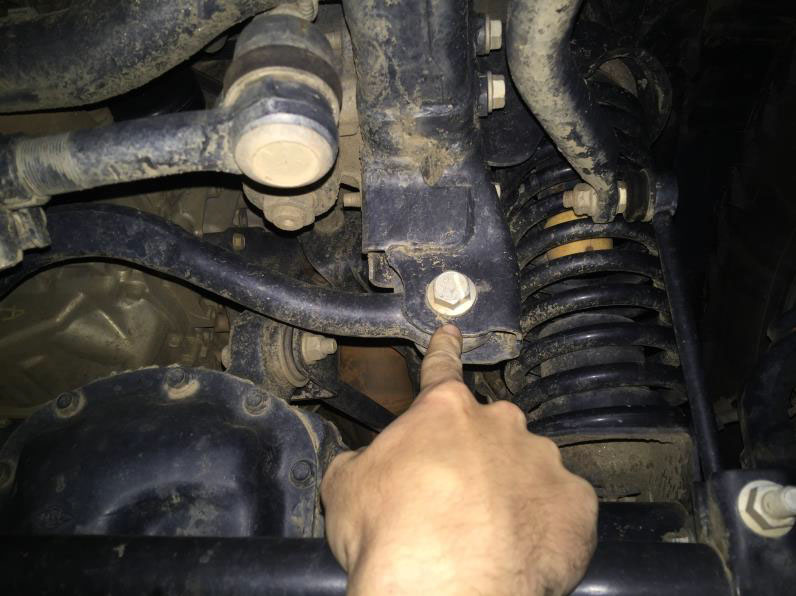
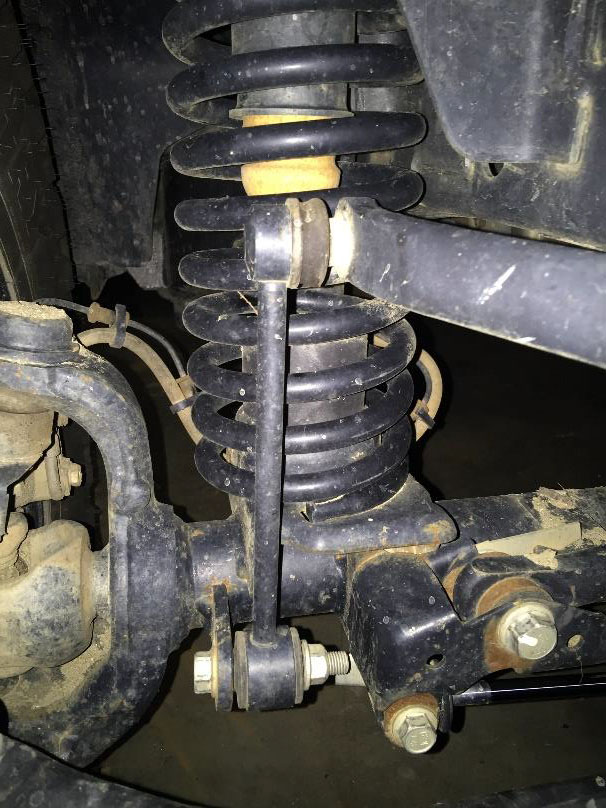
4. Using an 18 mm socket and wrench remove the bottom sway bar bolts. Then use a 21mm socket and 21 mm wrench to remove the top of each sway bar link. Set these aside because they will be used again later.
5. Remove the lower shock bolt using an 18mm socket and wrench. Retain the lower shock hardware
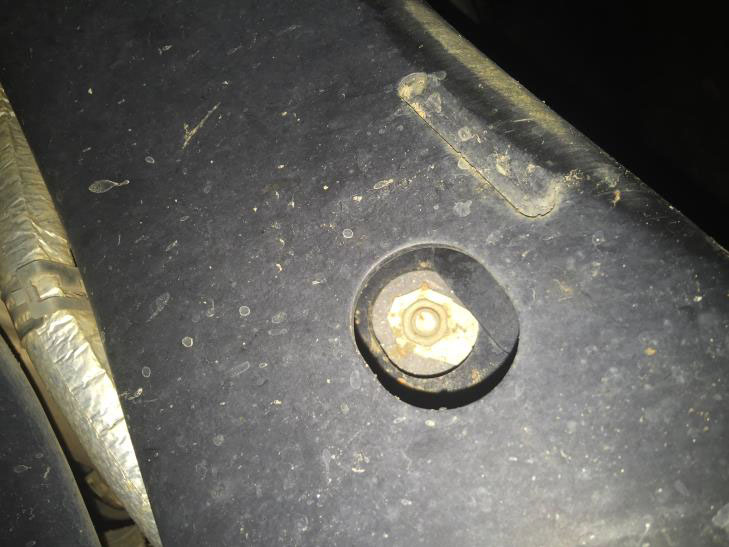
6. On some occasions you may need to remove the front coil springs to help move the axle. If necessary remove the brake line bracket from the stock location using a 10 mm socket
7. Using a 21mm socket and wrench loosen the upper and lower control arm bolts at the axle and frame
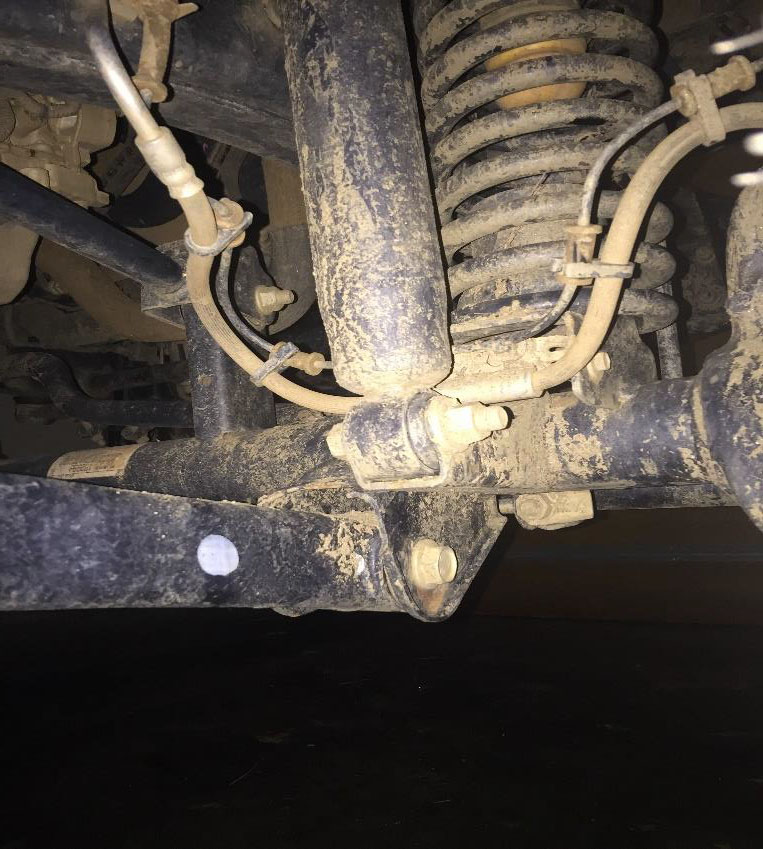
8. Remove the lower link arms one side at a time
9. With both stock control arms removed adjust the Rough Country lower control arms to your desired distance or set them to the factory distance of 22 7/8” long. Measure the arms from “center of hole” on one end to the “center of the hole” on the other.
10. Hand tighten the jam nut to hold the desired distance.
11. When installing the Rough Country Adjustable control arms make sure the bend is facing inward.
12. Bolt the adjustable end of the Control arms at the frame end and hand tighten.
13. Bolt the other end of the adjustable control arm at the axle and hand tighten the bolt
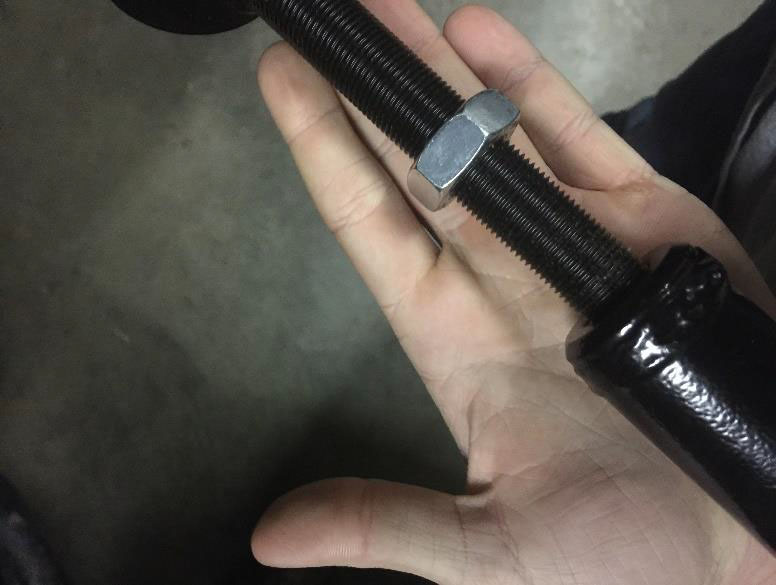
14. Once hand tightened on each side tighten the jam nut using a 1 7/8” wrench.
15. If you are installing upper control arms see the next set of instructions.
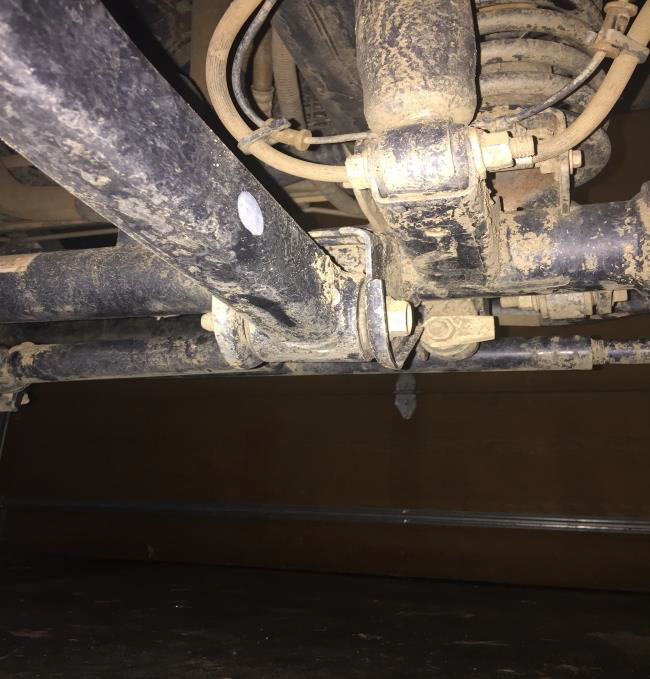
16. If you removed your coil springs reinstall them making sure the coil isolators are still in place.
17. Reinstall the sway bar links, shock absorbers, and track bar back into place
18. Reinstall the wheels and tires and lower the vehicle to the ground and torque the arm hardware to proper setting.
Front Uppers:
1. Make sure Track bar, springs, shocks, and sway bars are unattached as shown in steps #1-6 in the front lower installation.
2. Using a 21mm socket and wrench loosen the upper and lower control arm bolts at the axle and frame to allow movement, but do not remove. Support the axle with a floor jack.
3. Remove the bolts securing the upper control arms to the axle using an 18 mm wrench/socket. It will be necessary to cut out the passenger side upper bolt.
4. With both stock control arms removed adjust the Rough Country upper control arms to your desired distance or set them to the factory distance of 18 3/4” long. Measure the arms from “center of hole” on one end to the “center of the hole” on the other.
5. Tighten down the jam nut using a 1 1/8” wrench and install the helm joint in the upper mounts with supplied 12mm x 80mm bolt on the passenger side frame and the stock hardware on the driver’s side
6. Install the opposite end on the axle with the stock hardware but do not fully tighten.
7. Now if you removed your coil springs reinstall them making sure the coil isolators are still in
place.
8. Reinstall the sway bar links, shock absorbers, and track bar back into place
9. Reinstall the wheels and tires and lower the vehicle to the ground and torque the arm hardware to proper setting
Rear Lowers:
1. With vehicle in park and parking brake up raise the rear end of the vehicle with a jack and secure jack stand beneath each frame rail in front of the rear control arms.
2. Remove the rear tires using a 19mm deep well socket
3. Using an 18 mm socket and wrench remove the bottom sway bar bolts. Then use a 21mm socket and 21 mm wrench to remove the top of each sway bar link. Set these aside because they will be used again later.
4. Remove the track bar from the frame end using a 21mm socket

5. Using a jack support the axle.
6. Remove the lower shock bolt using an 18mm socket and wrench. Retain the lower shock hardware
7. Remove the brake line bracket from the stock location using a 10 mm socket
8. Using the jack lower the rear axle until you can remove the coil springs
9. Once coil spring removed, Use a 21mm socket and wrench loosen the upper and lower control
arm bolts at the axle and frame. Make sure to support the axle.
10. With both stock control arms removed adjust the Rough Country lower control arms to your desired distance or set them to the factory distance of 22 7/8” long. Measure the arms from “center of hole” on one end to the “center of the hole” on the other.
11. Once put into place hand tighten the jam nut and the bolts into the frame and axle.
12. Move onto the instructions for rear upper control arm installation.
Rear Upper:
1. With vehicle in park and parking brake up raise the rear end of the vehicle with a jack and secure jack stand beneath each frame rail in front of the rear control arms.
2. Remove the rear tires using a 19mm deep well socket
3. Using an 18 mm socket and wrench remove the bottom sway bar bolts. Then use a 21mm socket and 21 mm wrench to remove the top of each sway bar link. Set these aside because they will be used again later.
4. Using a 21mm socket remove the bolt of the track bar that attaches to the frame.
5. Using a jack support the axle.
6. Remove the upper control arms using an 18 mm wrench and retain all factory hardware.
7. Assemble the heim joints in the upper control arms and adjust to desired length or factory length of 18 3⁄4” measuring from “center of hole” on one end to the “center of the hole” on the other. Then tighten the silver jam nut using a 1 1/8” wrench
8. Install the adjustable heim end on the frame and the other on the axle using the stock hardware. Do not fully tighten at this time.
9. If you removed your coil springs reinstall them making sure the coil isolators are still in place.
10. Reinstall the sway bar links, shock absorbers, and track bar back into place
11. Reinstall the wheels and tires and lower the vehicle to the ground and torque the arm hardware
to proper setting.
Torque Specs:
All suspension components must be checked for tightness after the first 500 miles and then every 1000 miles after. It is recommended that you have your jeep aligned after any suspension modifications. Also grease you heim (flexjoints) every 1000 miles to ensure proper function.
| Lower Control Arms (Front) @ Axle | 85 ft. lbs |
| Lower Control Arms (Front) @ Frame | 130 ft. lbs |
| Lower Control Arms (Rear) @ Axle | 130 ft. lbs |
| Lower Control Arms (Rear) @ Frame | 130 ft. lbs |
| Upper Control Arms (Front) @ Axle | 55 ft. lbs |
| Upper Control Arms (Front) @ Frame | 55 ft. lbs |
| Upper Control Arms (Rear) @ Axle | 55 ft. lbs |
| Upper Control Arms (Rear) @ Frame | 55 ft. lbs |
After: