 FREE 1 to 3-Day Delivery on Orders $149+ Details

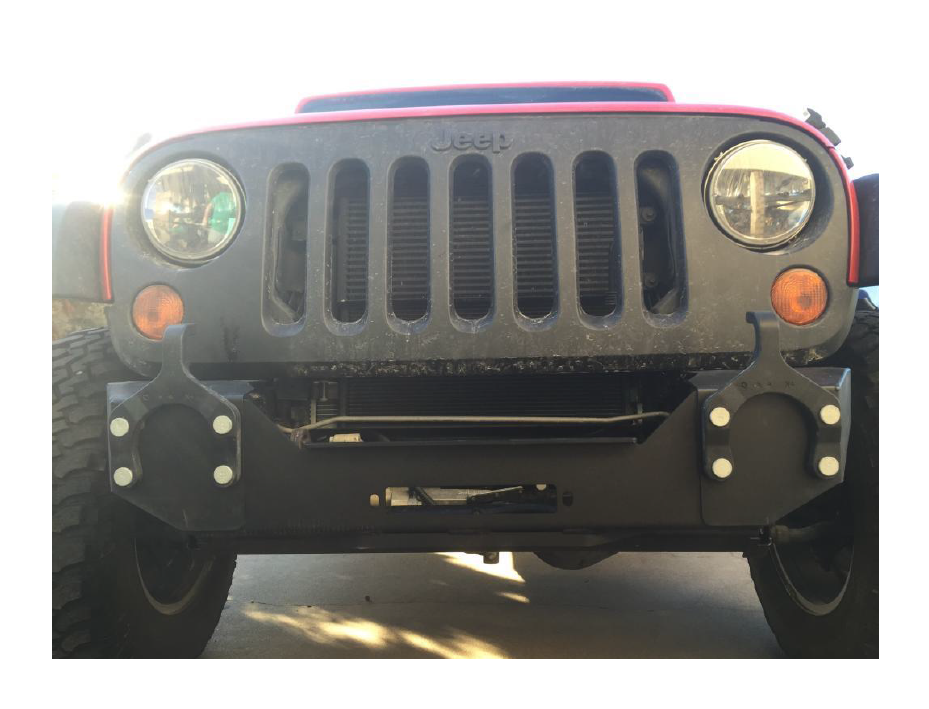
How to install a Rough Country Hybrid Stubby Bumper 07-18 Jeep Wrangler JK; 2018 Jeep Wrangler JL
Installation Time
2 hours
Tools Required
- 3/4” Socket / Wrench
- 8mm Allen Head Bit / Wrench
- 18mm Socket / Wrench
- Extension for sockets/ratchet
- Phillips Screwdriver
- 15mm socket if reusing factory tow hooks
- *10mm wrench
- *Cutoff tool (Dremel with heavy duty cutoff plate, pneumatic cutoff wheel, etc.)
- *Can of rust preventative – black spray paint, primer, POR15, etc
Shop Parts in this Guide
Installation Instructions: Before starting park on a clean level surface, and set parking brake
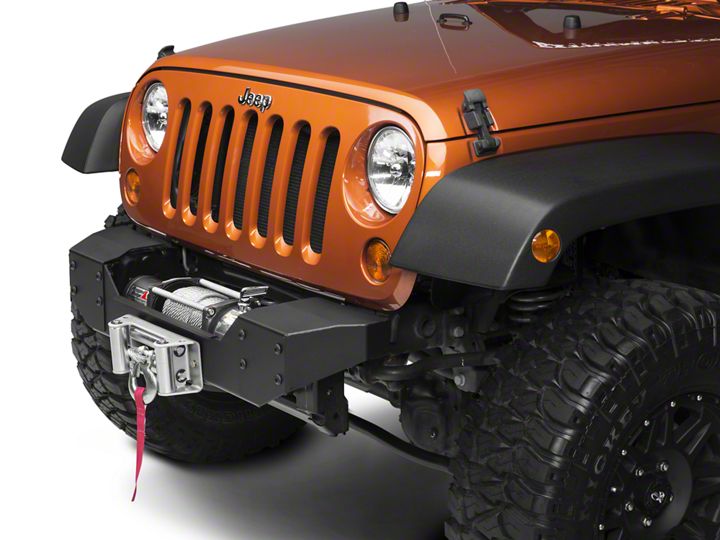
1. Remove bumper cover hardware located between tow hooks and grill. Be careful, as plastic screws may strip out easily. If this occurs a ¼” drill bit should get the screw out so you can remove.
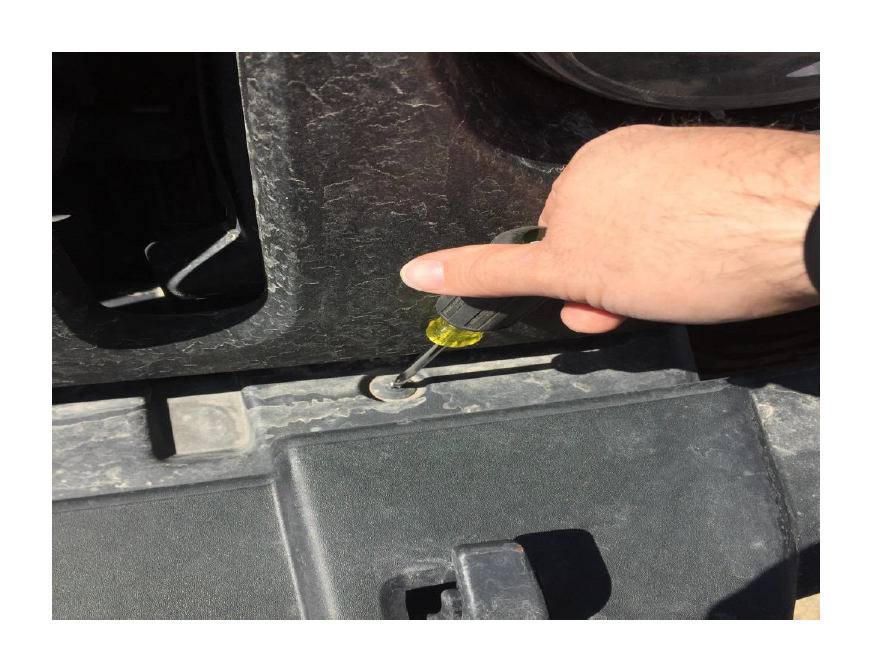
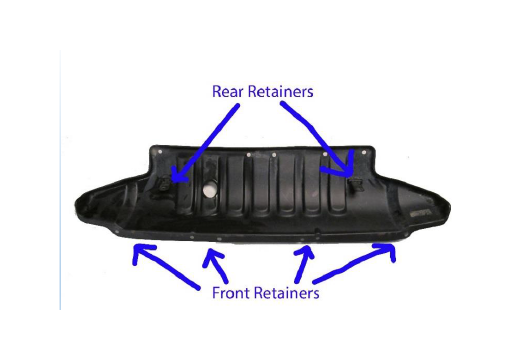
2. Remove factory plastic skid plate, there are 3 screws under the bumper, and once those are released there are 2 screws holding a vertical support that face the rear of the jeep.
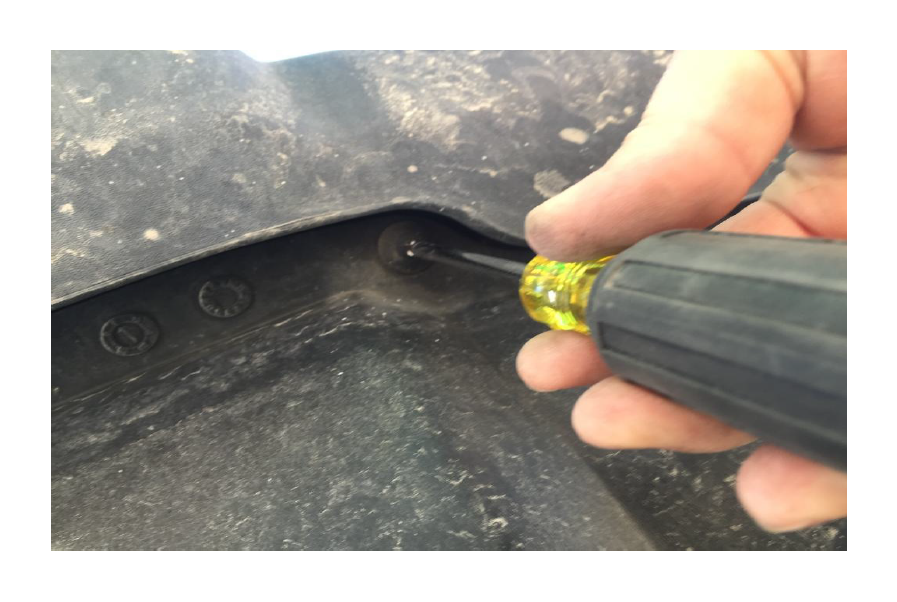
3. Using a 18mm socket or wrench, remove the 4 bolts holding the bumper to the frame horn on the driver and passenger side.
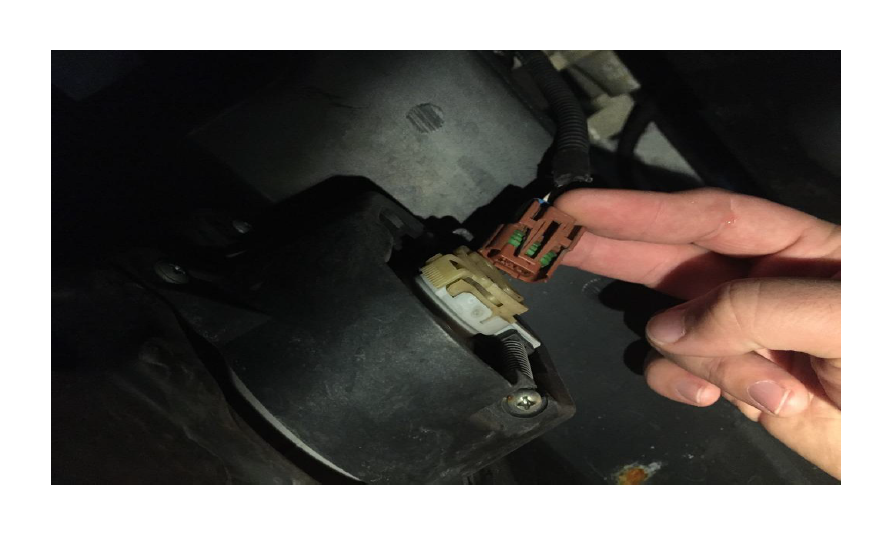
4. If equipped, unplug fog lights.
5. Remove bumper by pulling straight out from front of jeep, and set aside. If you will be using the stock tow hooks, remove the stock tow hook brackets from bumper. This will require 15mm socket/wrench to separate the factory steel bumper and plastic cover. There are 4 bolts to remove, 2 on each side.
6. If installing winch on bumper, install roller or hawse fairlead on winch plate section using hardware included with fairlead.
7. Thread winch rope/wire through fairlead and install hook.
8. Install winch using hardware included with winch.
9. If working on 2012 or newer, use instructions from vacuum pump relocation bracket to move vacuum pump.
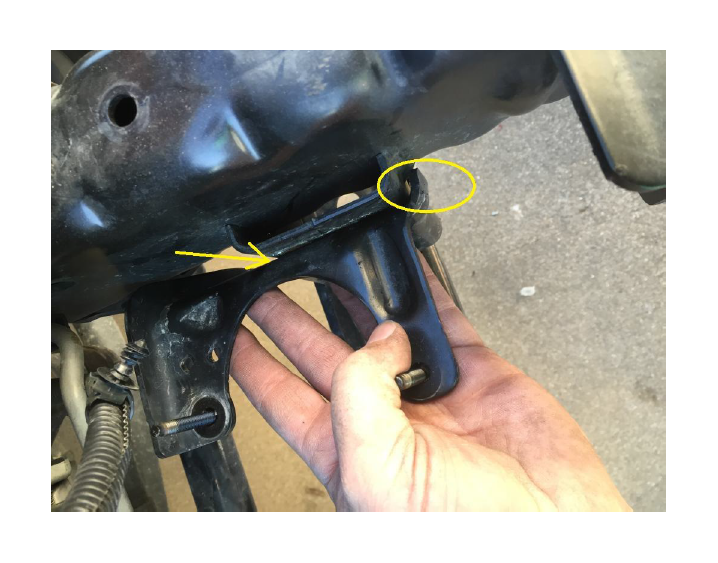
10. If working on 2012 or newer , use cutoff tool, remove vacuum pump bracket from driver side frame horn. Cut at yellow circle, on both sides (where arrow is pointing).
11. Use rust prevention method (paint, POR15, Primer, etc) to cover exposed steel from cut on both sides of bracket. Be sure to cover all exposed steel to prevent any rust issues
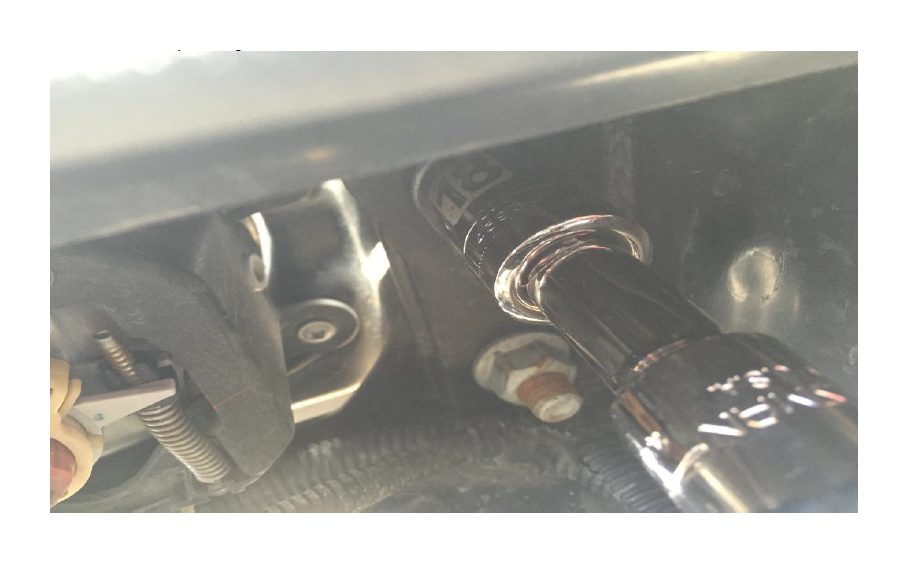
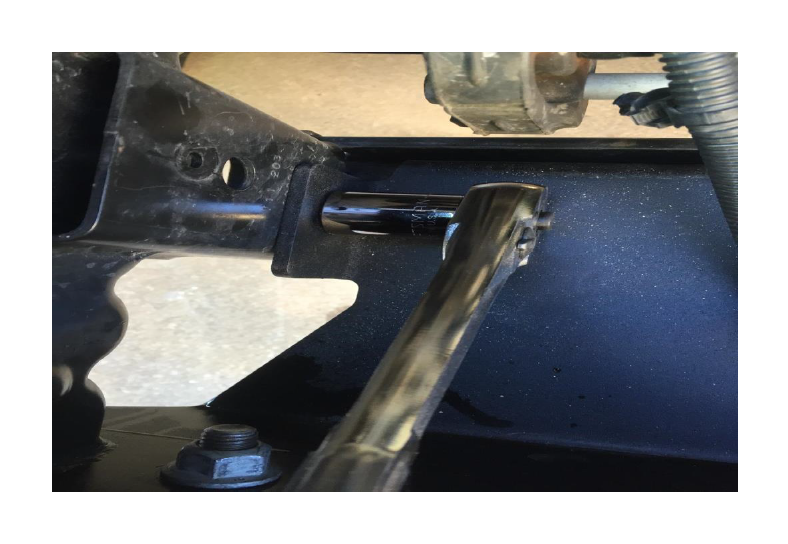
12. Place winch plate between bumper horns. A friend is a great help at this step. You can use a bolt or two on each side to hold this in during the next step as seen in this picture. The bolts can be tightened some, but not fully tight for the next step.

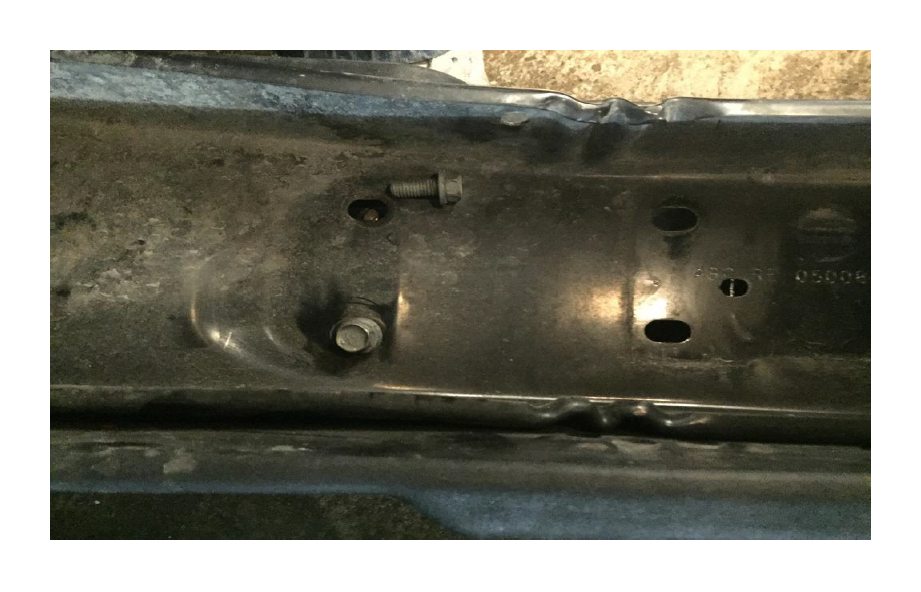
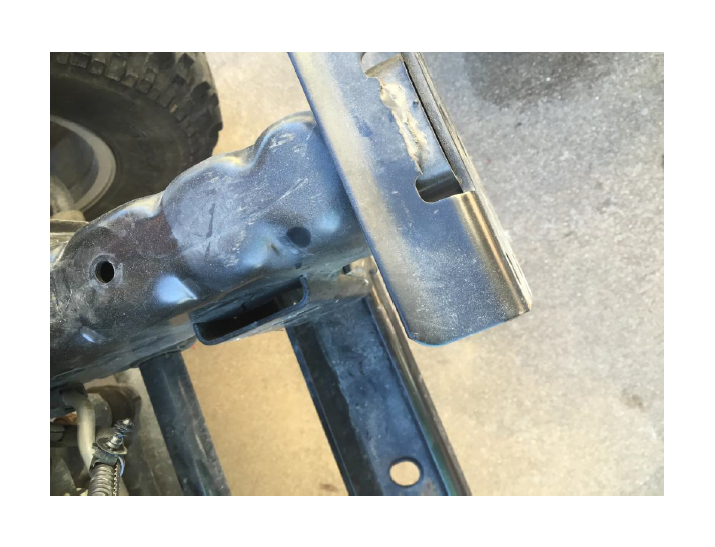
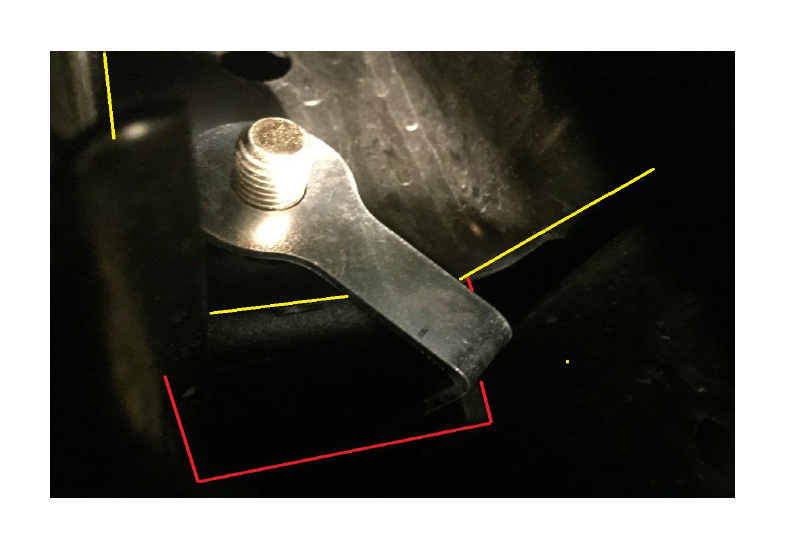
13. Install the supplied 1/2” x 1 1/2” bolt through the winch plate and through the frame as on left and right side, from inside the frame horns, and secure with the supplied flag nuts, using the ¾” wrench or socket.
The flag nuts will need to be routed up through the bottom of the frame rail, with the “tail” going into the cross member (red boxed area), and you will need to use a finger or screw driver to hold the nut in place to begin threading the bolt in. The yellow lines indicate the frame horn coming out of the front end.
Install both sides before tightening, and tighten evenly
14. If installing factory tow hooks, remove the bolts you installed to hold the plate in place in step 12, having friend hold bumper, or use a floor jack or jack stand to support the bumper) and place the angled end piece on bumper, and use the tow hook to sandwich the end cap as seen below. The 4 bolts on the tow hook will fit through the mounting holes, and you will reuse the factory nuts from step 3 to tighten bracket, using the 18mm socket.
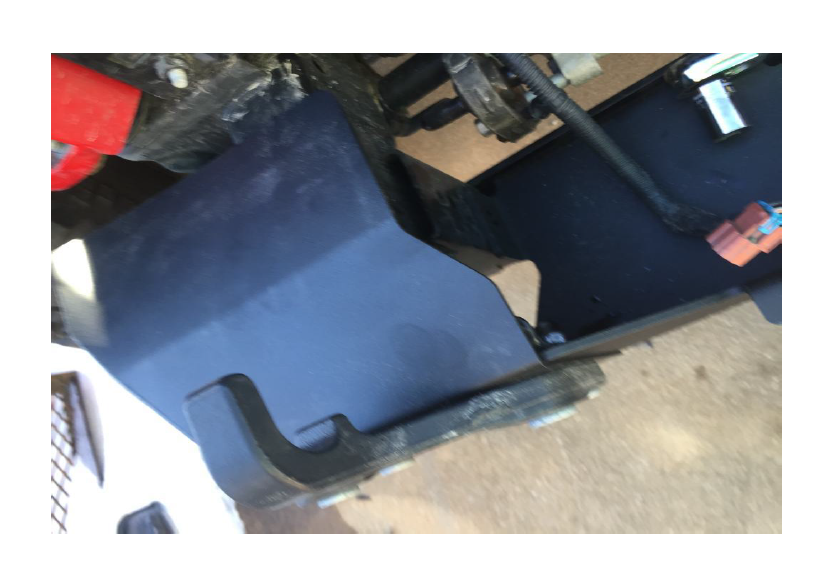
If using D ring bracket from Rough Country, or not using factory tow hooks, put end cap in place and using the supplied allen head bolts, 8mm allen wrench, washers, and nuts you can install the end cap.
15. Check to ensure all bolts are tight, and check regularly, especially with use.
Installation Instructions Written by ExtremeTerrain Customer Matt Greenwood 03/07/2015
