 FREE 1 to 3-Day Delivery on Orders $149+ Details

How to Install Rough Country Adustable Rear Upper Control Arms (97-06 TJ) on your Jeep Wrangler
Installation Time
1.5 hours
Tools Required
- 15mm Wrench
- 15mm Socket & Wrench
- 13mm Wrench or Socket
- 9mm Wrench
- Adjustable Crescent Wrench
- Jack
- Torque Wrench

Shop Parts in this Guide
Park vehicle on flat level surface. Chock the front wheels.
Manufacture recommends raising the vehicle on jack stands, removing the wheels, unbolting the shocks, disconnecting the track bar from the axle, lower the axles and removing the suspension springs before removing the stock upper control arms. These steps are not necessary for instillations. If the Jeep is on a flat surface, the upper control arms can be removed and replaced without the above steps.
Installation Instructions
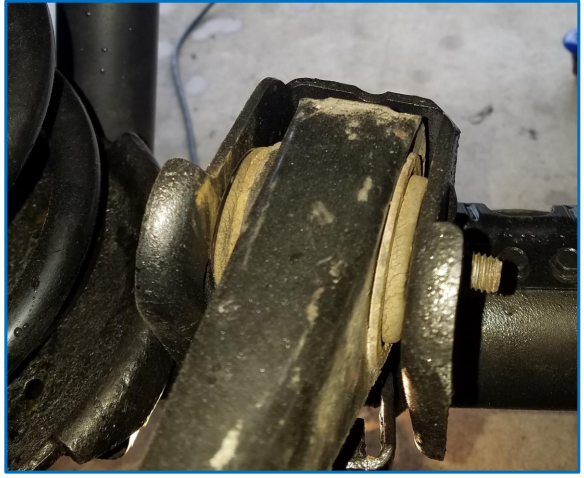
1. Use 13 mm socket or wrench to remove emergency brake line and rear brake hose from Driver Side stock rear upper control arm. Retain hardware.
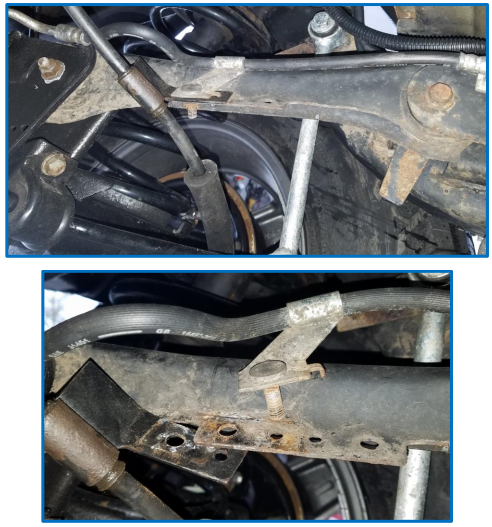
2. Use 13 mm socket or wrench to repeat process on Passenger Side.
3. Use 15 mm wrench and 15 mm socket to loosen Driver’s Side rear upper control arm bolts on the axle. Leave the bolt in place. Retain 15 mm nut.
4. Use 15 mm socket or wrench to loosen Driver Side rear upper control arm frame bolts. A flag on the nut should hold the nut in place until completely loose. If the flag brakes off, a 15 mm wrench can be used to hold the nut. Leave bolt in place and retain the flag nut.
5. Use 15 mm wrench and 15 mm socket to loosen Passenger Side rear upper control arm axle bolts. Leave the bolt in place. Retain 15 mm nut.
6. Use 15 mm socket or wrench to loosen Passenger Side rear upper control arm frame bolts. A flag on the nut should hold the nut in place until completely loose. If the flag brakes off, a 15 mm wrench can be used to hold the nut. Leave bolt in place and retain the flag nut.
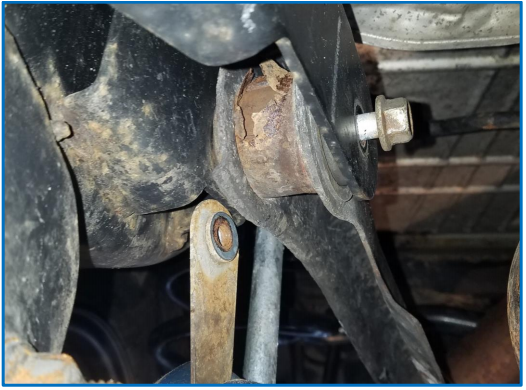
NOTE: All bolts should spin freely at this point. If not, spay bolts with penetrating oil and continue to rotate them until the bolts spin freely. The controls should not be under tension or binding if the vehicle is on a flat surface.
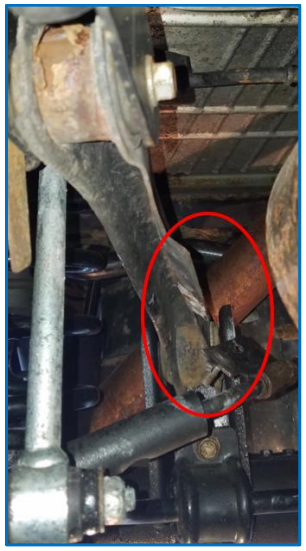
7. Remove 15 mm axle bolt from Driver Side rear upper control arm on the bracket, then remove the 15mm frame bolt from Driver Side rear upper control arm to remove control arm.
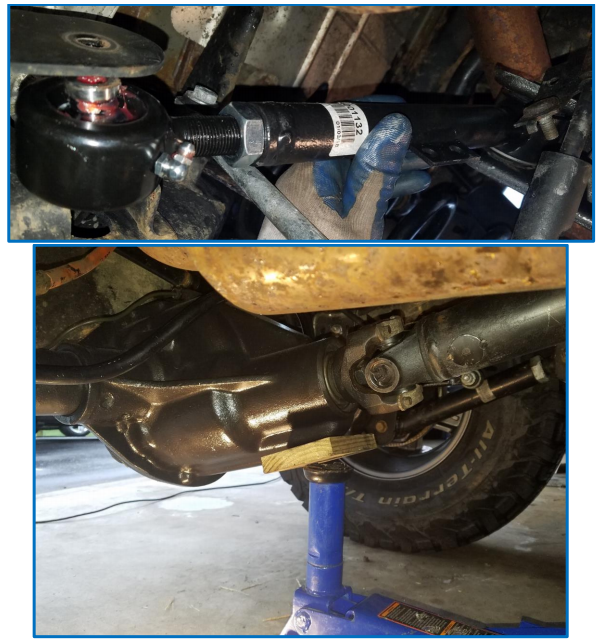
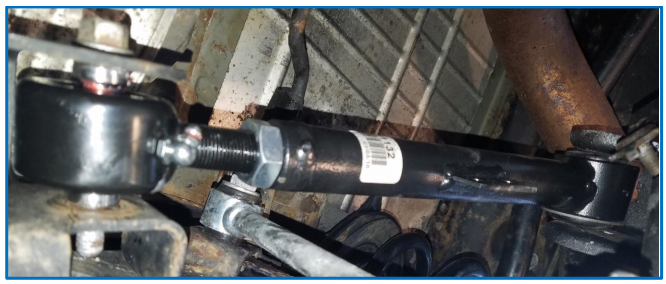
8. Assemble Driver Side Rough Country rear upper control arm. Remove orange protective netting and thread the Jam nut up the shaft of the flexible joint. Thread the flexible joint into the body of the rear upper control arm.
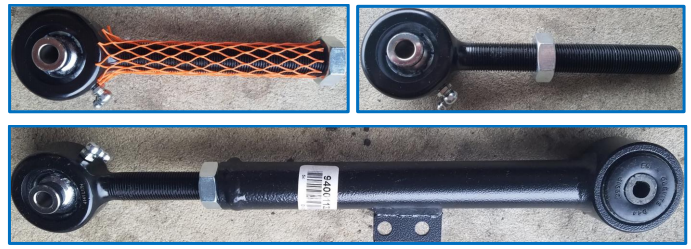
NOTE: New design does not require building the joint end. Control arm is delivered as identified above. The Zerk grease fitting can be adjusted with a 9 mm wrench.
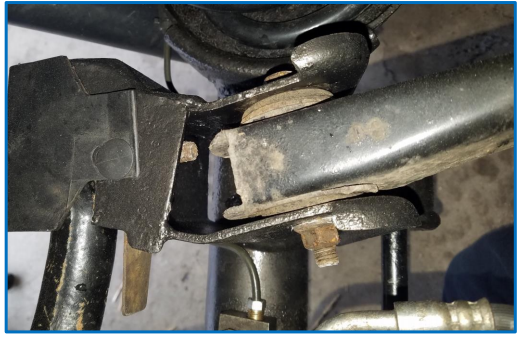
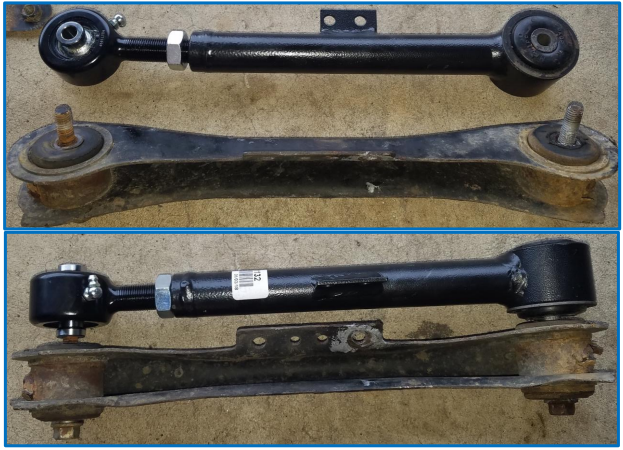
9. Adjust new control arm to match the length of the stock control arm. TIP: Place the 15 mm bolts through the stock control arm bushings and use as a guide to match with the new control arm. Ensure the Zerk grease fitting and brake line bracket are facing down.
NOTE: Manufacture recommends greasing joint before install.
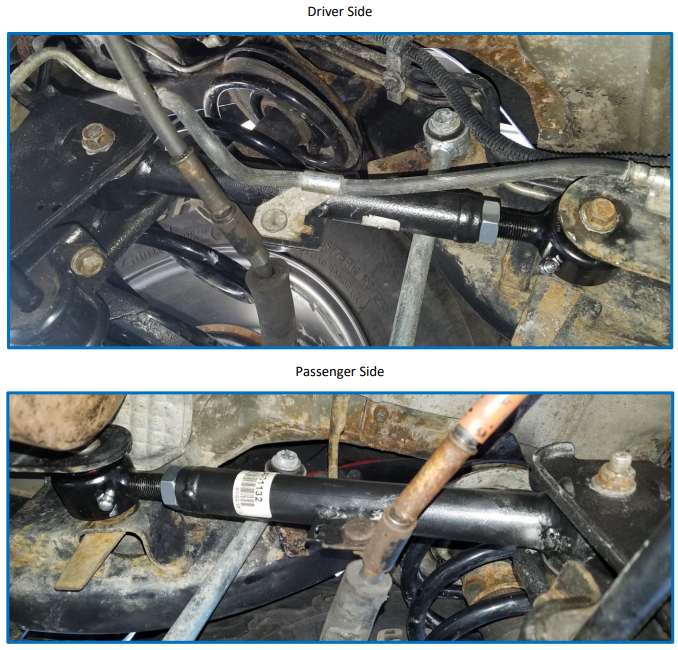
10. Install new Driver Side rear upper control arm with original 15 mm bolts and 15 mm nut/flag nut. The axle should not require any adjustments. Leave bolts loose at this time. TIP: Apply Anti-Seize compound to the bolts prior to install to prevent the bolts from seizing to the inner bushing sleeve.
11. Remove Passenger Side stock rear upper control arm following Step 7. Build new Rough Country rear upper control arm following Step 8. Adjust length of new Rough Country rear upper control arm following Step 9.
12. Install Passenger Side new rear upper control arm with original 15 mm bolts and 15 mm nut/flag nut. Slight adjustments to get bolts to align correctly can be made by placing a jack under the differential and lifting.
NOTE: Ensure to check pinion angles if large adjustments are needed. Depending on the style of drive shaft and transfer case connection point will depend on the necessary angle of the pinion.
Lower jack if needed.
13. Tighten Driver Side and Passenger Side 15 mm bolts and nuts to 55 ft/lbs of torque at both the axle and the frame.
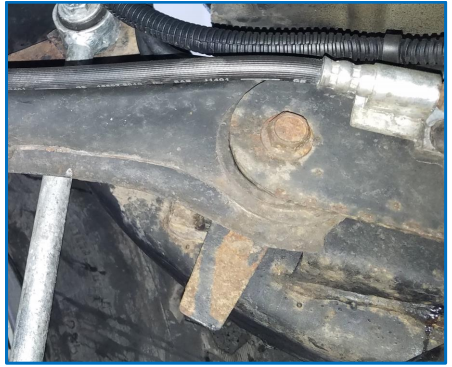
14. Reinstall emergency brake line bracket to Passenger Side rear upper control arm with 13 mm nut and wrench. NOTE: Adjustments to brake line bracket may be required for fitment and to ensure lines do not pinch.
15. Reinstall emergency brake line and brake hose bracket to Driver Side rear upper control arm with 13 mm nut and wrench. NOTE: Adjustments to brake line bracket may be required for fitment and to ensure lines do not pinch.
16. Tighten Jam nut with adjustable crescent wrench. TIP: Use a thread lock compound (such as Locktite Blue) to prevent the Jam nut from loosening.
NOTE: Recommended to have a professional alignment completed after making modification to suspension.
NOTE: Check all bolts and nuts (including Jam nut) for tightness after 500 miles and every 3,000 miles. Grease flexible joints as needed to prevent premature failure.
Installation Instructions Written by ExtremeTerrain Customer Tim Hoffecker 3/30/2018.
