 FREE 1 to 3-Day Delivery on Orders $149+ Details

How to Install Rigid Industries D2 Series LED Light Cube - Wide Beam (87-18 Wrangler YJ, TJ, JK & JL) on your Jeep Wrangler
Installation Instructions
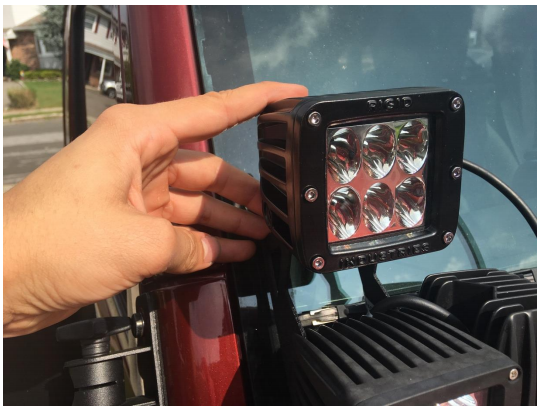
1. For this installation, I have mounted the light to a dual windshield bracket using the HW5 hex bit.
2. Open the hood.

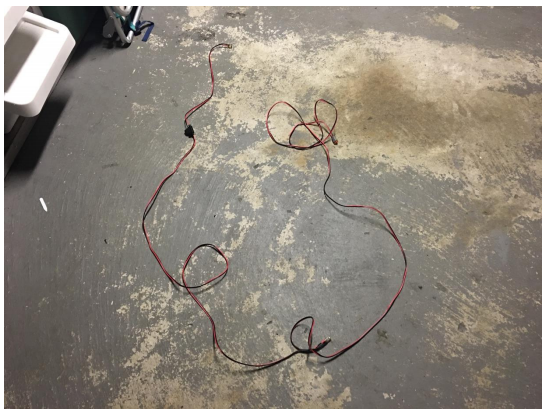
3. Lay out the wiring harness that is included. The upper right of the wiring harness in the picture is the part that will be wired to the light, the upper left of the wiring harness in the picture will be connected the battery, and at the bottom of the wiring harness is the part that will be attached to the switch. Note: I used a different wiring harness for this installation, but they are designed the same and I will explain it as if I was using the Rigid Wiring Harness.
4. Remove the negative end of the battery and connect the red end of the wiring harness to the positive end of the battery and the black end of the wiring harness to the negative end of the battery.
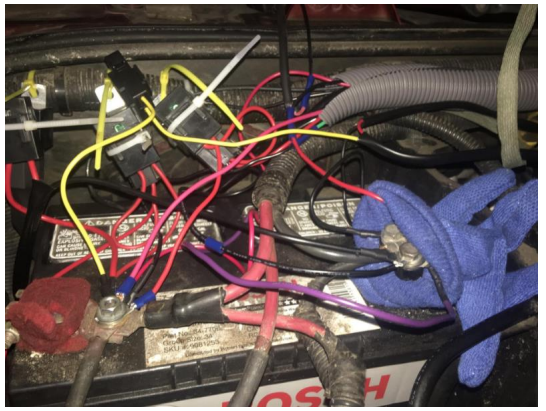
5. Run the wiring harness to the right side of the engine bay.
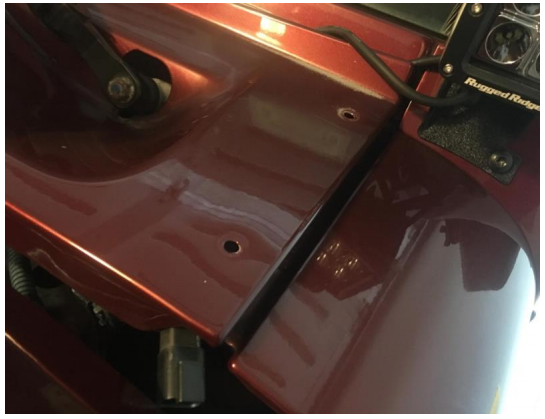
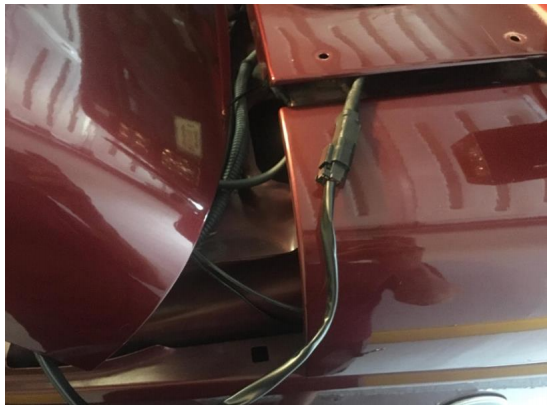
6. Remove the two Torx screws on the cowl with a T27 Torx bit and run the wiring from the LED light under the cowl.
7. Clip the harness to the wire that is coming off the light.
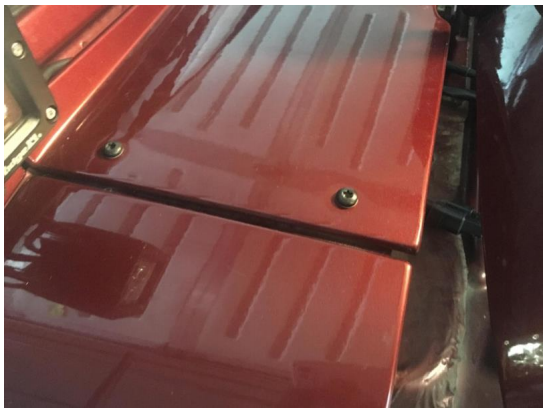
8. Put all cowl Torx screws back.
NOTE: To the right of the cowl, you can see the LED light clip attached to the wiring harness.
9. Run the part of the wire that will be connected to the switch through the firewall and toward the area that you want to run the switch.
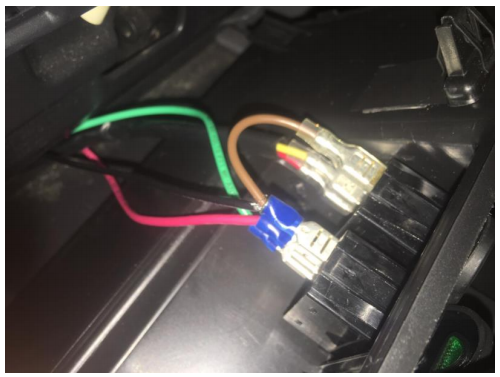
10. If you are wiring to a three-prong rocker switch, you can attach the wires to the switch so that the black wire is going to the ground and the two red wires are going to the and – areas of the switch.
NOTE: I wired the ground into the ground of the other switch, since there wasn’t a place that was near the switch to attach the ground wire.
11. I zip tied the excess wire together on my harness, but the other wiring harness may not have as much excess wire.
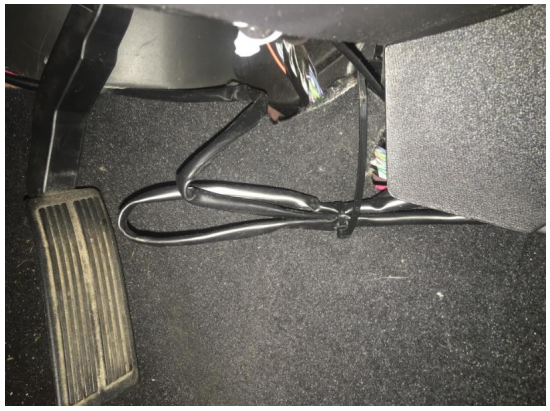
12. I also ran the wire underneath the carpet so it is out of the way, which is a good idea for anyone to do.
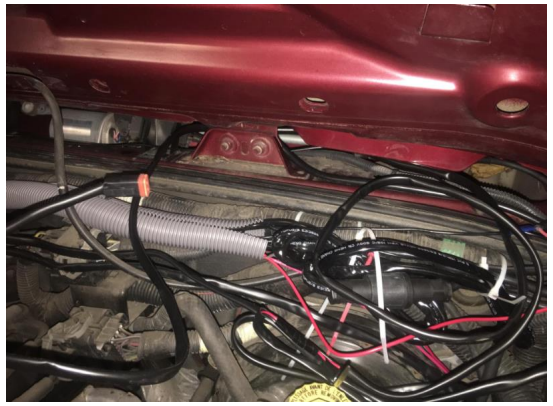
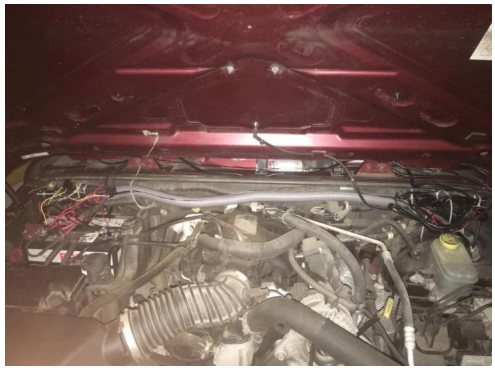
13. Clean up the wiring in the engine bay by zip tying excess wire together as seen on the right of the photo. Also, I purchased flex tubing from a hardware store, since I am running multiple lights, to run the wire through.
14. You are now done.
Installation Instructions Written by ExtremeTerrain Customer Thomas Sandoval 09/17/2017

