 FREE 1 to 3-Day Delivery on Orders $149+ Details

How to Install RedRock 4x4 Hitch Mounted Cargo Rack 12 in. XL on your 87-18 Jeep Wrangler YJ, TJ, JK & JL

Shop Parts in this Guide
Installation Instructions:
1. Take the cargo rack, hitch arm, both stabilizing arms, and bolt package out of the box and lay them down on the ground. Make sure the cargo rack is upside down, so you can work with the holes on the bottom of the rack.
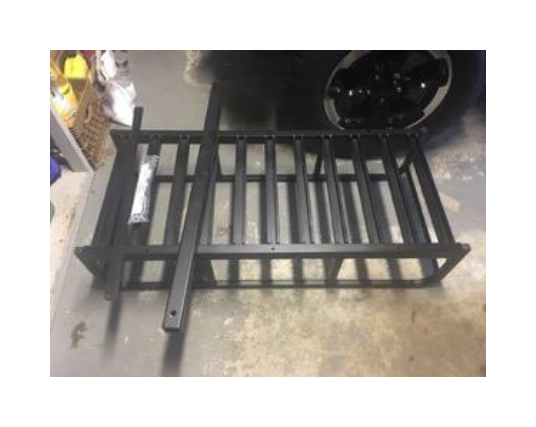
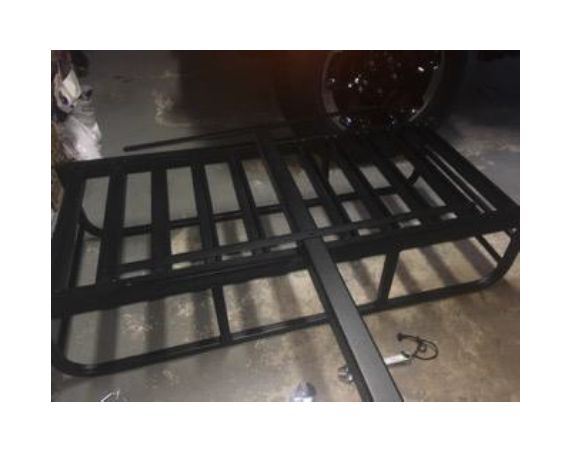
2. Align the two holes on the hitch arm with the two holes on the bottom of the cargo rack. Then align the center hole of each stabilizing arm to the holes of the hitch arm and cargo rack.
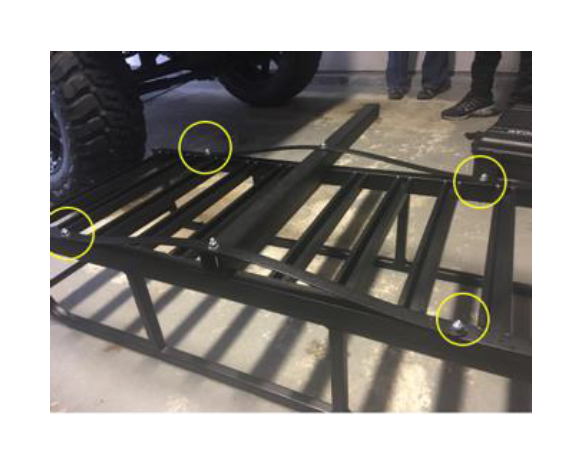
3. Take the longest two bolts and feed it through the hole in the cargo rack, which should then feed through the hitch arm and the stabilizing arm. (Pictured here without the stabilizing arm)
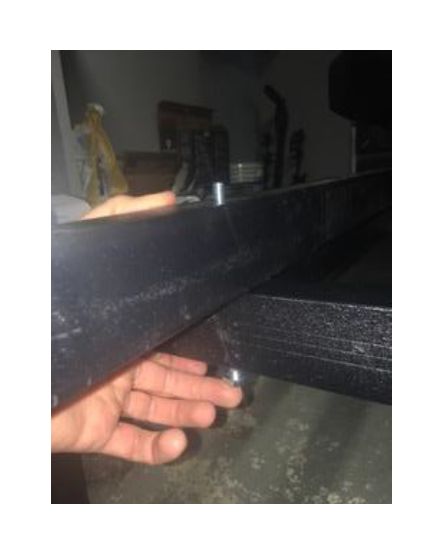
4. Place the washer through the bolt and then tighten the nut on the bolt with once wrench, while holding the bolt head with the other wrench.
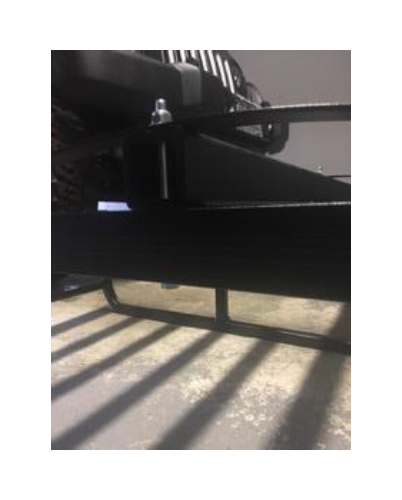
5. You can then put the four smaller bolts through the cargo rack and the stabilizing arm. Note: You will have to bend the stabilizing arm to accurately match up the holes in the cargo rack and stabilizing arm.
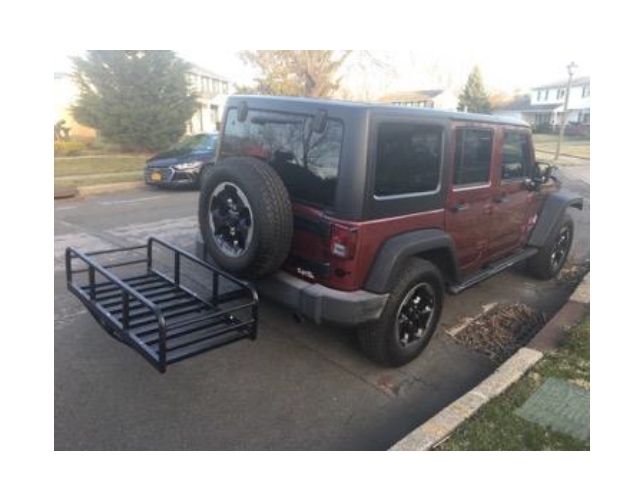
6. You can now attach the cargo rack, fully installed to your Jeep into the hitch
Installation Instructions Written by ExtremeTerrain Customer Thomas Sandoval 04/05/2017

