FREE 1 to 3-Day Delivery on Orders $149+ Details

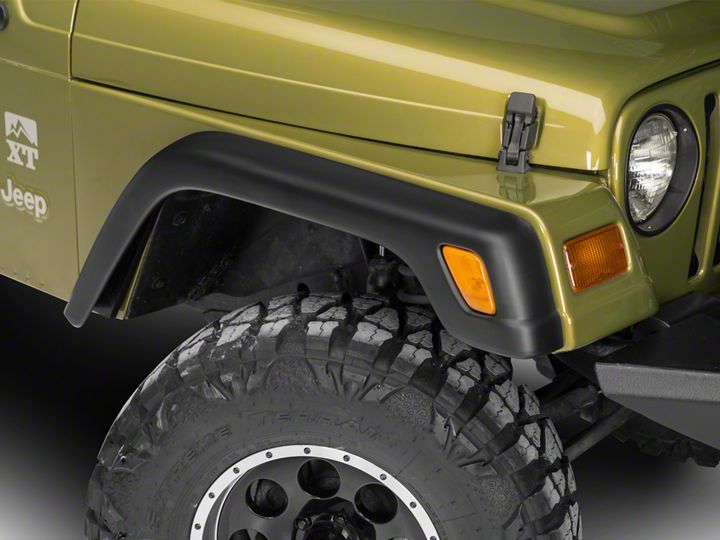
How to install RedRock 4x4 Replacement Style Fender Flare Kit, 4-piece on your Wrangler
Shop Parts in this Guide
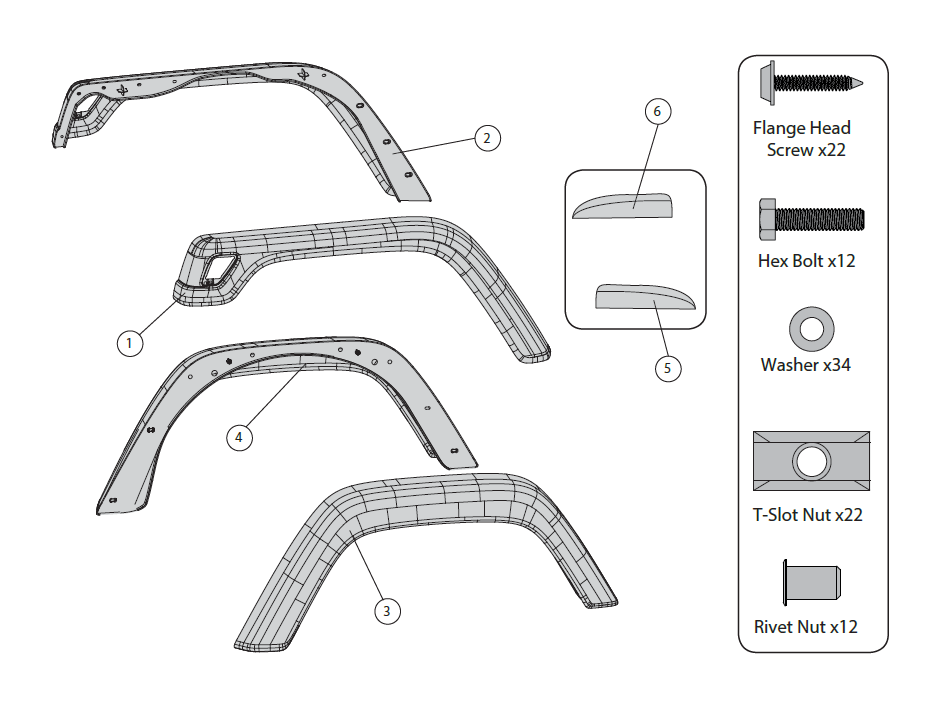
| SR No. | Component | QTY |
|---|---|---|
| 1 | Front Flare, LH | 1 |
| 2 | Front Flare, RH | 1 |
| 2 | Rear Flare, LH | 1 |
| 4 | Rear Flare, RH | 1 |
1. Disconnect side marker lights, twisting bulb counter-clockwise.
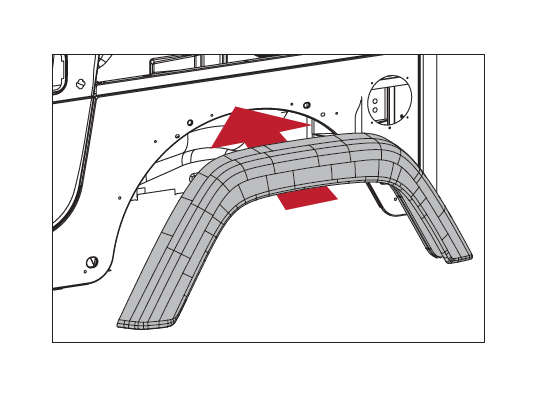
2. Detach all hardware & remove front flares.
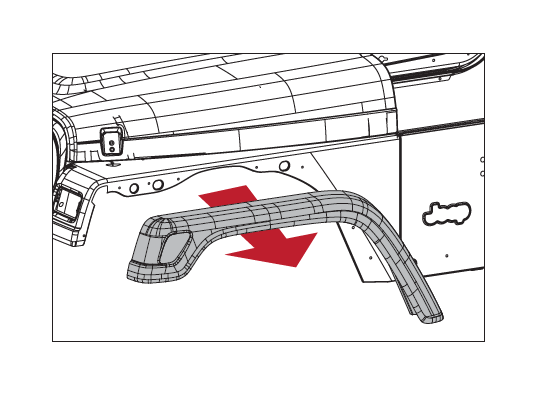
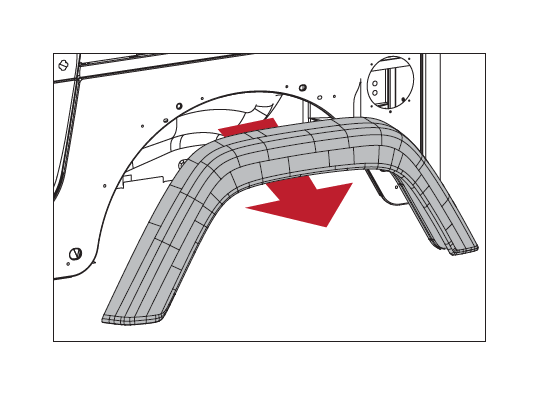
3. Detach all hardware & remove rear flares.
Notice: Removing or pulling back rear fender
liner is recommended for this step. Shield retainers may need to be removed.
4. Ensure body panels are clean before installation.
5. Install front flares by first lining up replacement pins with body panel holes.
6. Attach using Flange-Head Screw and T-slot Nut for front holes and Hex Bolt, Washer, and Rivet Nut (if
needed) in rear holes.
7. Fully tighten all bolts.
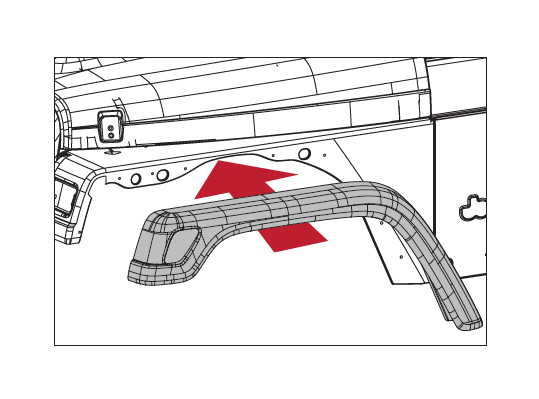
8. Install Rear Flares using Flange-Head Screw and T-slot Nut for front holes and Hex Bolt, Washer, and
Rivet Nut (if needed) in rear holes.
9. Tighten all bolts and replace rear fender liner.
Notice: If any sheild retainers were removed during installation, replace them now.
10. Reinstall side marker light by twisting clockwise
into casing.