FREE 1 to 3-Day Delivery on Orders $149+ Details

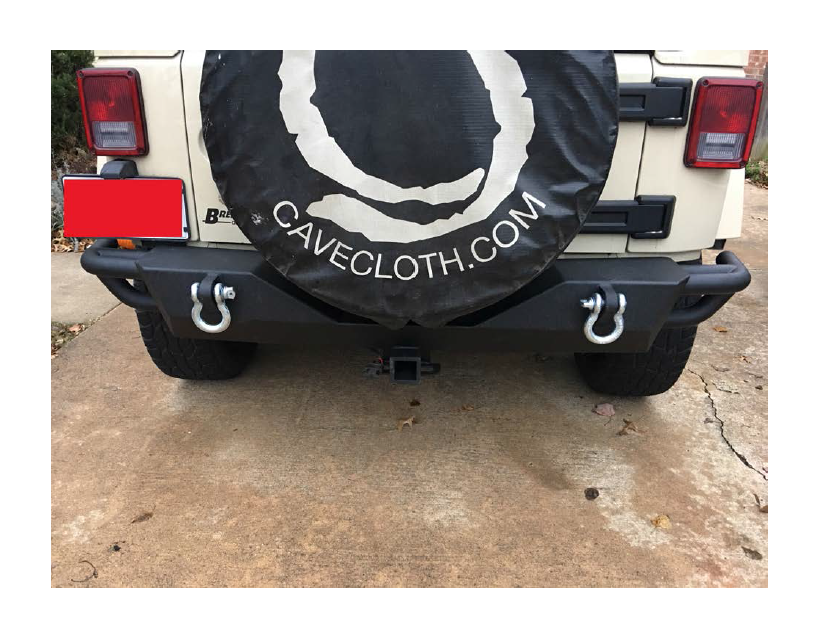
How to Install RedRock 4x4 Full Width HD Rock Crawler Rear Bumper on your Wrangler
Installation Time
1 hours
Tools Required
- 19mm socket
- 19mm box wrench
- Ratchet
- Ratchet extension
- Torque wrench - optional
- Safety glasses

Shop Parts in this Guide
Parts list included

1. Park vehicle, turn off engine and engage the parking brake
2. Be sure to wear safety glasses for the entire install as loose debris and dirt on
the underside of the vehicle can dislodge and fall into your eyes
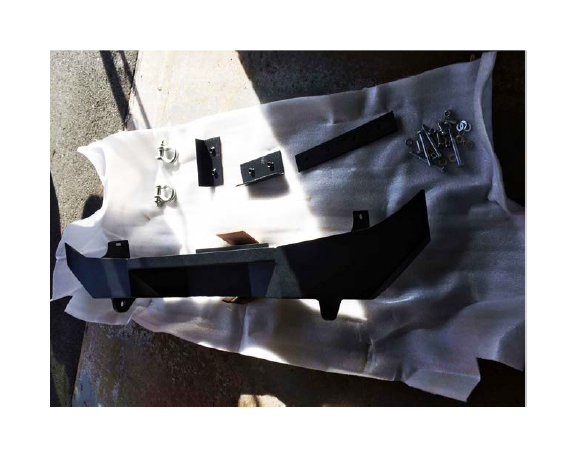
3. Lay out all parts from shipping box and organize what you need.
This is what comes in the box.
4. Jack up the Jeep using your jack of choice and jack stands for safety. This is
not necessary, but it make the installation a lot easier.
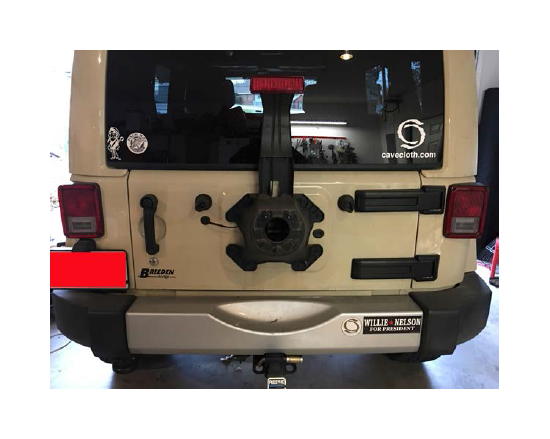
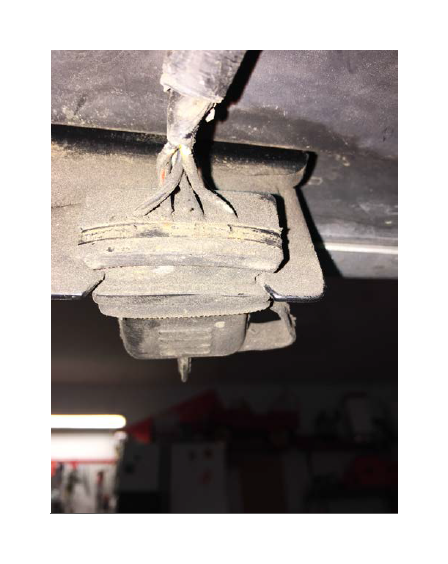
5. Unbolt the spare tire before removing the factory bumper to have enough room
to work.
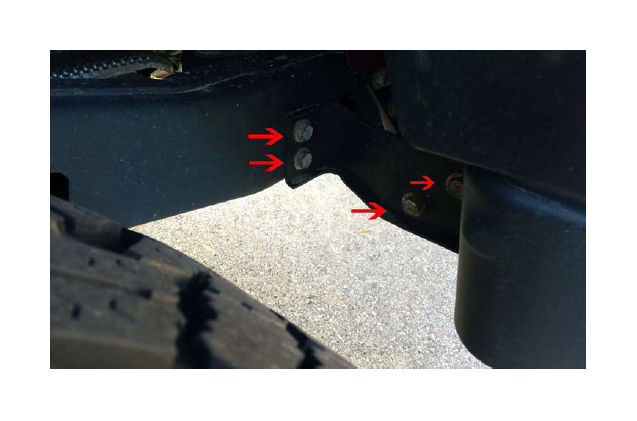
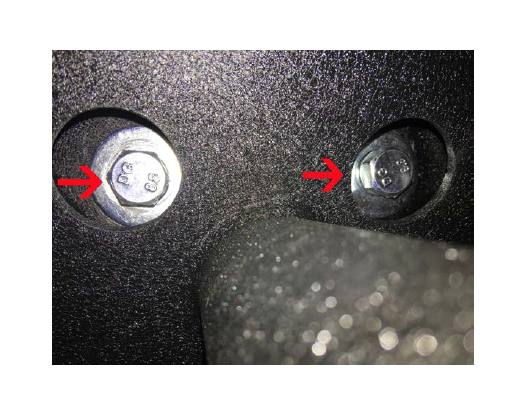
6. Remove the original bumper by unbolting the two bolts on either side of the
bumper just inside the wheel well to the back using a 19mm socket.
7. After you loosen all bolts, remove the zip tie holding the trailer wiring harness
to the bumper before removal.
I just used a pair of wire cutters to snip the zip tie and free it from the bumper.
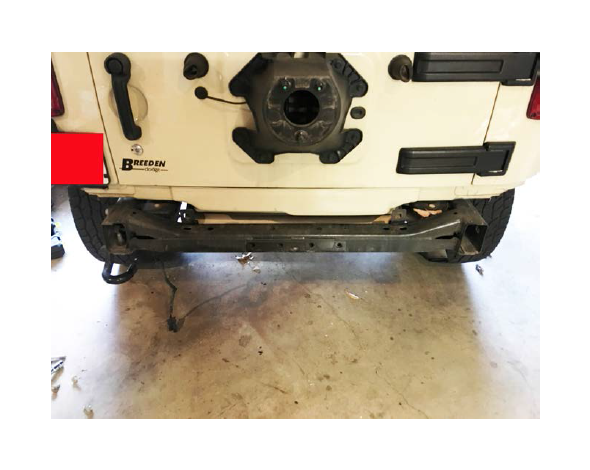
8. Lift the factory bumper off the Jeep frame and set it aside.
The factory bumper weighs just a few pounds…….literally. No help needed for this step.
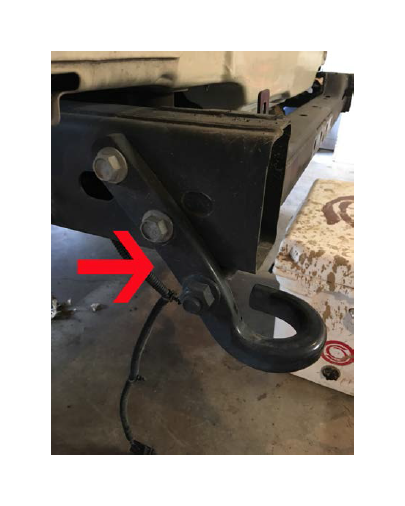
Lastly, remove the factory tow hook on the rear bumper.
This step requires you to remove the two side bolts and a bolt underneath the tow hook.
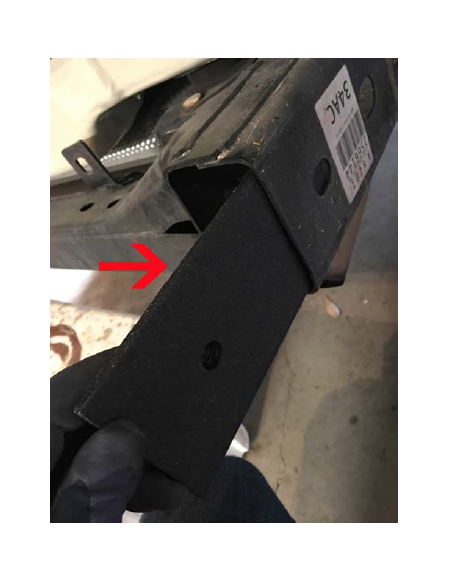
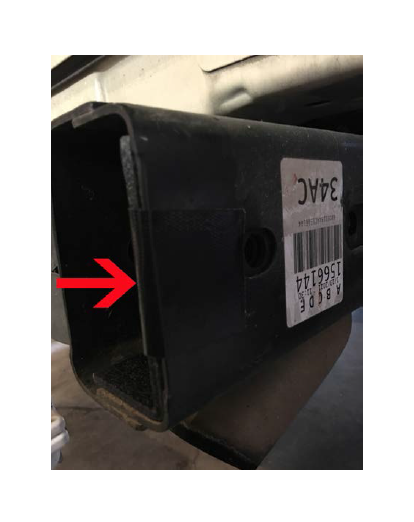
9. Begin the installation of the new RedRock bumper by sliding in the nut plates
into the driver and passenger side frame tubes.
Make sure the side of the nut plate that has the nuts on it is flush with the outside of the frame.
**PRO TIP** Clean off the frame and add a piece of tape to the frame where it
can overlap onto the nut plate to hold it in place while bolting on the bumper.
Otherwise, when you insert the bolts, they push the nut plate inside the frame
and you don’t have enough bolt length to get it started.
This is where I used my tape.
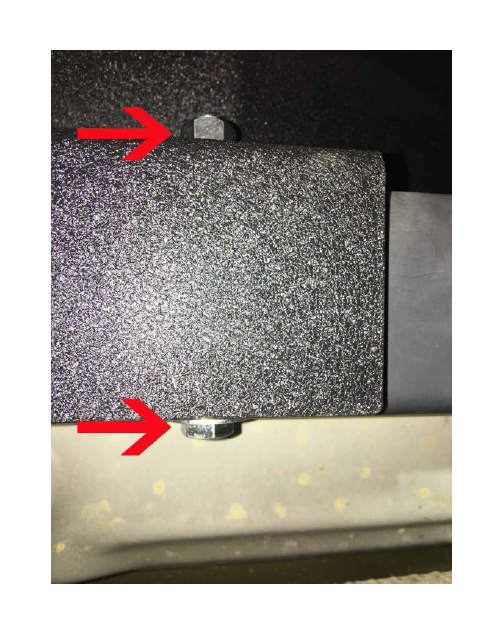
10. Insert your bolts with the washers and spring washers into the allotted holes
on the sides of the bumper on both passenger and driver sides.
When you get the bolts threaded, be sure to leave them a little loose until both sides have been threaded.
11. Time to install the middle bolts, nuts, washers and spring washers. **Do this
step before tightening the side bolts so you have enough play to line up the
middle bolts**
You will want to thread the bolts from the front of the Jeep to the back of the bumper. Get all the bolts threaded through and then add all the nuts, washers and spring washers.
12. Now go back and tighten all the side bolts and middle bolts on the Jeep.
13. Re-attach your trailer wiring harness as you see fit.
14. Replace your spare tire and you’re all set!
Now it’s time to show off your new bumper and hit the trails!