 FREE 1 to 3-Day Delivery on Orders $149+ Details

How to Install RedRock 4x4 1.5 in. Wheel Spacers on your 07-18 Jeep Wrangler JK; 2018 Jeep Wrangler JL
Shop Parts in this Guide
Contents:
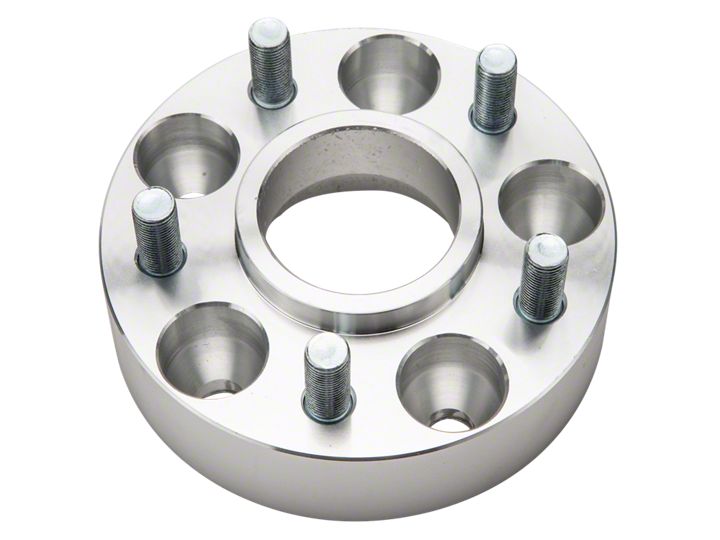
(2) - wheel spacers
(10) - wheel spacer nuts
It is recommended that you have an additional person available to help during this installation, parts can be awkward to hold and support by yourself. Block wheels and set parking brake before beginning work.
Loosen all (5) lug nuts a quarter turn. Raise the vehicle with a jack until the wheel and tire are off the ground. Brace the vehicle with a jack stand. Remove the lug nuts and remove the wheel from the vehicle.
Remove any stud clips from the studs. They can be pryed up and clipped off. Care should be taken to keep from damaging the threads on the studs.
Place the wheel spacer onto the rotor, it will not fit flush against the rotor until the nuts are tight. Use the included wheel spacer nuts to secure the wheel spacer to the rotor. Tighten the wheel spacer nuts in a star pattern. Once they are hand tightened, use a torque wrench to torque each wheel spacer nut to 100 ft/lbs
Replace the wheel onto the wheel spacer studs. Reinstall and tighten the wheel lug nuts in a star pattern. Once they are hand tightened, use a torque wrench to torque each lug nut to your factory specs. Be sure to check the wheel spacer nuts and the lug nut torques after driving approximately 20 miles.
