 FREE 1 to 3-Day Delivery on Orders $149+ Details

How to Install RedRock 4x4 Black Billet Grille Inserts on your 2007-2017 Jeep Wrangler JK
Installation Time
1 hours
Tools Required
- Phillips Head Screw Driver
- Flat Head Screw Driver
- 7 MM Socket
- Locktite
Installation Instructions:
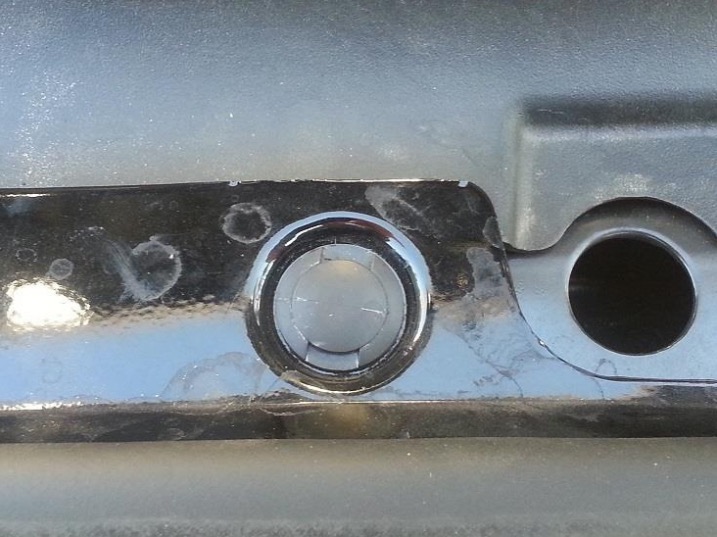
1. Remove the retaining nuts on the top of the grille, there are eight total, use the flat head screw driver to pry the center up. Then pull the whole retaining clip out. (PIC 1) Then gently pull the bottom of the grille loose to dislodge the retaining clips. (PIC 2) Disconnect the turn signals by turn the wiring harness towards the ground. Remove the grille and set aside.
Pic 1
Pic 2
2. Check all of the hardware. There should be 2 brackets, 4 screws and 4 nuts for each insert. Place the insert into the grille opening.(PIC3) It helps to have an extra set of handles to hold everything in place before tightening the nuts. Note: Hold the rear support bracket tight against the insert and check to see if it is snug. If it seems like it will be loose when you tighten the nut then flip it the other way.
Pic 3
3. Insert 2 screws in the upper holes of the grille insert and 2 screws in the lower holes of the insert. (PIC 4) On the back side slide the supplied brackets and nuts onto the screw, locktite towards the top of the screw to secure the nut. Double check to ensure the bracket is evenly distributed across the back of the Jeep Grille. Then tighten the 4 nuts. (PIC 5) Next step is to check the grille insert to ensure it is secure. (PIC 6).
Pic 4
Pic 5
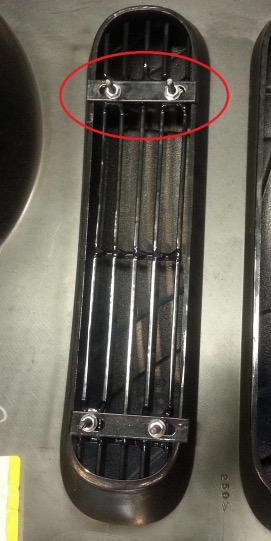
Pic 6
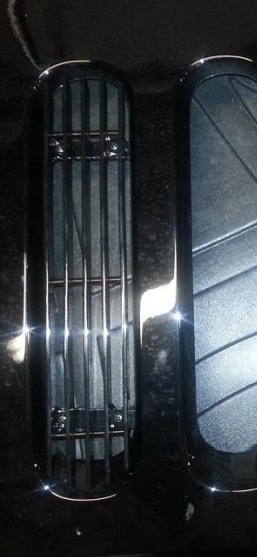
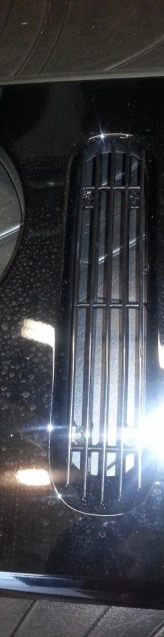
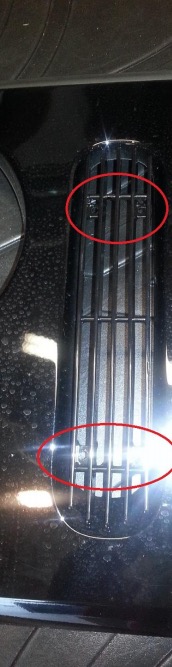
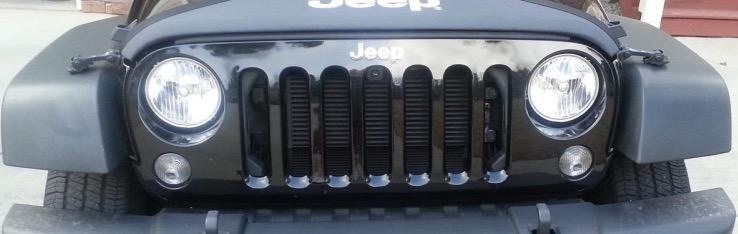
4. Follow the steps above for the remaining grille inserts. Make the grille inserts are secure and not loose. When completed should look like PIC 7 & 8.
Pic 7
Pic 8
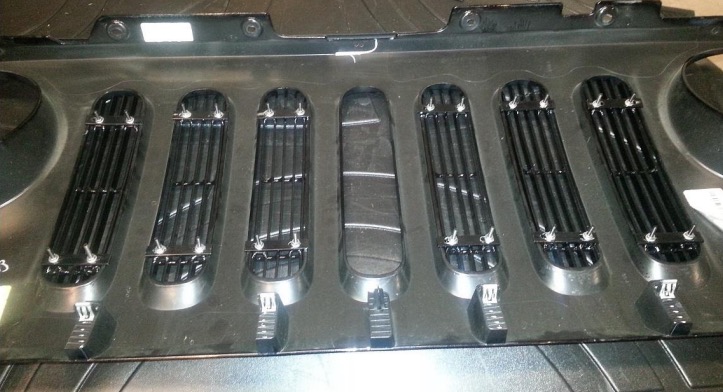
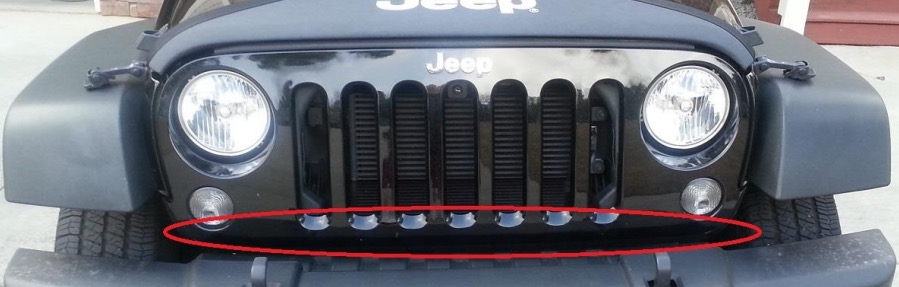
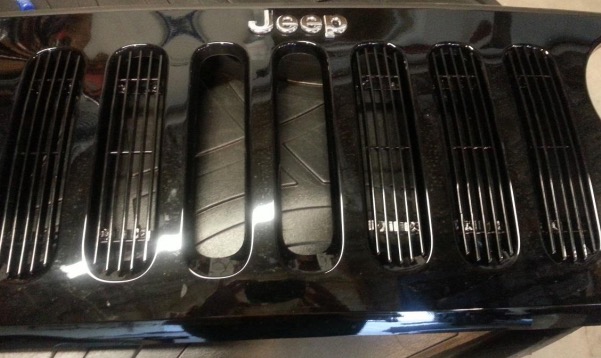
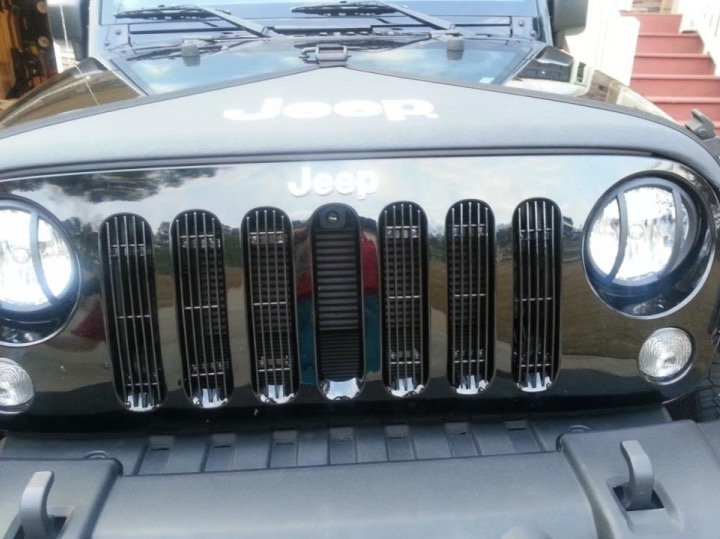
5. Install the Grille back onto the jeep. Reattach the turn signals. Align all of the lower retaining clips and snap them into place. Reinsert all of the upper retaining rivets. Should look like the picture below. (PIC 9 Before and PIC 10 After) Note: I have a hood lock so I did not use the center insert.
Pic 9
Pic 10
Installation Instructions Written by ExtremeTerrain Customer Clint Powers 3/30/2015

