

How to Install Poison Spyder LED License Plate & 3rd Brake Light Connectors (07-18 Wrangler JK) on your Jeep Wrangler
Installation Time
3 hours
Tools Required
- Picks (90-degree and straight)
- Small needle-nose pliers
- Electrical tape
- Zip-ties
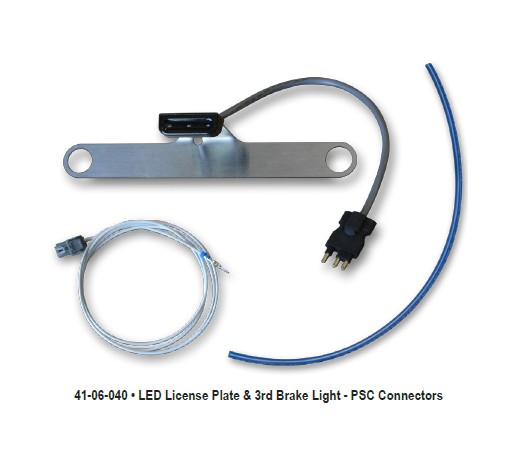
Thank you for purchasing Poison Spyder’s JK LED License Plate & 3rd Brake Light - PSC Connectors. This installation assumes the use of Poison Spyder’s JK LED Taillight Harness - Passenger Side and 4” round LED taillights sold separately by Poison Spyder Customs. The following installation procedure is to be performed in conjunction with the installation of the LED Taillight Harness, instructions for which are included with that product.
Installation is fairly simple with the right tools and good mechanical abilities. If you are not confident in your mechanical skills, please seek the help of a professional to perform the installation. Please read through these entire instructions before proceeding with installation.
PARTS LIST
Please check your packages immediately upon arrival to ensure that everything you ordered is included, and to check for damage during shipping. If anything is missing or damaged, call Poison Spyder at (951) 849-5911 as soon as possible.
(1) LED License Plate & 3rd Brake Light -
PSC Connectors
(1) JK Third Brake Light Jumper Wire
(1) 1/4” OD Air Brake Hose - 18” long
INSTALLATION PROCEDURE
It is assumed that the LED Taillight Harness installation is already in progress, the Jeep is parked and secured, and the passenger side taillight has already been removed as detailed in the instructions that come with that harness.
1. Open the tailgate and remove the two plastic covers on the inside surface of the tailgate. For the small vertical cover, grip it along the forward edge (facing the tailgate hinge) and squeeze to release the tangs while pulling the cover away.
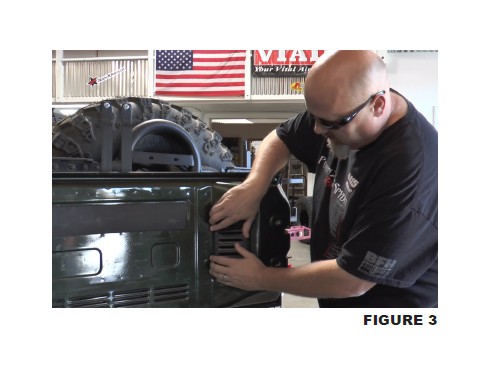
2. Remove the long horizontal cover by gripping the bottom edge, and squeeze to release the tangs while pulling the bottom edge of the cover away. With the lower tangs released, slide the cover downward to release the upper tabs and remove the cover.

3. Just inside the small vertical cover, find the small rectangular plug where the Jeep’s OE third brake light wiring connects to the chassis harness. Unplug the OE third brake light wiring if it is present. The OE third brake light should also be removed, if still present (instructions for doing so are not included here).
4. Inside the Jeep, peel back the carpet at the rear passenger side corner of the Jeep’s interior, to expose the areas where the wiring from the tailgate runs. On some Jeeps there may be a speaker enclosure which will have to be removed to gain access.
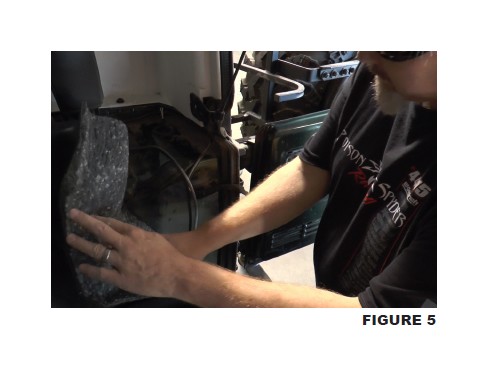
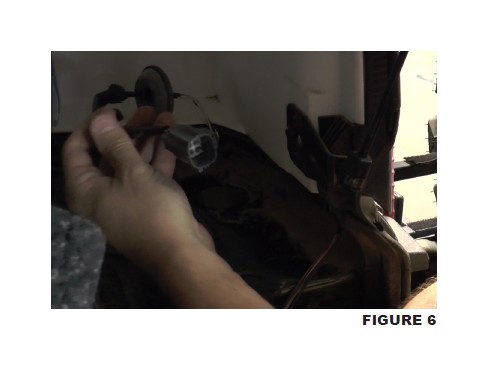
5. Follow the wiring from the tailgate up into the corner of the Jeep’s interior, to where it passes through the body tub with a rubber grommet. Grip the grommet along the edges to dislodge it, then pull it and the taillight connector plug through the hole into the Jeep’s interior.
6. Where the tailgate wiring transitions from the tailgate to the Jeep’s body, it passes through a flexible sheath of nylon webbing. Both ends of the sheath are secured by plastic zip style wire loom holders. These may be released by using a pick to carefully depress the small tang inside the zip housing, and pulling on the strap. Each end of the sheath is also secured to the wires with electrical tape, which will also need to be removed so that both ends of the sheath are open.
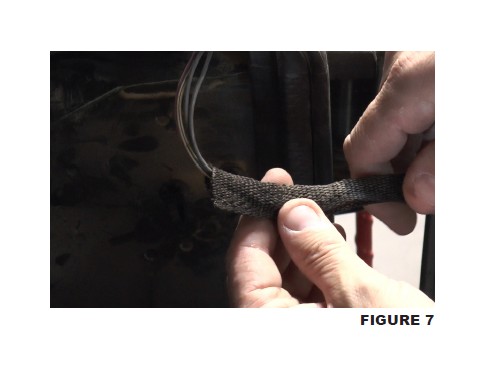
7. Find and uncoil the white brake light jumper wire that was included in the kit with the passenger side harness. Also find the 18” length of 1/4” air brake hose that was included. At one end of the jumper wire, a metal pin and rubber seal have already been installed. Push this metal pin into one end of the hose until the rubber seal is just inside the end of the hose, so that it is firmly gripped by the hose.
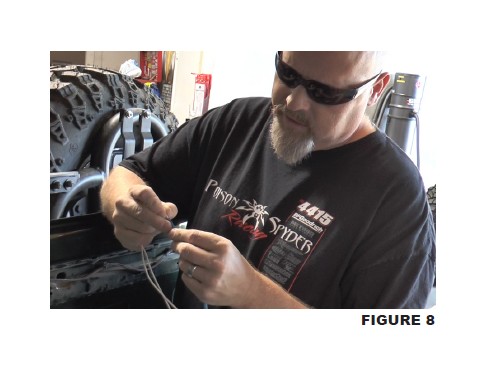
8. Insert the other end of the air hose into the open end of the nylon wire sheath, from the tailgate end. Push it through the sheath until it comes out the other end, then grip the hose and pull it, along with the brake light jumper wire, through the sheath. After a few inches of the jumper wire are through the sheath, gently remove the air hose from the end of the wire.
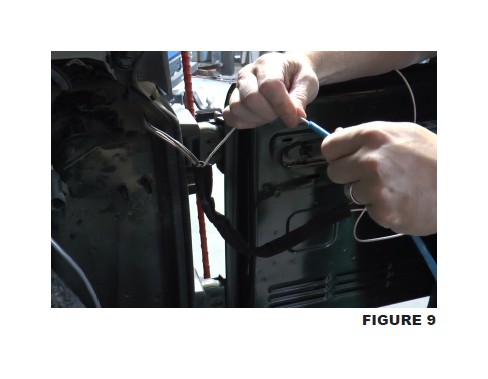
9. The pin end of the brake light jumper wire must now be passed through the rubber grommet alongside the OE taillight wiring. Be sure you are passing the wire through in the correct direction. A squirt of WD-40 into the narrow neck of the grommet will help it pass through easily.
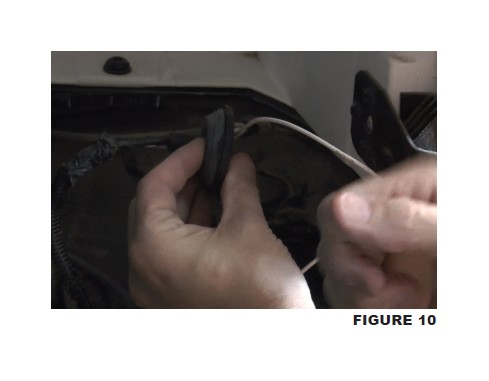
10. Pull enough of the jumper wire through the grommet that it can reach the OE taillight plug. Then push the taillight plug and the end of the jumper wire back through the hole in the body tub, into the cavity behind the taillight, and press the grommet back into place.
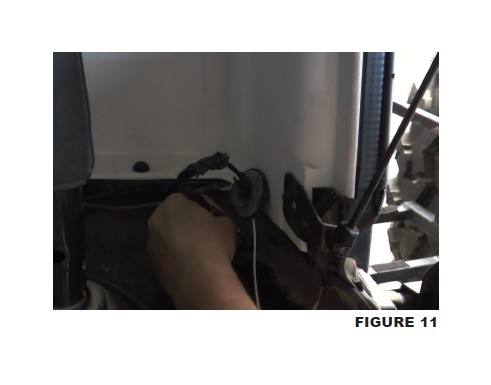
11. Route the other end of the brake light jumper wire alongside the existing wiring harness across the tailgate. Either coil it around the existing wiring or use zip-ties to hold it in place.
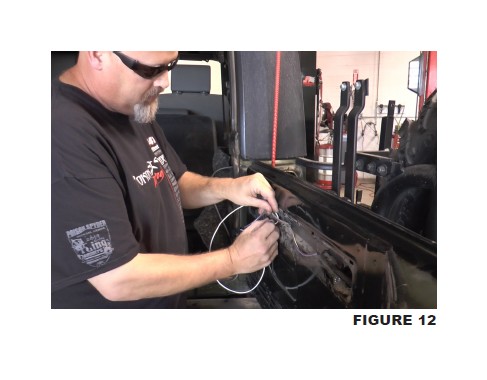
12. The square plug on the end of the jumper wire is passed through the hole in the sheet metal to the interior of the tailgate, then plugged into the OE third brake light receptacle.
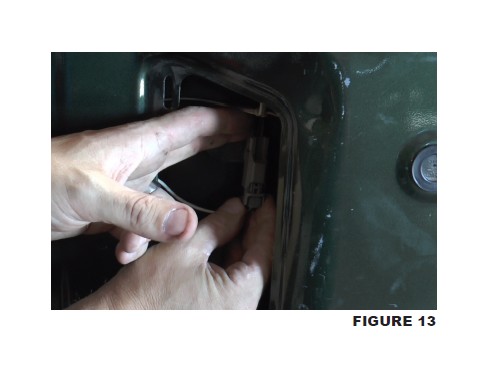
13. Follow along the length of the jumper wire making sure it is secured in place. Used zipties wherever needed. Use black electrical tape to re-tape the ends of the nylon webbing sheath where the wiring jumps from the tailgate to the Jeep’s body. Re-close the wire holders at either end of the nylon sheath to lock it and the wiring harness in place.
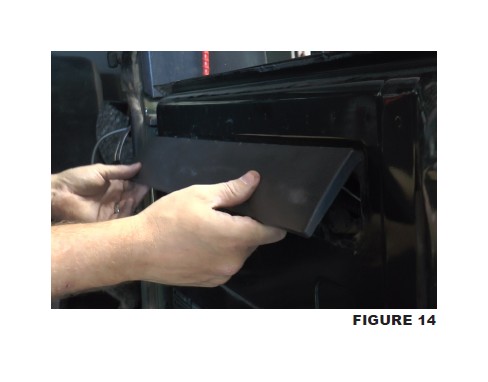
14. Put the carpet back into place in the interior corner of the Jeep, then reinstall both plastic covers on the tailgate.
15. Close the tailgate and move back to the taillight location. Reach inside the taillight hole and pull out the OE taillight connector and the pinned end of the brake light jumper wire. Inside the open end of the taillight connector is a white plastic pin lock, which needs to be removed. There is a small slot on one side, where it can be gripped with a 90-degree pick and pulled out.
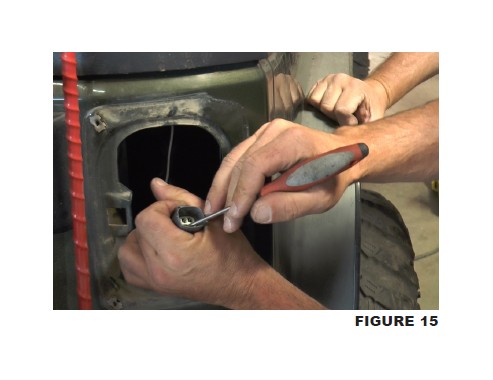
16. Observe the back of the OE taillight connector, where there are six pin slots but wires going into only four of them. The empty corner slot is the one we are going to use. Down inside the slot is a small rubber plug that was inserted at the factory to keep the elements out. Use small needle-nose pliers to grip the nub on the end of the plug and pull it out.
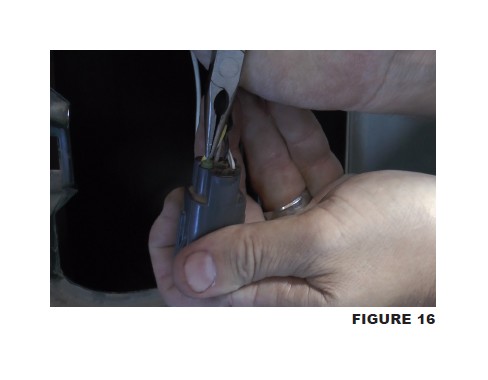
17. Observe the pin on the end of the brake light jumper wire. Note there is a small metal tang, or tab, protruding from one side of the pin. This tang should be oriented away from the wire in the adjacent slot, as the pin is inserted into the empty corner slot in the back of the plug. Push the pin into the connector until it locks into place.
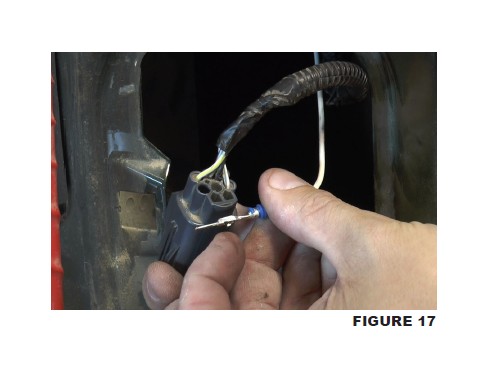
18. Reinstall the white plastic pin lock into the open end of the taillight connector. Use a pick or screwdriver to push it in until it locks into place.

19. Plug the Poison Spyder LED Taillight Harness into the OE taillight connector.
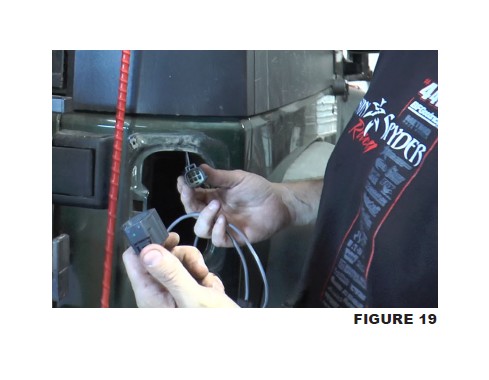
20. Route the long gray license plate light lead to wherever you are going to mount the license plate light, typically at the center of the spare tire on the spare tire carrier. To route the wire to the exterior of the Jeep, reach inside the Jeep’s corner cavity, down to the “floor” inside. There is a hole in this floor under a thick piece of foam insulation. This hole can be used to route the wiring to the exterior of the Jeep.
21. Use hardware of your own choosing to mount the License Plate & 3rd Brake Light along with the license plate in the location you have chosen. Use zip-ties to secure the wiring lead along its path. Make sure it has enough slack at the tire carrier hinge to provide for full movement of the tire carrier.
22. Continue with the remaining steps of the JK LED Taillight Harness installation from the instructions included with that product.
Congratulations, you have completed the installation of your Poison Spyder JK LED Taillight Harness!

