 FREE 1 to 3-Day Delivery on Orders $149+ Details

How to Install Omix-ADA Factory Style Replacement Fender Flares - Rear Passenger Side (97-06 Wrangler TJ) on your Jeep Wrangler
Installation Time
30 minutes
Tools Required
- 10mm socket
- 8mm socket
- Zip/cable ties
- Zip/cable tie cutters

Shop Parts in this Guide
Installation Instructions:
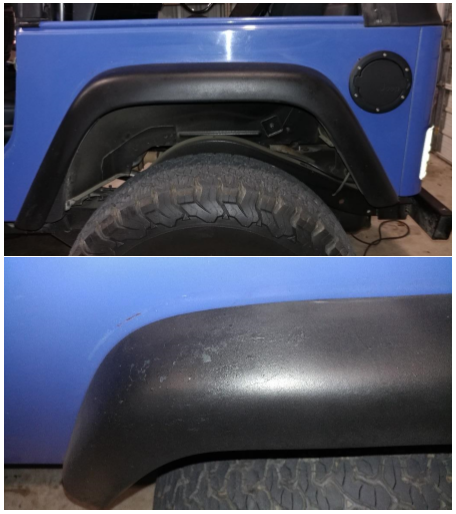
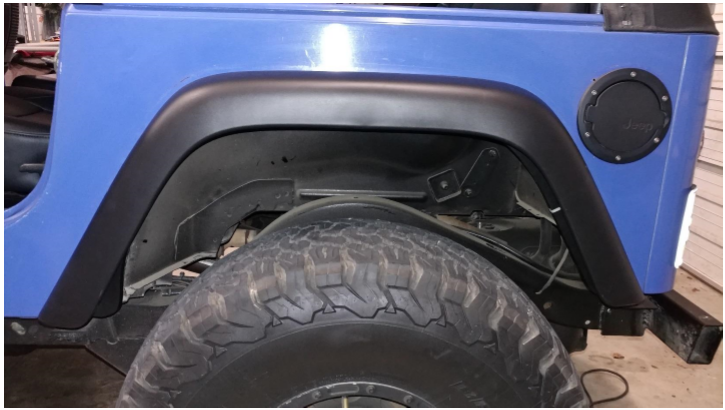
1. Before, the factory flares where discolored and chipped.
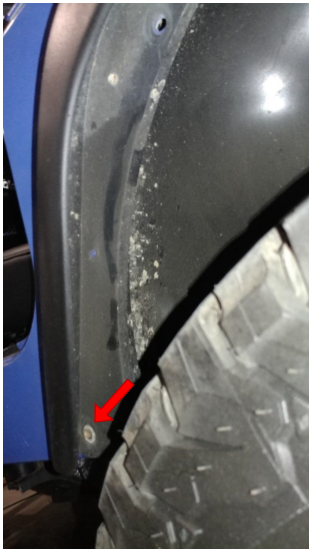
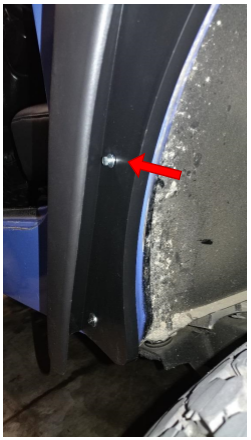
2. Remove the 10 mm nut from the front lower mounting location.
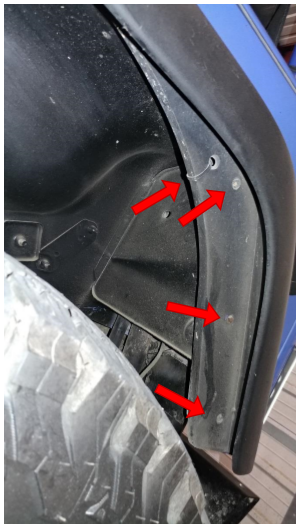
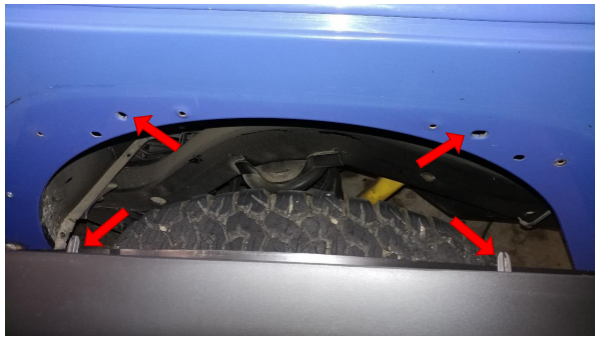
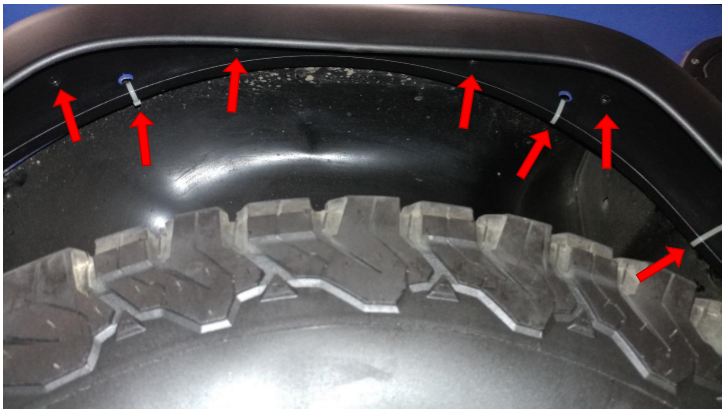
3. Remove 5-6 8mm factory mounting bolts with 8mm nuts. Also cut possible cable ties holding the fender in.

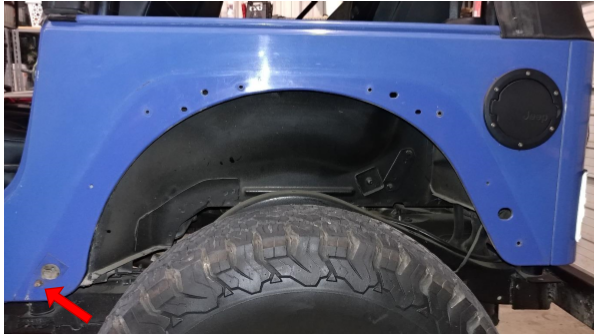
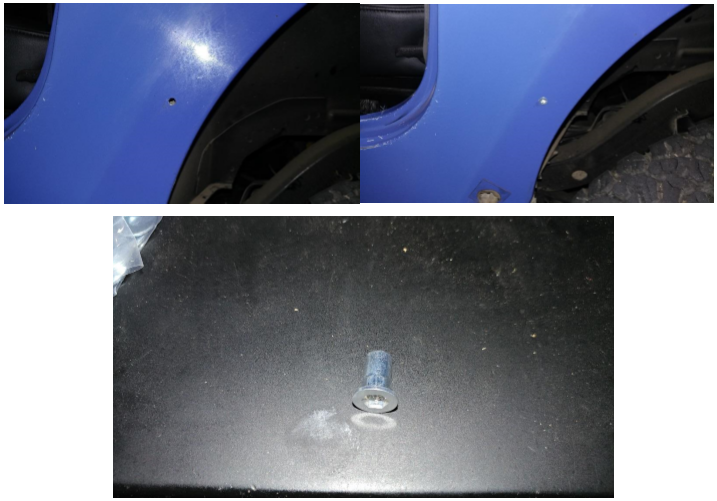
4. The fender should now be free from the jeep. I removed the factory stud style mount. Due to it not allowing the fender to sit flush on the jeep body. 11 mm nut with 11 mm bolt head can be accessed from the hole in the body shown above the nut or from a small access hole below the nut.
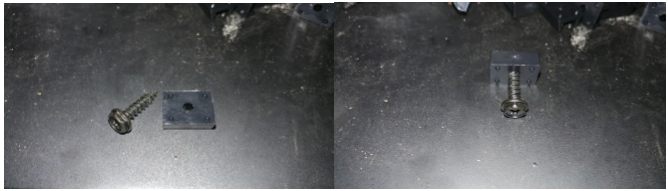
5. The Omix-ADA Fender Flare Hardware Kit includes a hex style nut with 8 mm bolts. This matches a mounting location on the Jeep body.
6. When mounting the new fenders, line up the mounting tabs.
7. The Omix-ADA Fender Flare Hardware Kit includes 8 mm screws with plastic backing nuts.
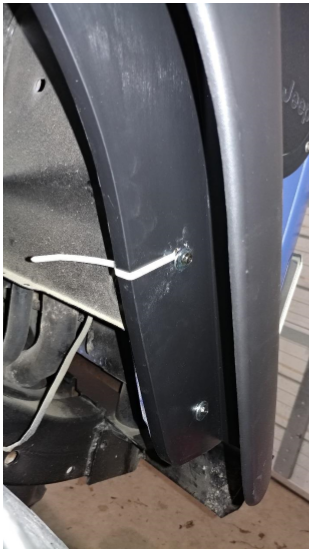
8. Cable ties may have to be used to hold the new fender in place while installing the included screws and backing nuts. I chose to leave the cable ties install permanently.
9. Some of the mounting hose where too large for the screw head to secure the fender. I used additional M6x18 washers.
10. Cable tie locations and provided 8 mm screws with plastic backing nuts.
11. Hex nut with 8 mm bolt.
12. Installation complete.
Installation Instructions Written by ExtremeTerrain Customer T. Boyer 10/15/2017

