FREE 1 to 3-Day Delivery on Orders $149+ Details

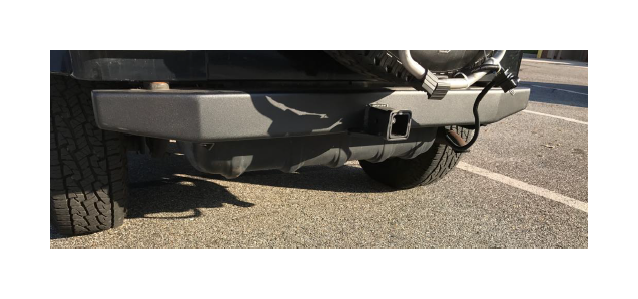
How to Install Olympic 4x4 57 in. Rock Rear Bumper w/ Hitch - Textured Black on your Wrangler
Installation Time
1 hours
Tools Required
- 3/8” drive ratchet
- Sockets: 5/8”, 11/16”, 18mm
- Combination Wrench: 3/4”
- 3/8” drive bit: Torx T27
Installation Notes: Steps 1-3 detail removal of stock bumper. If stock bumper is already removed, proceed to Step 4. To ensure all holes line up correctly, do not fully tighten hardware on the new bumper until installation is complete.
Installation Instructions:
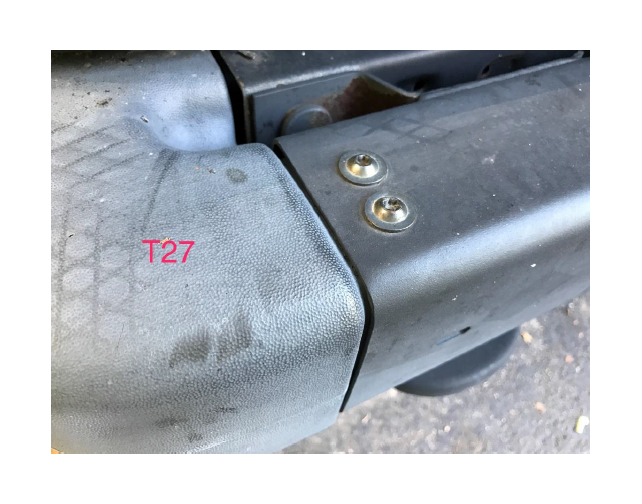
1. Uninstall stock bumper by removing the Torx bolts using a ratchet with a T27 bit (5 bolts on each side of bumper). Remove the plastic end caps from both sides of the bumper.

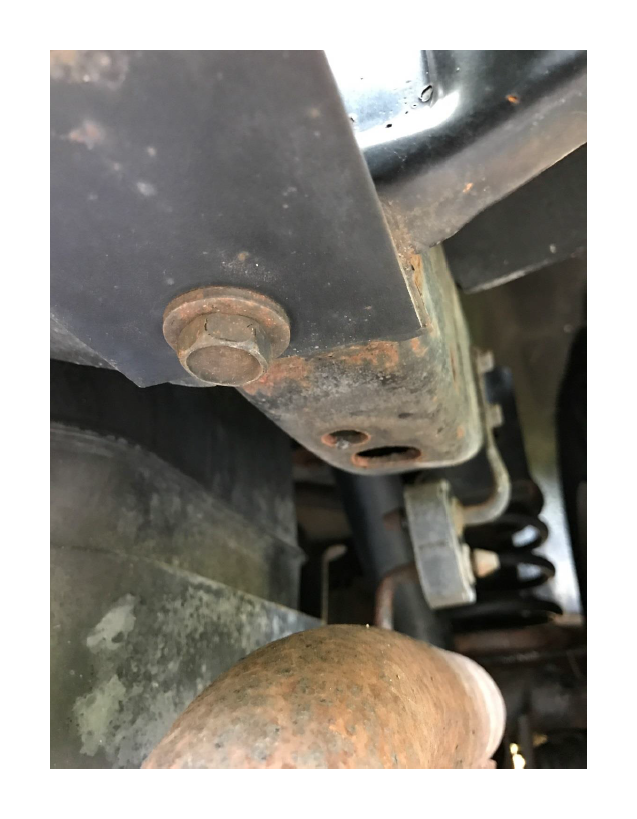
2. Remove the bolts which tie the bumper to the frame (1 bolt on the right side, 2 bolts on the left side, which run through the stock tow hook). *Note: the stock tow hook will not be reinstalled
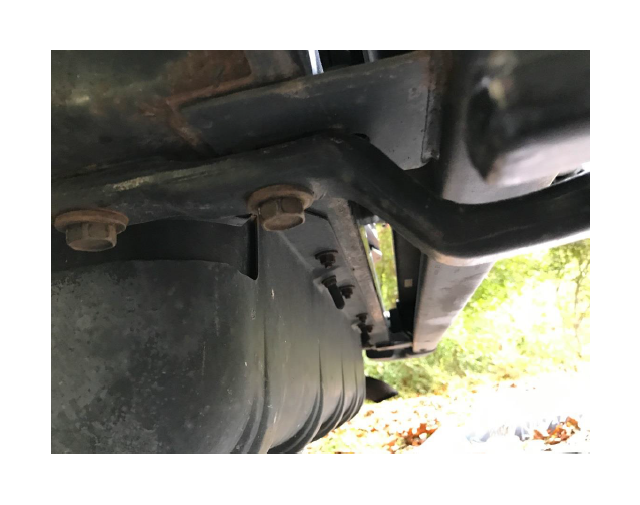
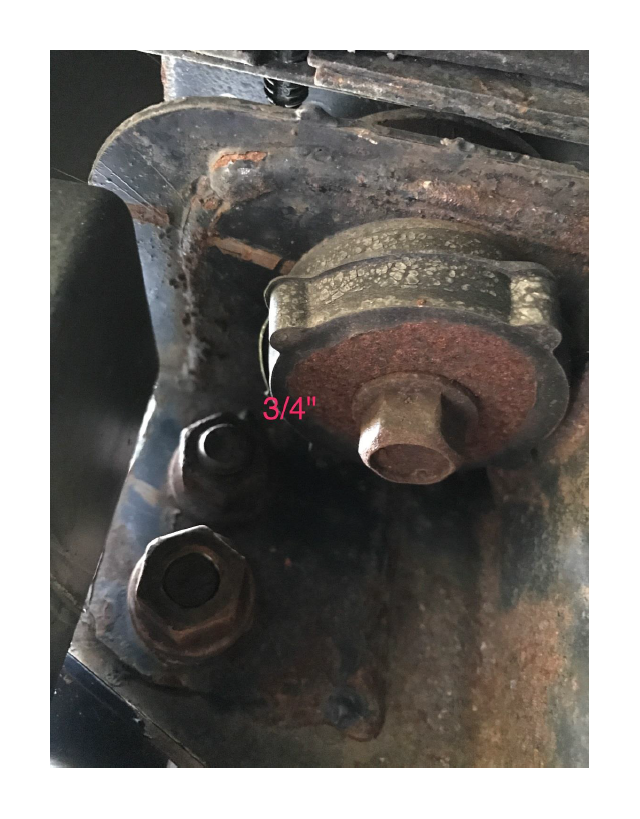
3. Using a 3/4” wrench, remove the bolts connecting the bumper to the crossmember (2 bolts on each side of bumper). Remove stock bumper from frame. *Note: Stock bumper hardware will not be reused.
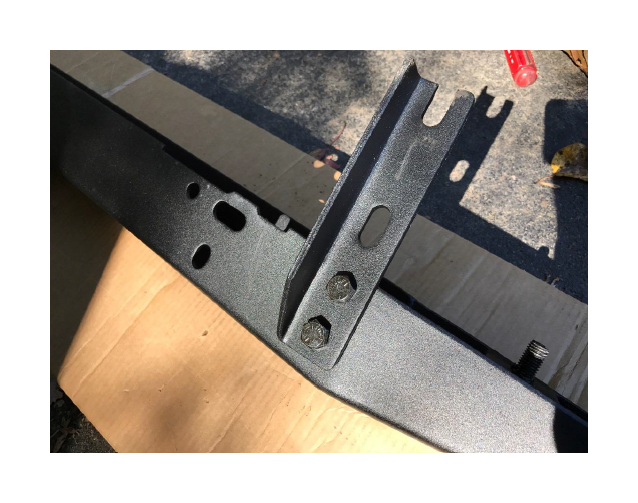
4. To begin installation of new bumper, place the new bumper on the ground with the bottom facing up. Install the mounting brackets with the angled edges to the inside. Use the included hex head bolts and flange nuts. *Note: do not fully tighten these nuts and bolts – the flange nuts should be just snug enough to grab the bumper
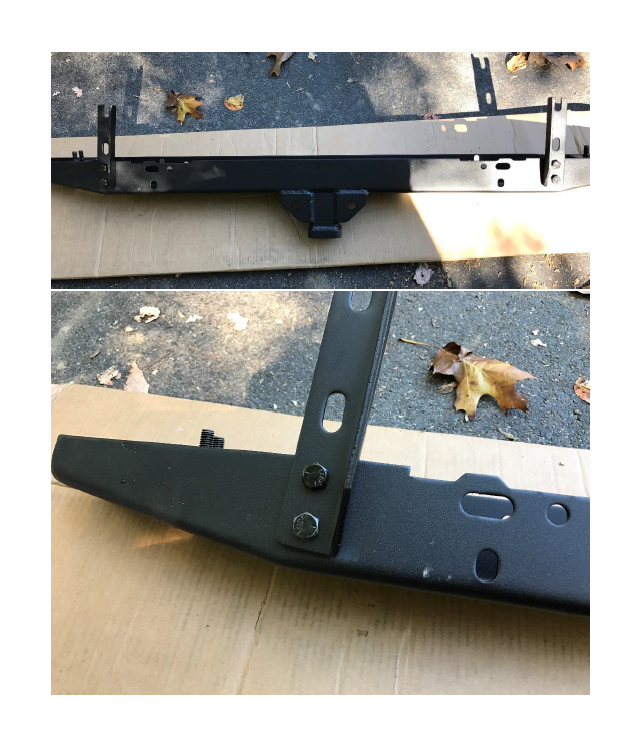
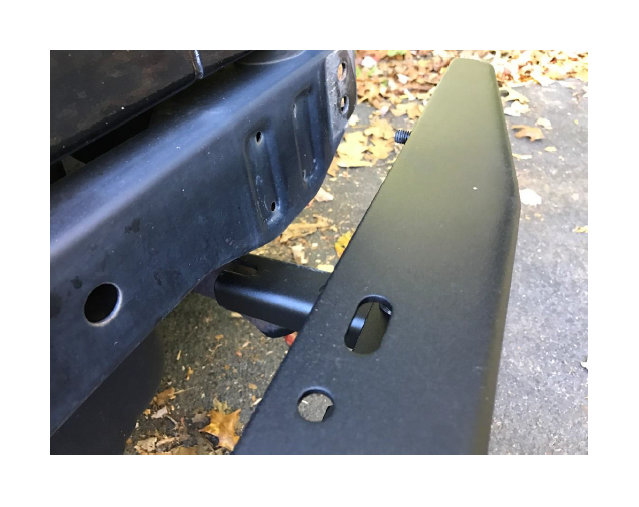
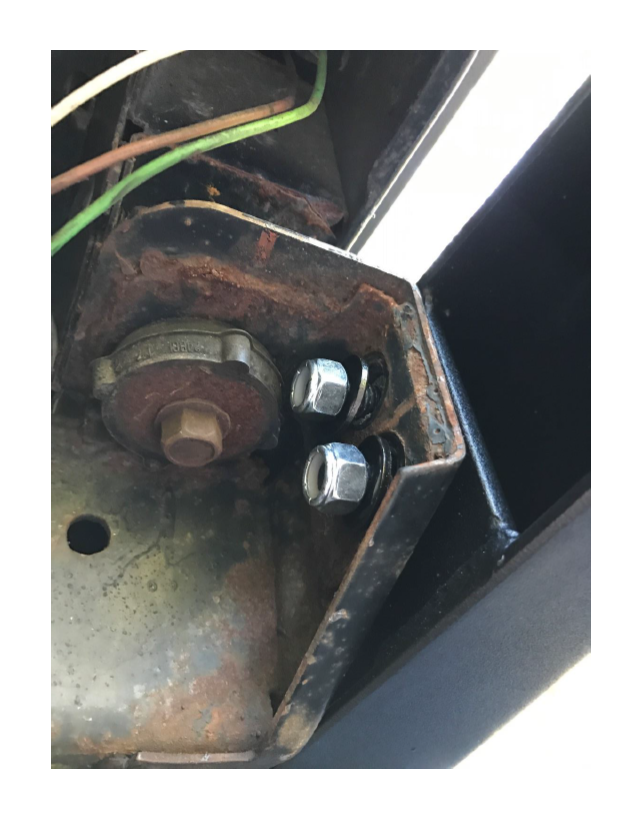
5. Mount bumper on the jeep by inserting the welded on bolts (2 on each side) into the holes on either end of the crossmember. Secure the bumper to the crossmember with included hex head bolts, flat washers, and nyloc nuts. *Note: do not fully tighten these nuts
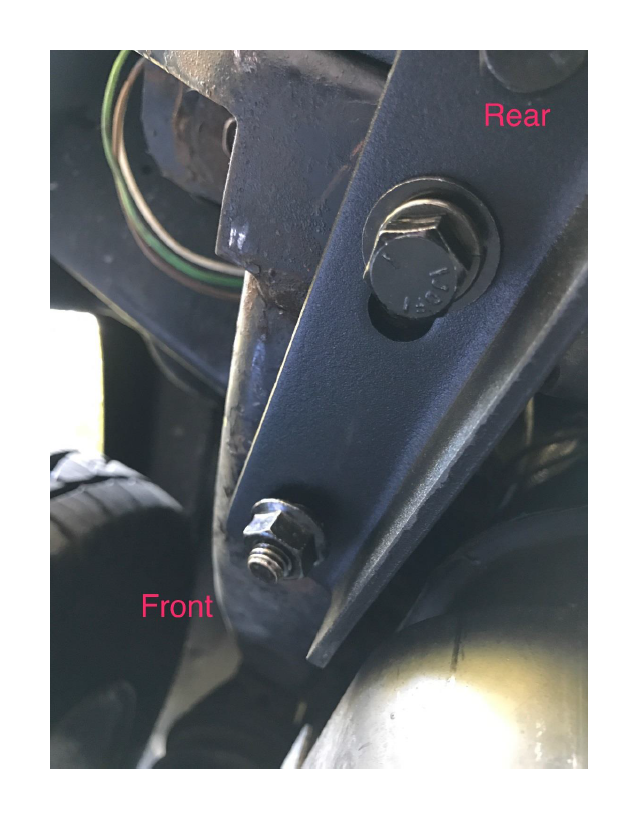
6. Attach the mounting brackets to the frame
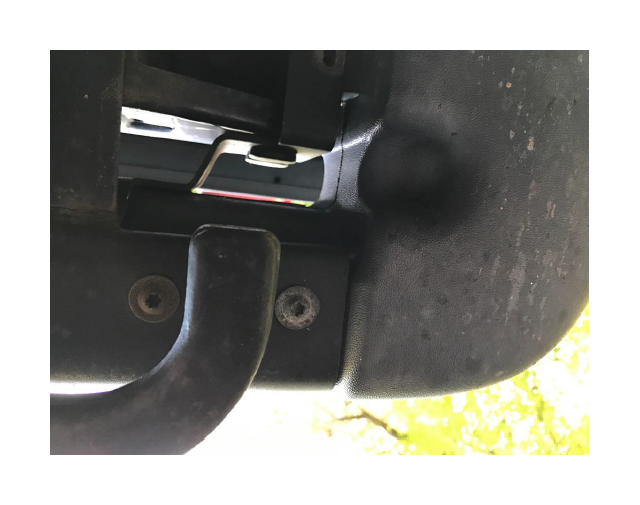
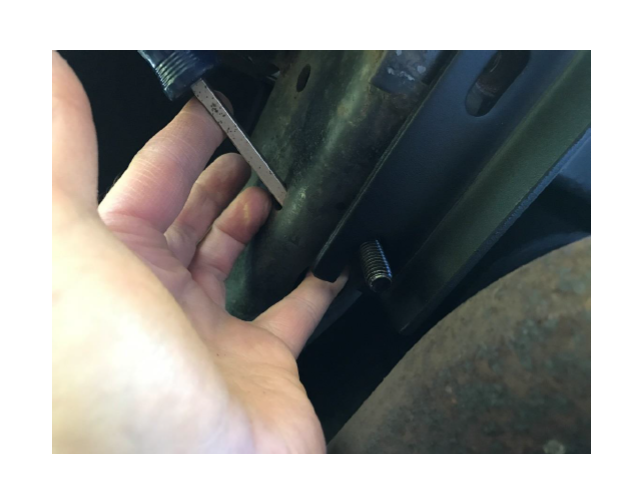
Front hole: Install a hex head bolt in the front hole, down through the frame and bracket. As shown below, a screwdriver can be inserted through the side hole of the frame to assist with positioning the bolt. Use a flange nut to secure this bolt.
Rear hole: install a hex head bolt, lock washer, and flat washer. This bolt will install in the existing threads into the frame.
*Note: do not fully tighten these nuts and bolts

7. Fully tighten all nuts and bolts to complete installation.