 FREE 1 to 3-Day Delivery on Orders $149+ Details

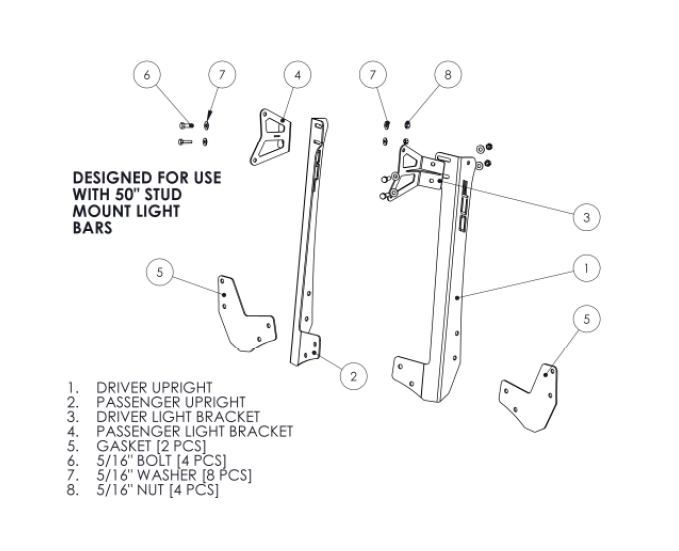
How to Install Off Camber Fabrications by MBRP Formed Windshield Dual Light Kit 50 in. on Wrangler
PLEASE READ BEFORE STARTING INSTALLATION
While MBRP Inc. has mode every effort to ensure that 011components of this kit ore of superior quoilly cind properly pocka9edr it is the installer's responsibility to ensure the following before starling:
• that ALL components shown above are present.
• that ALL mating components fil together.
▪ that there are no damaged components.
• that the kit you have purchased is appropriate for your year and model of vehicle_
• that the kfil will not interfere with any modifications previously installed or planned.
• that you have read and understand these instructions
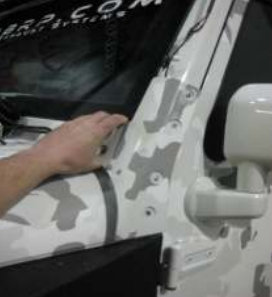
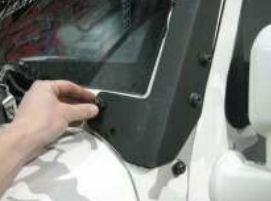
1. Remove all six driver side windshield bracket bolts using a T40 torx bit. Refer to Figure 1.
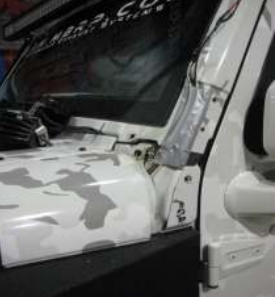
2. Prewire your light bar by running the harness behind the windshield bracket and under the cowl into the engine compartment. Refer to Figure 2.
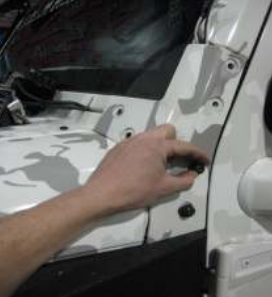
3. Reinstall the driver side windshield bracket and loosely install the lower two bolts. Refer to Figure 3.
4. Remove the two forward facing, and the top two outer bolts from the passenger side windshield bracket.
5. Install the Gasket into the Driver Upright along with the two outer bolts. Mount the assembly on the vehicle and thread in the outer bolts, followed by the two front bolts. Do not tighten yet. Refer to Figures 4 and 5.

6. Repeat step 5 for the Passenger Upright. Ensure Gaskets are centered underneath the uprights and tighten all bolts.
7. Loosely install both Driver and Passenger Light Brackets with the supplied hardware. With the help of a friend, install the light bars and secure them to the light brackets. Refer to Figure 6.
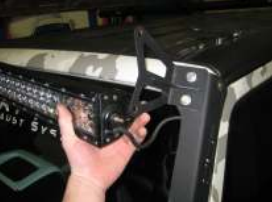
Note: the position of the light bars can be changed from vertically stacked to staggered by flipping the brackets upside down and installing on the opposite side.
8. Tighten the Light Bar hardware first to help properly position the light brackets on the uprights. Once the position is set, tighten the light bar bracket hardware. Refer to Figure 7.
9. Finish wiring your light bar.
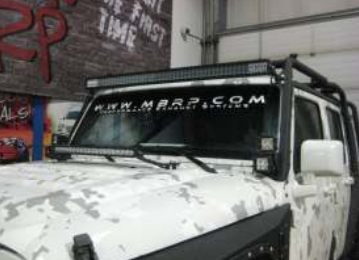
Congratulations! You’re finished! We are sure that you will enjoy this Off Camber Fabrications product by MBRP In
