 FREE 1 to 3-Day Delivery on Orders $149+ Details

How to Install a M.O.R.E. Hide-A-step on your 2007-2017 Jeep Wrangler JK
Installation Time
1 hours
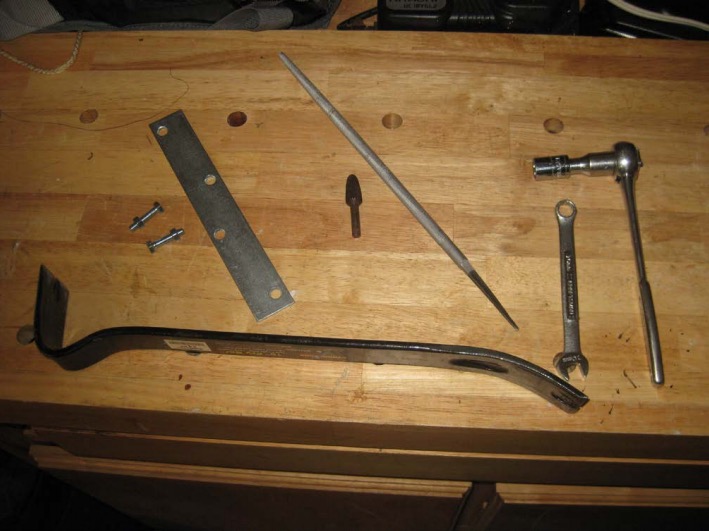
Tools Required
- 13mm socket
- 10mm wrench
- Ratchet and Small extension
- Pry-bar
- Rasp or round file
- Metal strap with holes centered 2” to 3” apart and small bolts
- Vice and something to grasp metal for bending
- 7/16" wrench
- 7/16" socket
- 5mm hex wrench

Shop Parts in this Guide
Installation Guide for jeeps with factory installed Rubicon rock rails
Tools:
Pre-Installation notes:
Installation instructions are different for jeeps with and without factory installed Rubicon rock rails.
The installation instructions from M.O.R.E. state that “you may find it necessary to grind, elongate, bend, or force these parts to fit on your rig”. I found this to be the case; installation behind the rock rails required moderate tweaking.
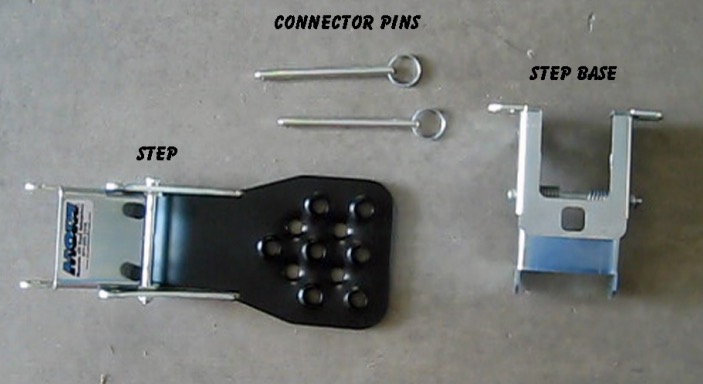
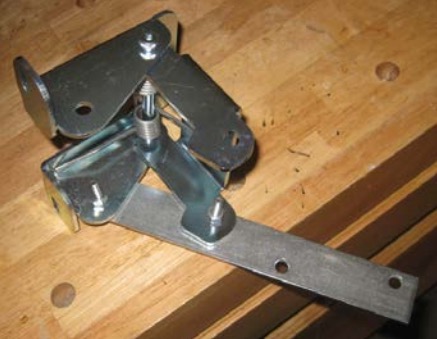
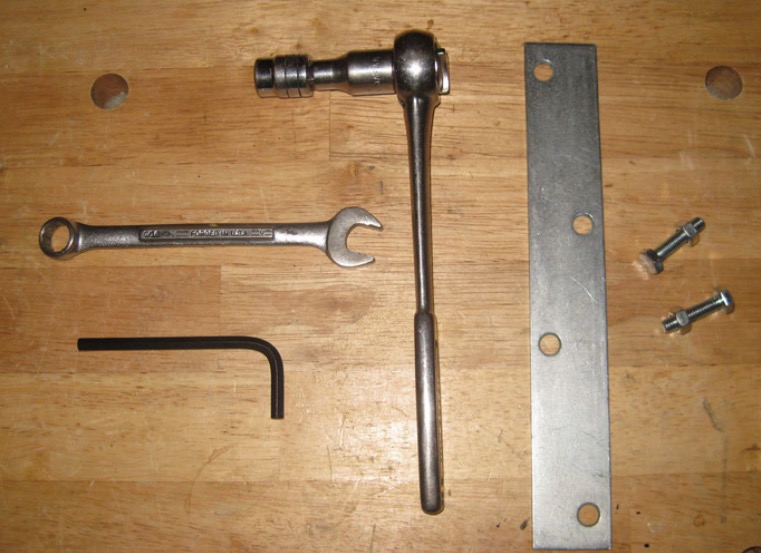
1. Unit consists of 3 parts: the step base, the step, and connecting pins.
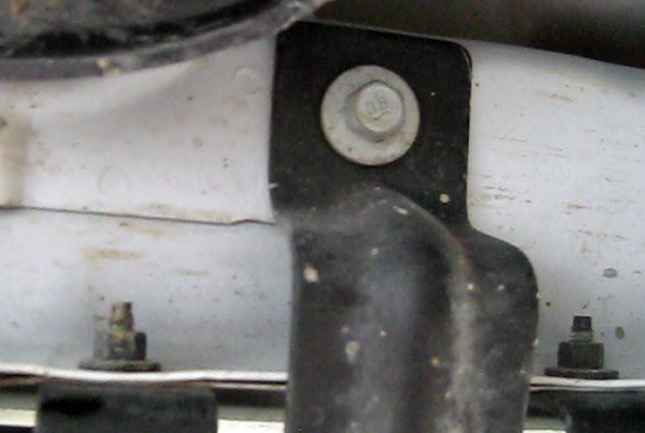
2. Locate the center mounting point for the rock rails. Remover the 13mm bolt connecting the rock rail to the frame. WARNING: Do not remove the 2 nuts that hold the rock rail to the body pinch seam - YET.
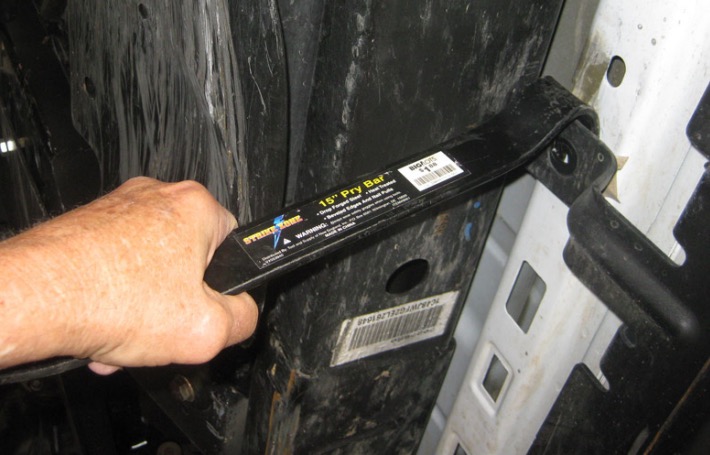
3. Take a pry bar and bend the connecting arm down about ¼ inch so that the step base can easily slide under it.
4. Now you can remove the 2 nuts that hold the rock rail to the body pinch seam.
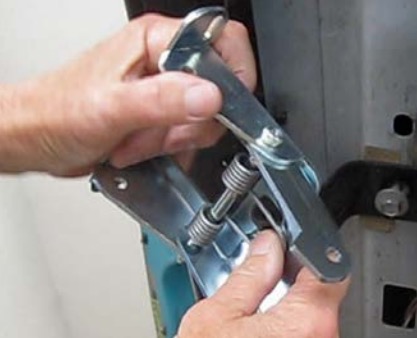
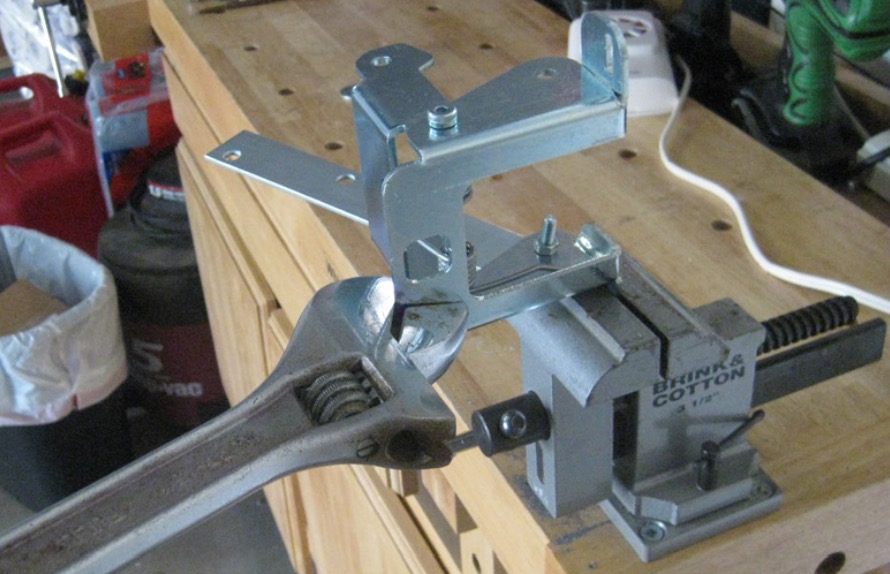
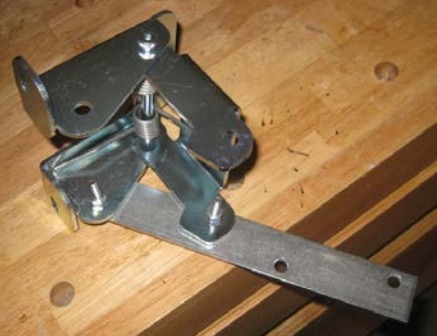
5. Compress the spring to bend the step base approximately 90 degrees. Use the metal strap and small bolts to hold it in that position while you go through the installation process.
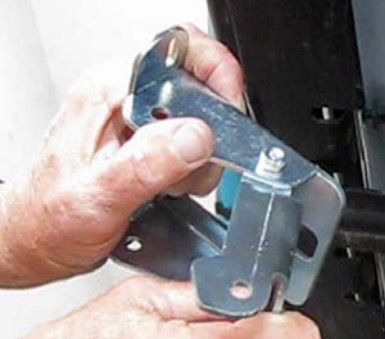
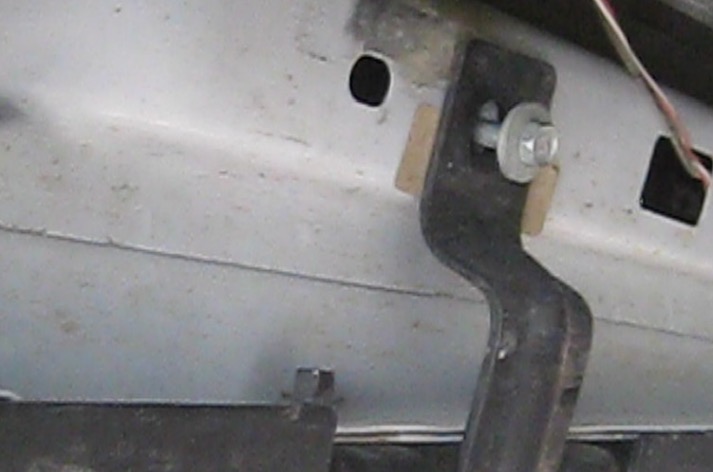
6. Temporarily slide the step base into position. The step base plate goes between the body of the jeep and the rocker guard mounting arm.

7. If the slots in step base do not line up with the 2 studs in the pinch seam you’ll have to enlarge the holes and/or bend the base plate to make it fit. WARNING: Make sure there is sufficient clearance for the upper pin to clear the rocker guard mounting arm. I had to insert an additional washer as a shim between the step base plate and the rocker guard mounting arm to provide enough clearance.
8. Once you are satisfied with the fit, reinstall the 2 nuts onto the studs, then install the 13mm bolt using the large washer supplied with the kit.

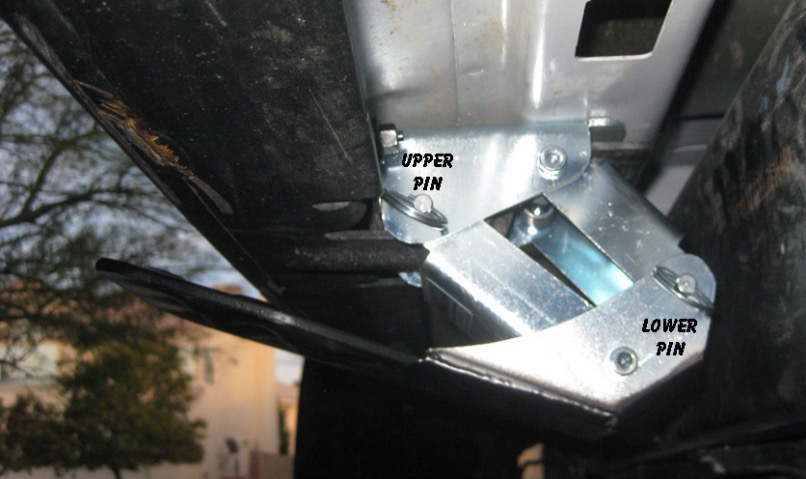
9. Connect the step to the step base using the removable pins supplied with the kit. NOTE: An installation video from M.O.R.E. suggests wedging a hammer handle or something behind the spring loaded side of the step base to facilitate lining up the holes to insert the upper pin.

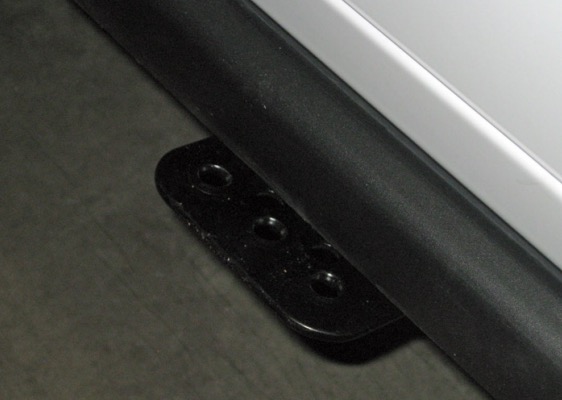
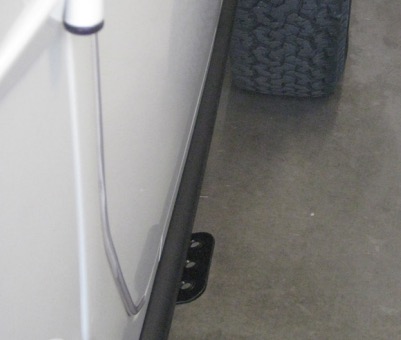
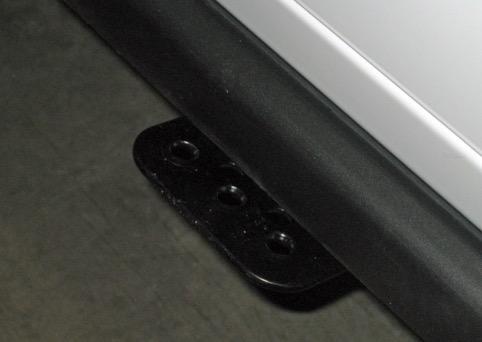
10. The finished product works beautifully. When folded up it only sticks out about an inch from the body but still provides adequate sufficient area to grab onto. When extended there is plenty of room for my size 11 shoe.

Installation Instructions Written by ExtremeTerrain Customer [email protected] Feb/22/2014
Installation Guide for jeeps without factory installed Rubicon rock rails
Tools:
Pre-Installation notes:
Installation instructions are different for jeeps with and without factory installed Rubicon rock rails.
The installation instructions from M.O.R.E. state that “you may find it necessary to grind, elongate, bend, or force these parts to fit on your rig”. The fit problems are lessened when rock rails are not involved.
1. Unit consists of 3 parts: the step base, the step, and connecting pins.

2. Compress the spring to bend the step base approximately 90 degrees. Use the metal strap and small bolts to hold it in that position while you go through the installation process.


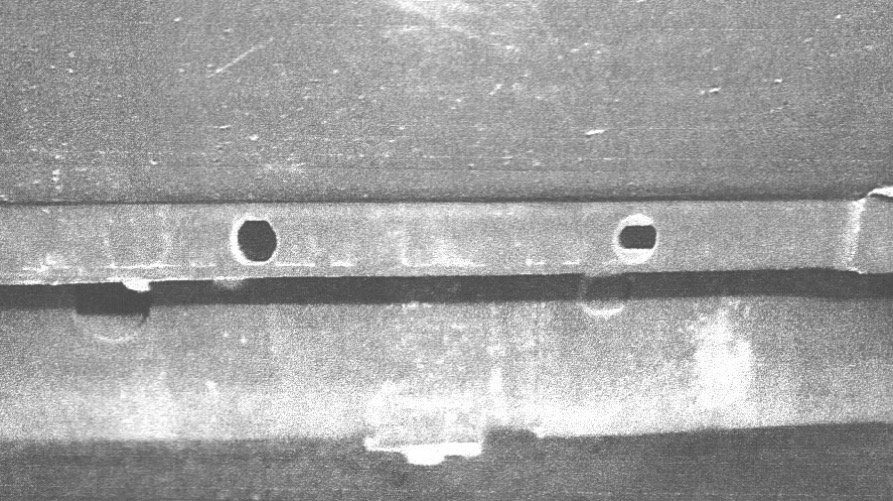
3. Locate the 2 holes in the body pinch seam near the center of the front door
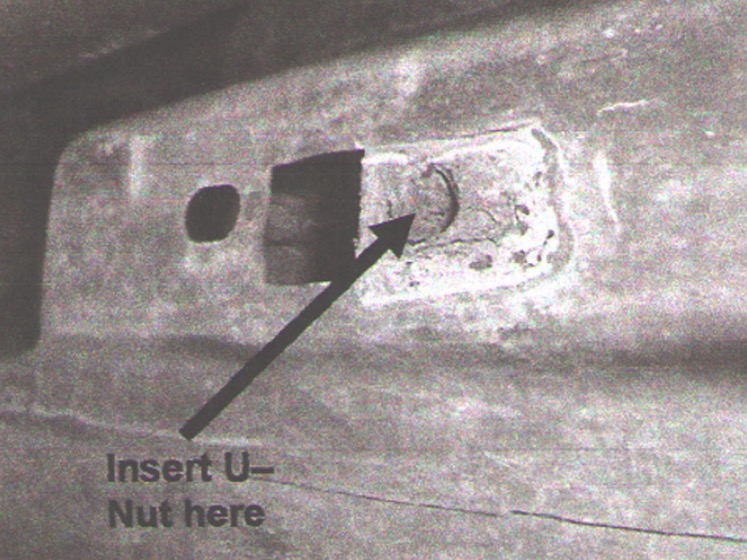
4. Install the u-nut into the hole in the body directly behind the 2 holes in the pinch seam.
5. Connect the step base to the pinch seam with the provided ¼” bolts with washers. Connect the rear of the step base to the u-nut with hex bolt and washer. Securely tighten all bolts.
6. Connect the step to the step base using the removable pins supplied with the kit. NOTE: An installation video from M.O.R.E. suggests wedging a hammer handle or something behind the spring loaded side of the step base to facilitate lining up the holes to insert the upper pin.
7. The finished product works beautifully. When folded up it only sticks out about an inch from the body but still provides adequate sufficient area to grab onto. When extended there is plenty of room for my size 11 shoe.
Installation Instructions Written by ExtremeTerrain Customer [email protected] 2/22/2014

